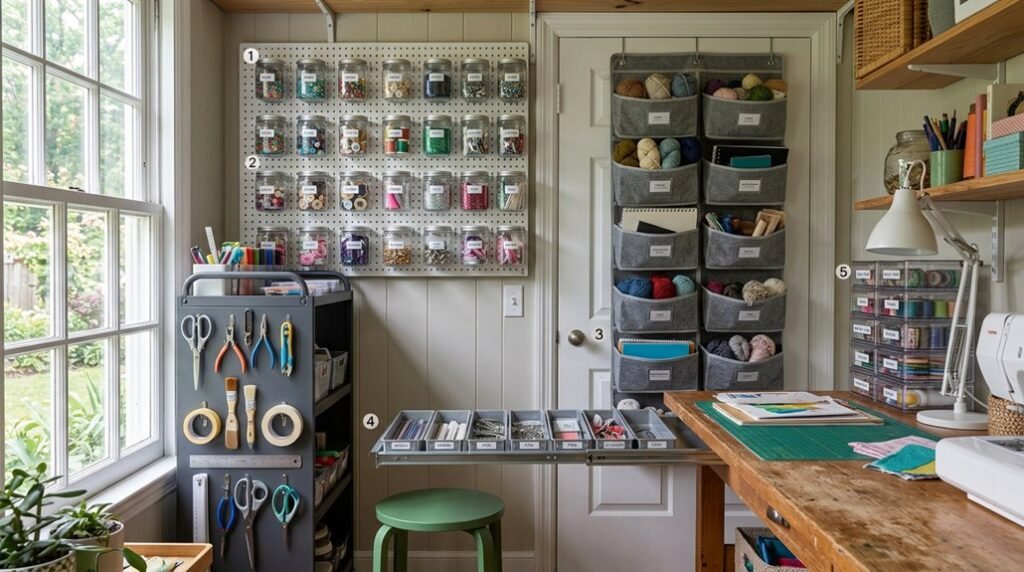
Your craft room demands systems that reclaim every square foot, not vague suggestions. You will convert overlooked cavities: attic knee walls measuring 36-48 inches in height, closet depths of 24 inches minimum, into vertical storage banks with modular components. You must distinguish between daily-access tools requiring clear 6-quart bins and archival materials suited to opaque 16-quart containers.
The remaining three strategies deploy vertical drawer stacking, layered open shelving with standardized jar sizing, and concealed pegboard mechanisms. Each solution includes specific product dimensions, load capacities, and installation timeframes. You need these measurements now.
Turn Home Attics and Closets Into Craft Storage
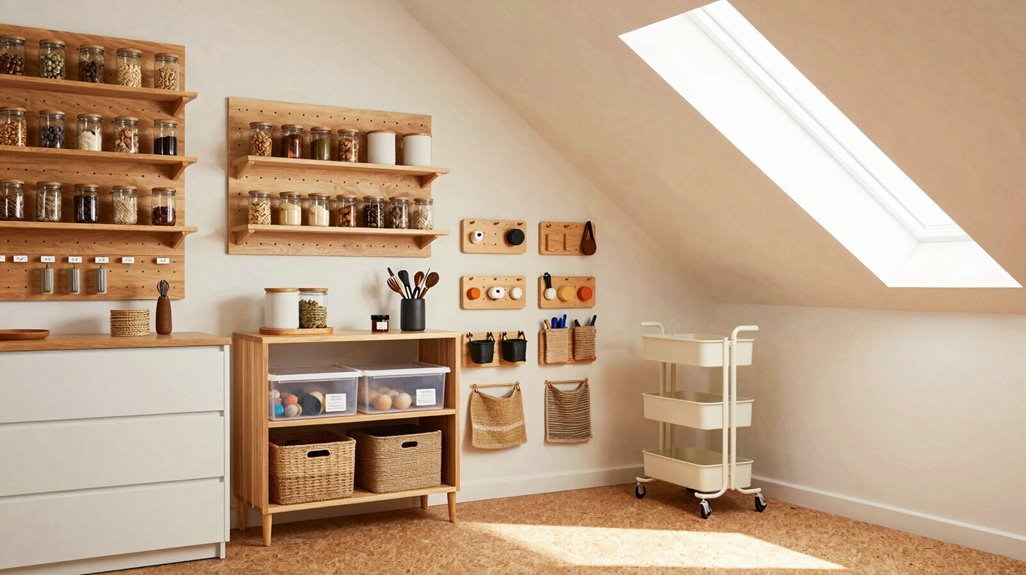
How do you reclaim square footage that’s hiding in plain sight? You turn unfinished attics and underused closets into dedicated craft zones that welcome you home.
Transform forgotten corners into craft sanctuaries that invite creativity home.
1. Attic-to-Craft-Room Conversion
You’ll maximize vertical space by installing wall-mounted units and pull-out shelves that bring supplies within arm’s reach. Beth Bryan Designs demonstrates how built-in cabinets anchor attic craft room layouts, creating 24-inch deep storage banks along knee walls. Your organized craft room emerges when you position wardrobe-style cupboards for fabric bolts, with 18-inch clearance for smooth door swing.
2. Closet Storage Systems
You’ll convert standard 24×96-inch closets by layering hidden storage behind doors: shallow 12-inch shelving for paper goods, plus floor-to-ceiling cubbies. This dual-zone approach maintains visual calm while housing 40+ supply categories.
Choose Clear or Opaque Craft Storage Bins by Need
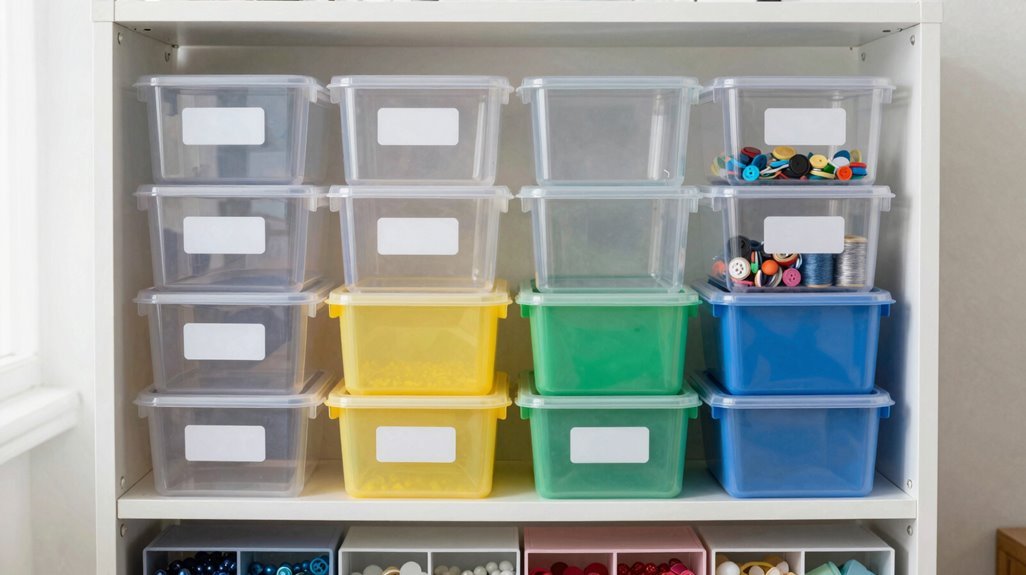
When you’re staring down shelves of mismatched containers, the decision between transparent and solid storage isn’t merely aesthetic. It’s a functional calculation that determines how quickly you’ll locate your 12×12 cardstock or whether your workspace feels chaotic.
You’ll want clear storage for frequently used items: paints, scissors, adhesives, where quick access matters most. Pair these storage bins with labeling for at-a-glance visibility that cuts project prep time by half. Clear containers support space optimization by eliminating unnecessary handling.
Reserve opaque storage for bulk supplies, seasonal materials, or incomplete projects. These storage bins deliver visual clutter reduction, creating the streamlined craft room organization that keeps you focused.
Your choice depends on workflow patterns and tolerance for visible supplies. Mix both approaches: transparent fronts for daily tools, solid sides for backup stock. This hybrid system balances efficiency with aesthetic control, giving you command over every square inch.
Stack Drawers Vertically to Double Your Capacity
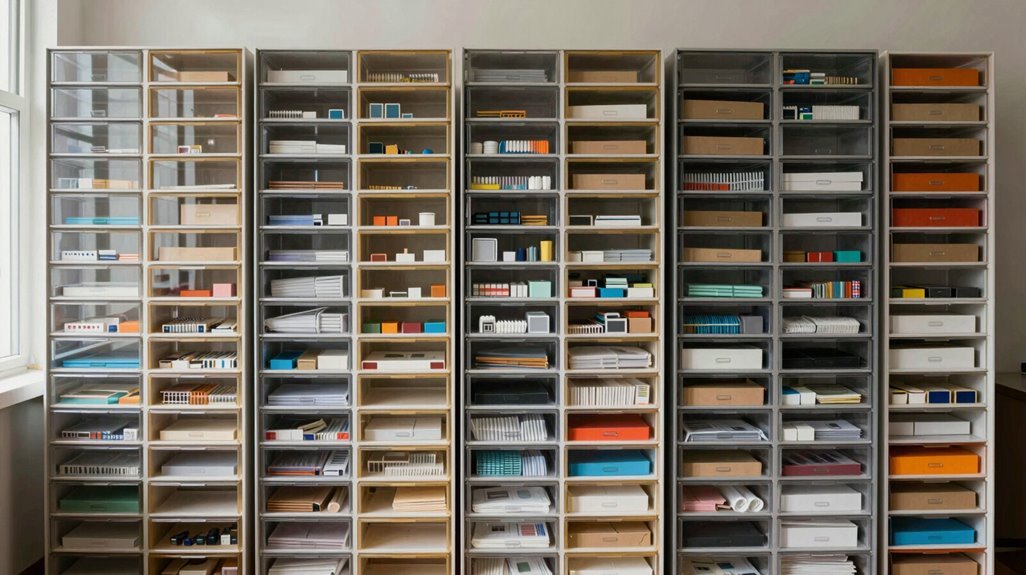
If you’re running out of floor space but still drowning in supplies, vertical drawer stacking offers a direct solution that doubles your storage capacity without requiring a single extra square foot. You’ll maximize space by implementing stacking drawers in overlooked zones like closet storage corners or under-desk storage nooks, turning dead areas into functional craft room organization hubs.
A vertical storage drawer system enables precise category segregation: paints in one column, brushes in another, beads in a third. This improves access efficiency during projects. Install labeled dividers within each tier to maintain clarity as your collection grows.
This approach replaces bulky shelving with streamlined, reachable storage. Your supplies stay visible, categorized, and ready, creating a workspace where everything belongs exactly where you’ve placed it.
Layer Bookshelves With Bins, Jars, and Trays

Why limit yourself to standard shelving when you can engineer a multi-functional storage ecosystem using open bookshelves as your foundation? Start layering bookshelves with woven bins, glass jars, and shallow trays to turn your craft room into a precision-organized workspace.
Position labeled jars on middle shelves for immediate visibility of beads, buttons, and small items. Install woven bins on lower levels to conceal bulkier supplies, and place trays on upper tiers for paint tubes requiring quick accessibility. Vary your organizers by height: tall bins accommodate 8-inch bottles, while 3-inch trays handle flat embellishments.
This storage strategy balances open shelving’s convenience with concealed containment, creating categorical zones that streamline your workflow without visual chaos.
Hide Craft Supplies on a DIY Slide-Out Pegboard
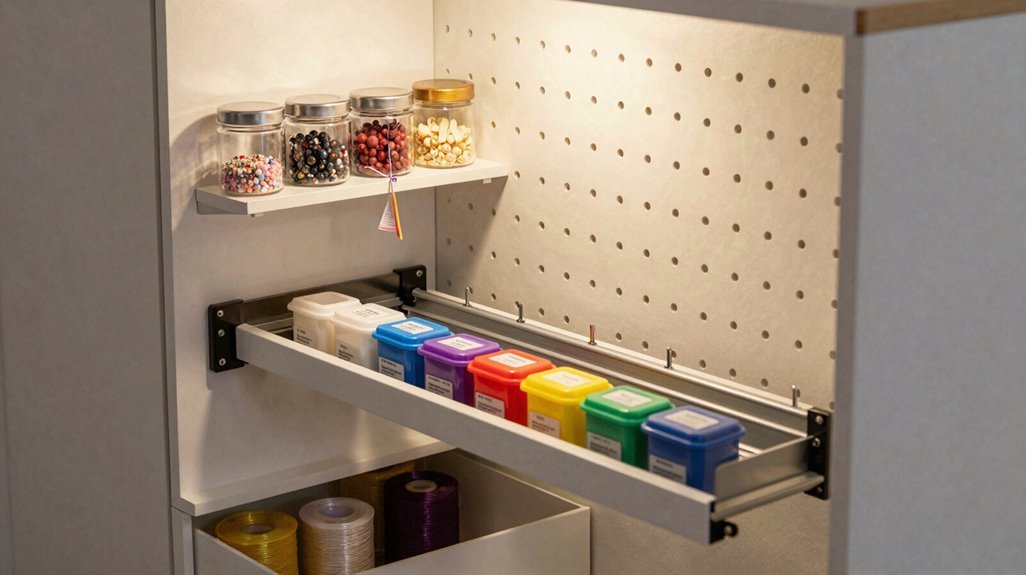
Layered shelving solves your visible storage needs, but some tools benefit from a different approach. You install a slide-out pegboard to achieve hidden storage without sacrificing accessibility. This DIY storage solution mounts on a pegboard slider mechanism, letting you pull craft supplies forward when needed and push them back for clutter concealment.
Hidden storage meets easy access: slide-out pegboard keeps craft supplies within reach yet out of sight.
Your craft room gains space-saving organization ideas through this slim-profile system. You maintain reach to paints, brushes, and ribbons while preserving tidy sightlines.
Follow this workflow:
- Measure your cabinet depth, selecting ¾-inch pegboard cut to 24-by-48 inches.
- Attach heavy-duty drawer slides rated for 100 pounds to cabinet sides.
- Mount pegboard to slide hardware, leaving ½-inch clearance for hooks.
- Organize tools by frequency, placing daily items at center height for optimal accessibility.