
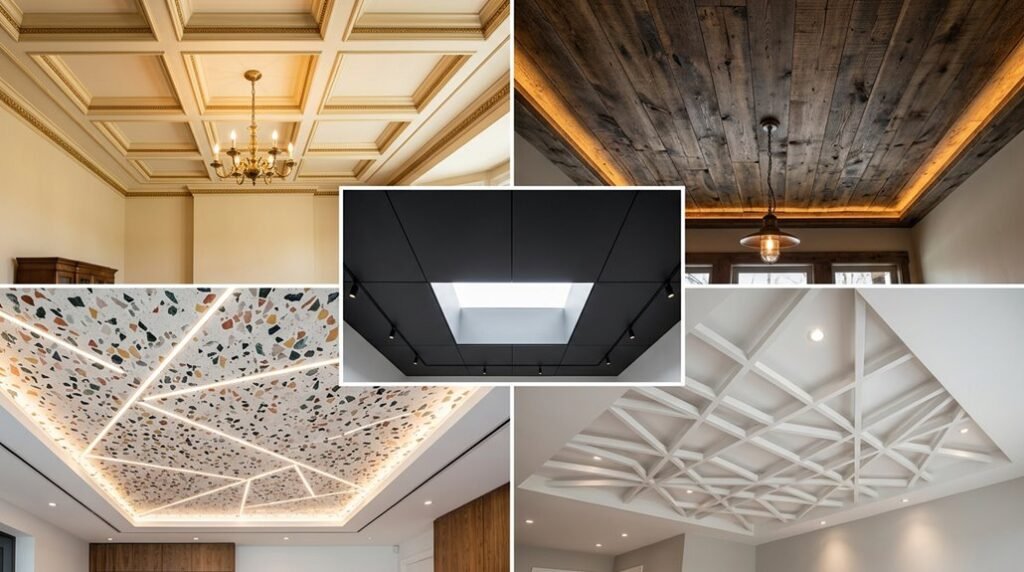
Ceilings occupy roughly one-sixth of a room’s surface area, yet homeowners spend 90% of their design budget on floors and walls. You’re likely neglecting this critical plane.
Five evidence-based strategies will maximize vertical real estate, correct spatial imbalances, and integrate structural systems with finish materials. Each method includes measurable outcomes, cost thresholds, and installation timelines.
Assess Your Space First: Ceiling Height, Light, and Design Constraints
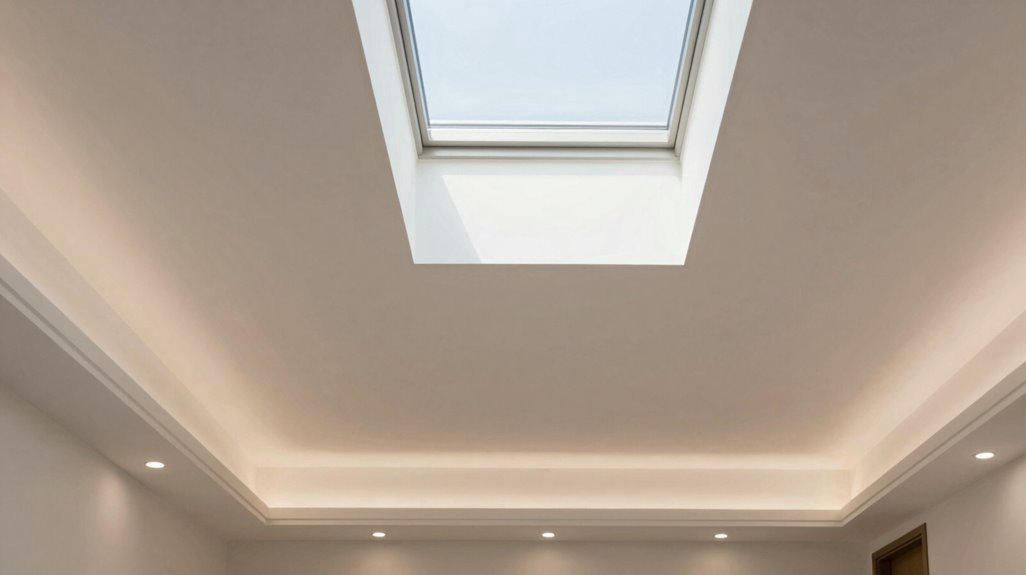
Because your ceiling serves as the fifth wall of any room, you must measure its height before selecting any design treatment. Your space assessment determines everything that follows.
- Measure ceiling height precisely. Higher ceilings accommodate dramatic architectural features like coffers and cathedral vaults. Lower ceilings demand streamlined ceiling treatments that maximize perceived vertical space.
- Evaluate your lighting conditions. Bright natural light permits bolder choices. Dim spaces require strategic artificial light: uplighting, coves, or recessed fixtures to prevent a closed-in atmosphere.
- Identify design constraints. Map existing architectural features: beams, joists, HVAC chases, and moisture exposure. These dictate feasible materials and installation methods.
- Match materials durability to room function. Kitchens and baths need moisture-resistant gypsum or tile. Living areas tolerate wood or plaster.
Your thorough assessment prevents costly errors and guarantees lasting results.
Paint Your Ceiling: White to Bold, and What Color Does to Room Size
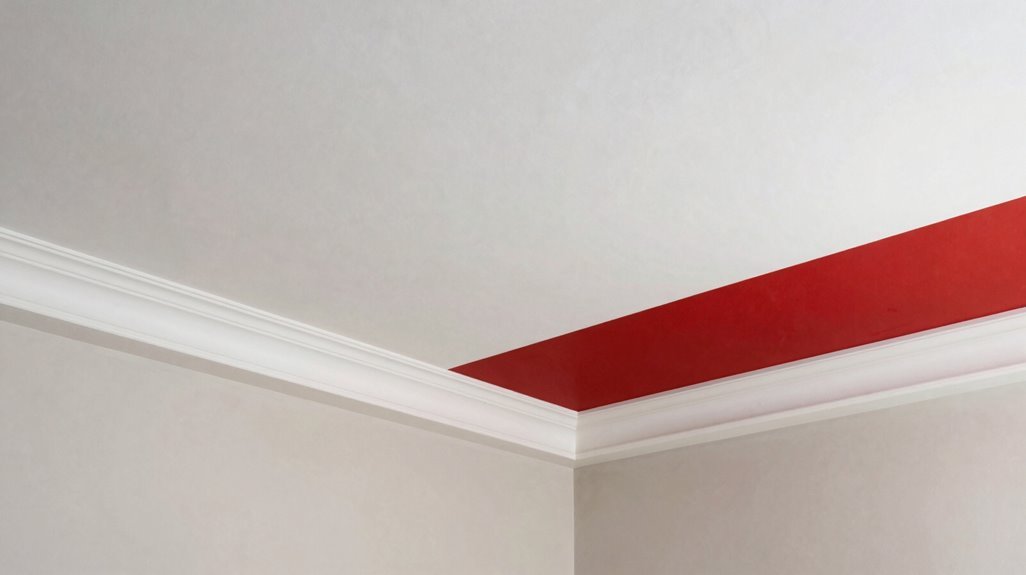
Why settle for a forgettable fifth wall when paint offers the fastest, most cost-effective change available? Your ceiling color directly controls room size perception, and you have clear options to master this effect.
- Select your base strategy. A white ceiling reflects maximum light, expanding vertical space visually. Bold hues; navy, black, warm terracotta; create a dramatic ceiling that compresses height intentionally, adding intimacy to oversized rooms.
- Apply light and dark contrast purposefully. Pair dark painted ceilings with pale walls to draw eyes upward, anchor furniture groupings, and generate visual impact without structural investment.
- Calculate spatial effects precisely. Dark ceilings absorb 40-60% more light than white surfaces; use them only in rooms exceeding 200 square feet with adequate window illumination.
- Execute ceiling patterns for correction. Stripes, stencils, or geometric designs disguise uneven plaster, soffits, or bulkheads while delivering mood change through controlled repetition.
Add Structural Detail: Exposed Beams, Coffers, and When to Hire a Pro
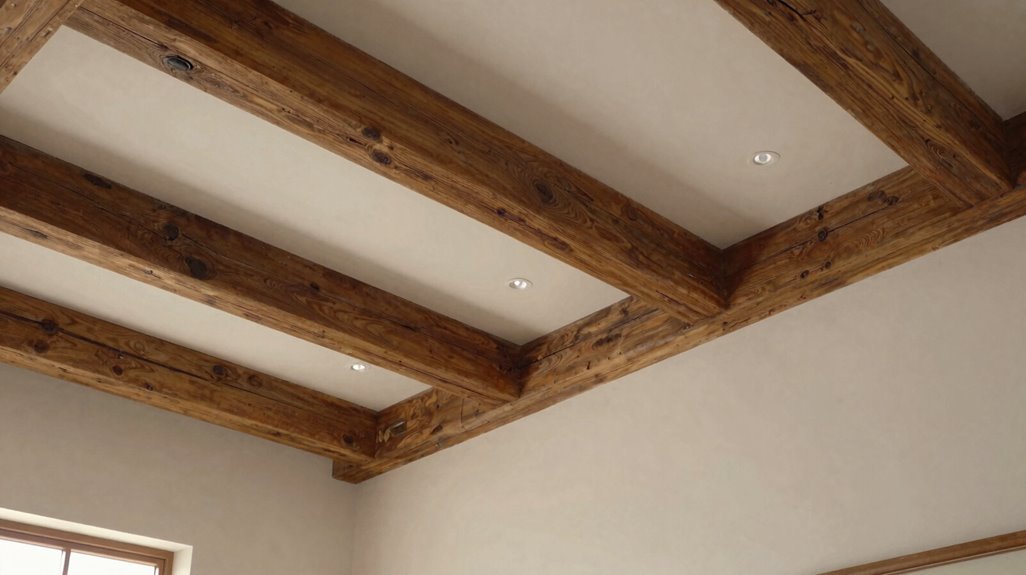
Paint changes perception, but structure changes architecture. You change your space when you add structural detail that commands attention from above.
Paint shifts perception; structure transforms architecture. Command attention from above to fundamentally change your space.
Consider exposed beams for rustic warmth or industrial edge. Wooden beams in oak, pine, or reclaimed timber shift ceiling height perception dramatically, especially with whitewash or dark stain finishes. You’ll anchor your room’s character through these architectural features.
For refined luxury, install coffers, a grid of recessed panels creating depth and shadow. Paint contrasts within each recess amplify the dimensional effect. Lighting integration proves essential: recessed LED strips within coffers highlight texture and extend visual boundaries.
Professional installation becomes non-negotiable here. Precision alignment demands expertise, particularly with load-bearing elements. You risk structural failure without proper support calculations. Hire certified contractors for complex ceiling modifications, ensuring safety codes and precise execution.
Use Wood Finishes: Paneling, Planks, and Shiplap Styles Compared
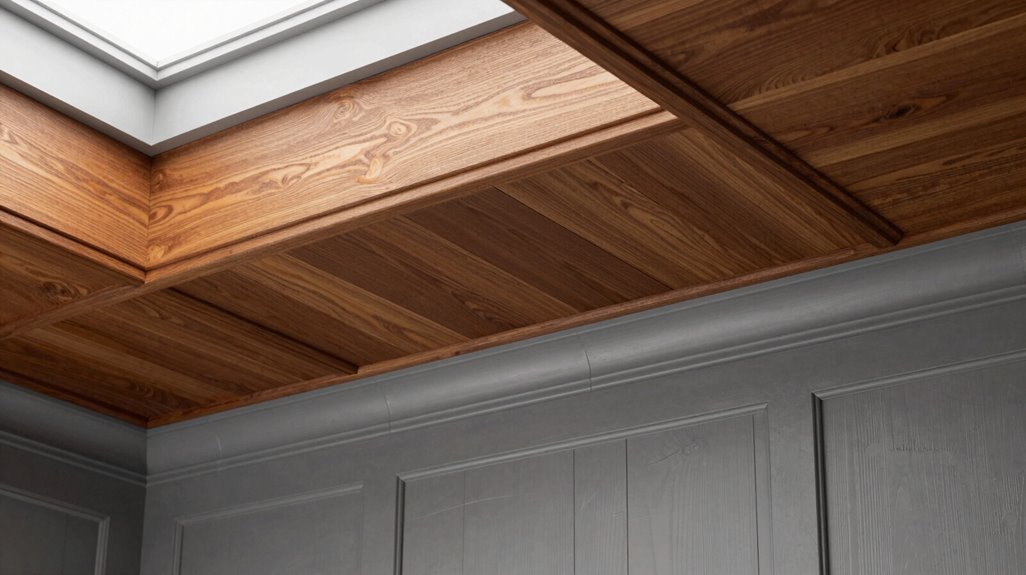
How do you choose between paneling, planks, and shiplap when wood finishes offer such distinct architectural outcomes? You evaluate your space’s structural needs, your desired ambiance, and your lighting integration requirements before selecting your wood ceilings material.
Consider these decision factors:
Paneling delivers finished, custom appearances with herringbone or geometric patterns for sophisticated character.
Planks create straightforward, linear texture, brightening rooms when you select lighter woods, darkening them for drama.
Shiplap provides farmhouse or coastal warmth, functioning painted white or stained bold per your aesthetic.
Beams add rustic dimension in open-concept layouts, supporting atmospheric lighting solutions.
Lighting integration demands coffered panels or edge illumination to balance texture visibility with functional brightness.
You’ll achieve optimal results when you match your wood selection to your ceiling’s structural capacity, your room’s proportions, and your established design vocabulary.
Try Metallic or Wallpaper: Tin Tiles, Patterns, and Textured Ceilings
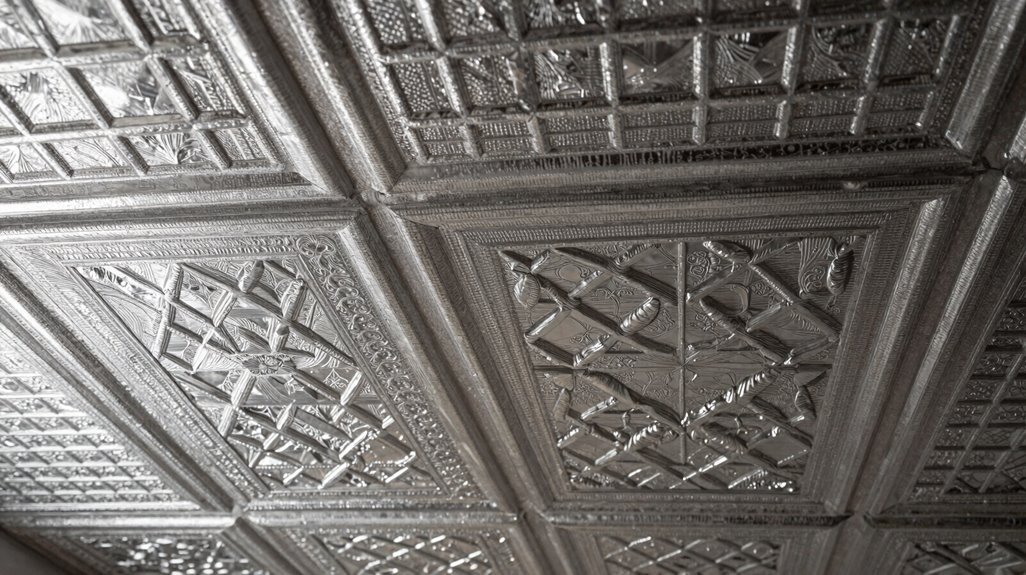
After you’ve selected your wood finish and established your ceiling’s structural foundation, you’re ready to incorporate surface materials that deliver immediate visual impact without permanent construction.
Install tin tiles for embossed textures and metallic sheen, creating vintage industrial ceiling decor in 12×12-inch or 24×24-inch panels.
Apply wallpaper ceilings with floral, geometric, or abstract ceiling patterns; select grasscloth or embossed textures for dimensional tactile quality.
Choose mural options such as starry nights, clouds, or whimsical forests for immersive ceiling statements within 4–8 hour installation timeframes.
Combine textured ceilings with decorative plaster to emphasize relief and shadow play across 100–400 square foot surfaces.
Execute coordinated ceiling-wall design by matching ceiling patterns to wall colors and furnishings, maintaining visual cohesion throughout your space.





