
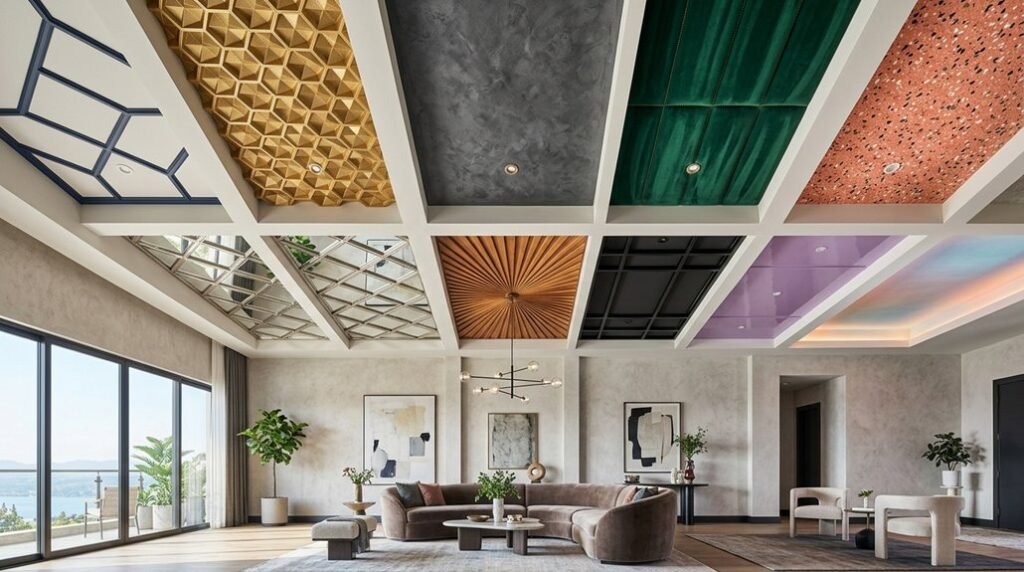
White ceilings keep rooms safe; bold ceilings make spaces work harder. You’ll turn forgotten overhead real estate into a functional tool that controls perceived dimensions, directs attention, and solves spatial problems.
Choose wrong, and you compress your room. Choose right, and you gain architectural leverage without moving a single wall.
Ready to engineer your ceiling?
Ceilings as Statement Pieces: Beyond Basic White
Why stop at your walls when you have five unused surfaces overhead? You’re missing prime real estate if you ignore ceiling design in your home transformation strategy.
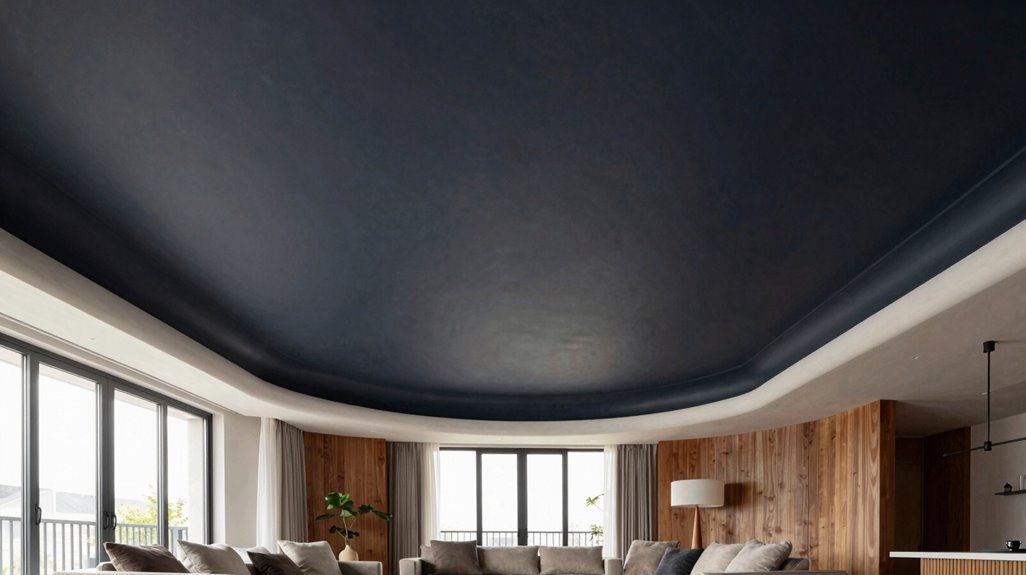
Accent ceilings deliver measurable spatial impact. You’ll alter perceived room dimensions immediately; dark bold colors compress vertical space for intimacy, while lighter tones expand it. Apply navy or charcoal in rooms exceeding 10-foot heights with 150+ square feet of window exposure.
Texture creates depth without visual chaos. Install plaster finishes, geometric wallpaper, or MDF paneling at 15-20% coverage ratios for optimal effect.
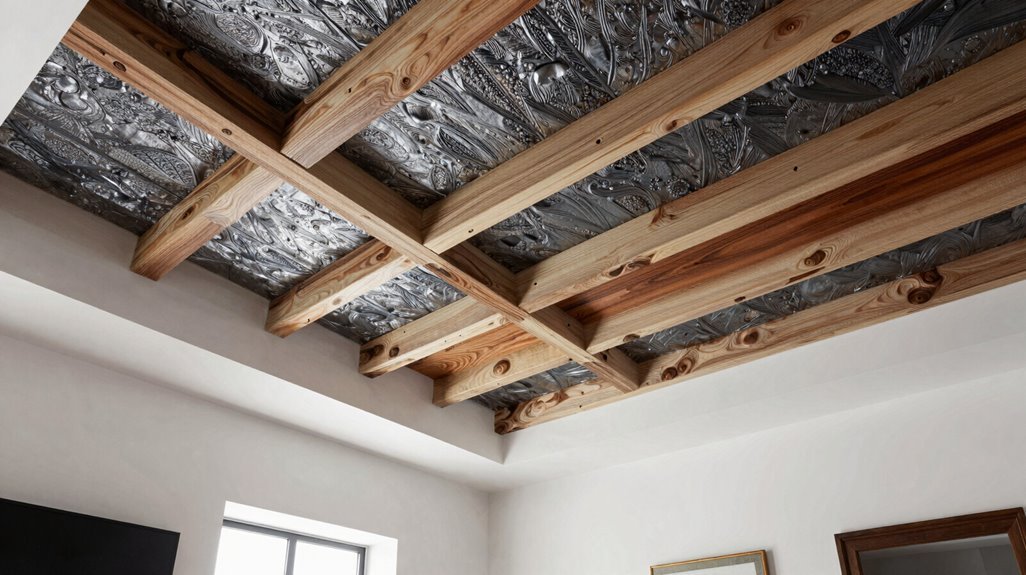
Wood beams generate thermal comfort through material psychology. Specify reclaimed oak or pine beams, 4-6 inches in width, spaced 24-48 inches apart across living zones, kitchens, or sleeping areas.
Decorative ceilings—tin tiles, coffered grids, or fretwork patterns—provide architectural hierarchy. Select designs matching your interior period: Victorian tin for pre-1940 structures, minimal coffering for post-2000 builds.
How to Choose the Right Accent Ceiling for Your Space
Where exactly do you begin when dozens of ceiling treatments compete for your attention? You start by measuring your ceiling height and assessing your room space, because these dimensions dictate every choice that follows.
Begin with your ceiling height and room dimensions—they dictate every treatment choice that follows.
1. Evaluate Your Architecture
Standard 8-9 foot ceilings demand careful pattern scale management. You select geometric designs under 12 inches wide to prevent visual compression.
2. Coordinate Your Systems
You plan lighting simultaneously, recognizing that darker color and finish selections require 20-30% more lumens for equivalent brightness.
3. Align Your Aesthetic
You match your interior style precisely: modern spaces accept metallic finishes, traditional rooms welcome plaster textures, rustic environments favor exposed beams.
4. Test Before Committing
You utilize online visualization tools and style quizzes, sampling materials against your existing décor for 48-72 hours before final selection.
Your ceiling works as a unified element with the entire room, completing the space without dominating it.
Painted Accent Ceilings: Fast, Cheap, and Dramatic
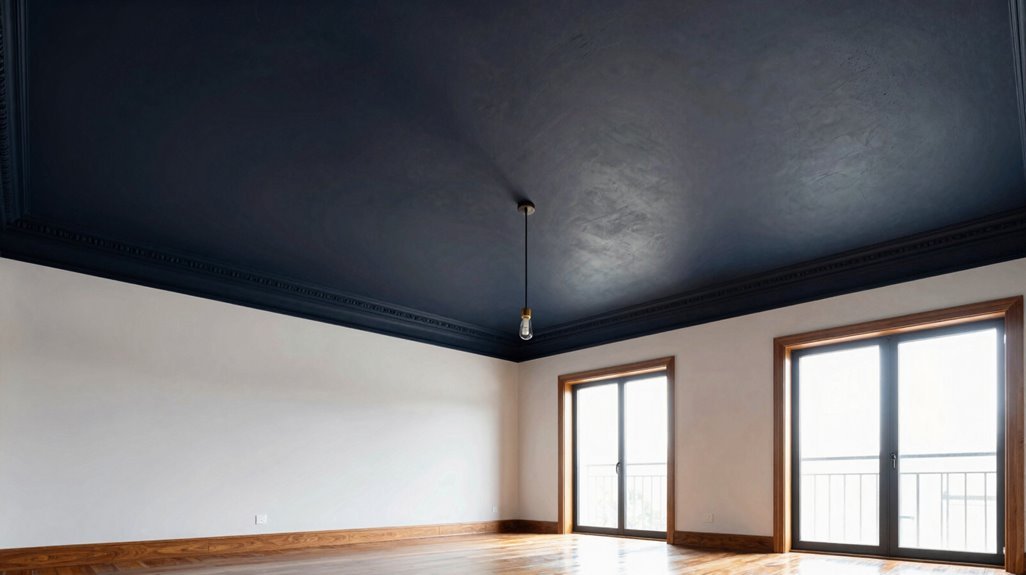
Paint transforms your ceiling faster and cheaper than any other medium, providing maximum visual impact with minimal investment. You create a painted accent ceiling by selecting a bold color that establishes your room’s personality, whether you seek drama or cohesion.
- Choose your approach: Apply dark hues like navy or charcoal to absorb light and lower high ceilings visually, or select lighter shades for standard 8-foot ceilings to preserve openness.
- Plan your lighting: Darker ceiling colors require additional lighting sources: install uplights or recessed fixtures every 4-6 feet to prevent dimness.
- Test before committing: Apply samples in inconspicuous corners. Begin with small 10×10 rooms to evaluate the striking result.
- Decide on contrast: Contrast ceiling color against walls to energize zones, or match for tranquil unity.
Stripes and geometric patterns disguise architectural flaws while adding visual interest.
Dark Accent Ceilings: Making Cozy Work in Any Room
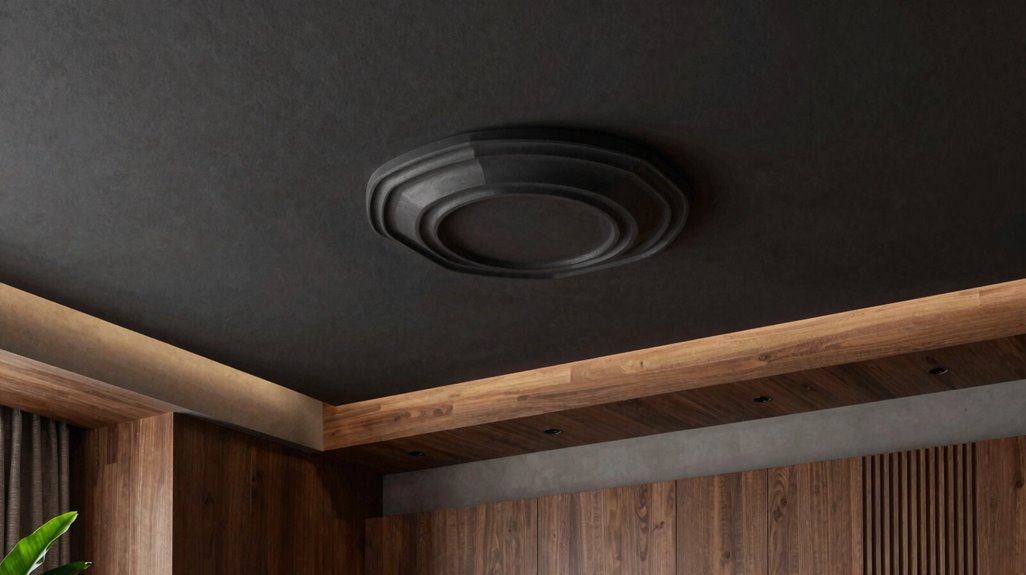
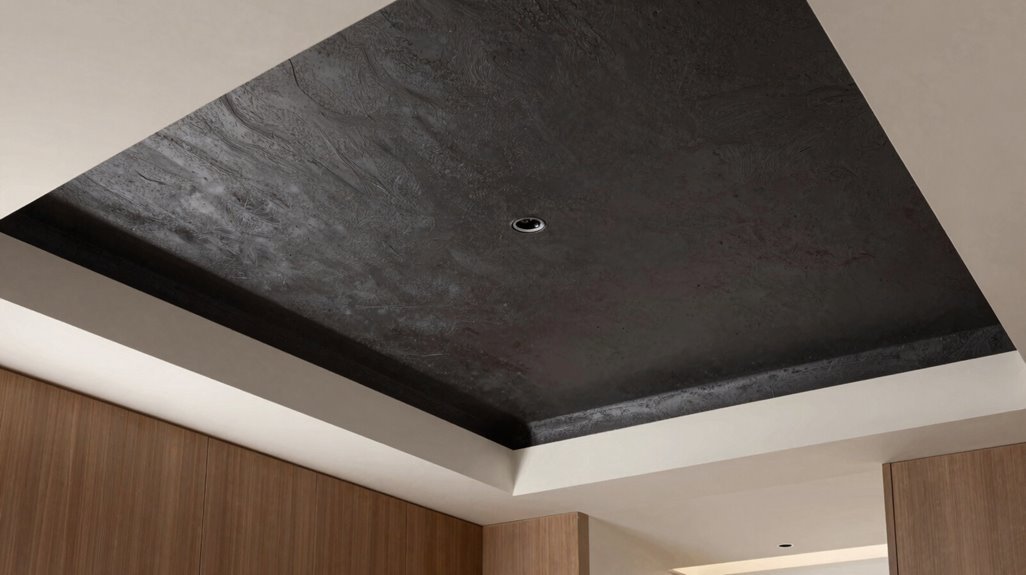
How do you make a vast, echoing room feel like a refuge? You paint dark ceilings in navy or charcoal, absorbing excess light to create intimacy. You’ll visually lower your ceiling line, converting tall, impersonal spaces into snug, welcoming environments.
Pair your dark ceilings with lighter walls to maximize contrast. This combination highlights architectural elements, making exposed beams into striking centerpieces. Install strategic lighting, such as uplighting or recessed fixtures, to add dimension and prevent confinement.
You’ll need sufficient square footage and natural light for this technique to succeed. Smaller, darker rooms require lighter ceilings instead. Balance your dark ceilings with metallic fixtures for high-contrast drama that feels deliberate, not heavy.
When you execute this correctly, you create a space where people gather naturally, feeling enclosed without restriction.
Wood Plank Accent Ceilings: DIY-Friendly Warmth
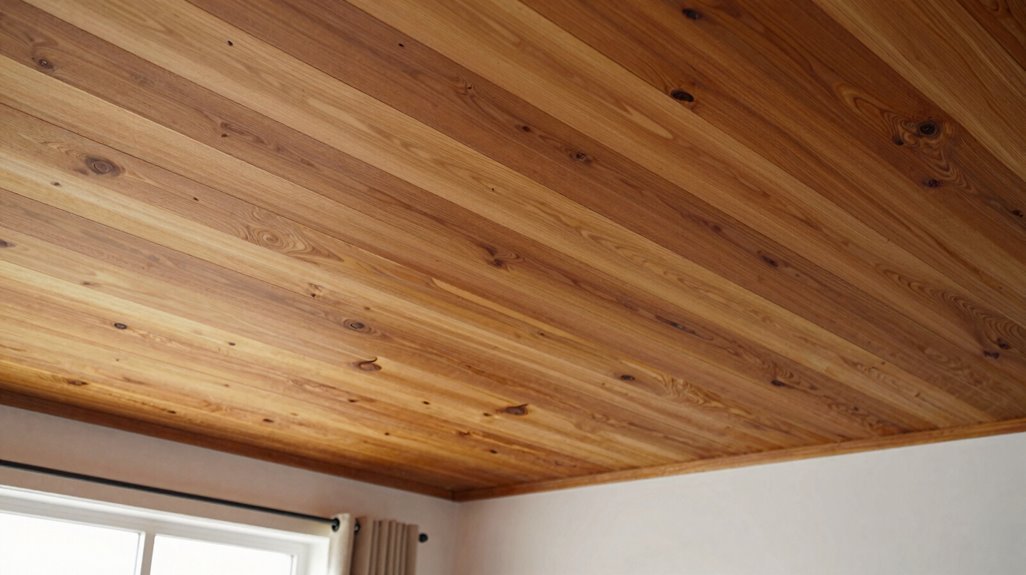
Why settle for flat, forgettable ceilings when you can install dimensional wood surfaces that command attention? Wood planks deliver ceiling warmth and rustic charm through accessible DIY methods that give your room a new character.
Materials and Specifications:
| Component | Measurement | Purpose |
|---|---|---|
| Plywood strips | 1/8 inch thickness | Base material |
| Spacing gap | 1/4 inch | Ceiling texture definition |
| Finish coat | Polyacrylic | Moisture protection, 5-year durability |
Installation Protocol:
- Orient wood planks perpendicular to existing ceiling structure
- Secure with air compressor and brad nailer
- Seal all surfaces to prevent warping
Select from reclaimed wood, polished planks, or shiplap based on your desired aesthetic intensity. Planks installation requires minimal specialized tools, making this project achievable for committed homeowners seeking dimensional ceiling texture without professional contracting costs.
Beams and Slats: Architectural Interest Without Full Replacement
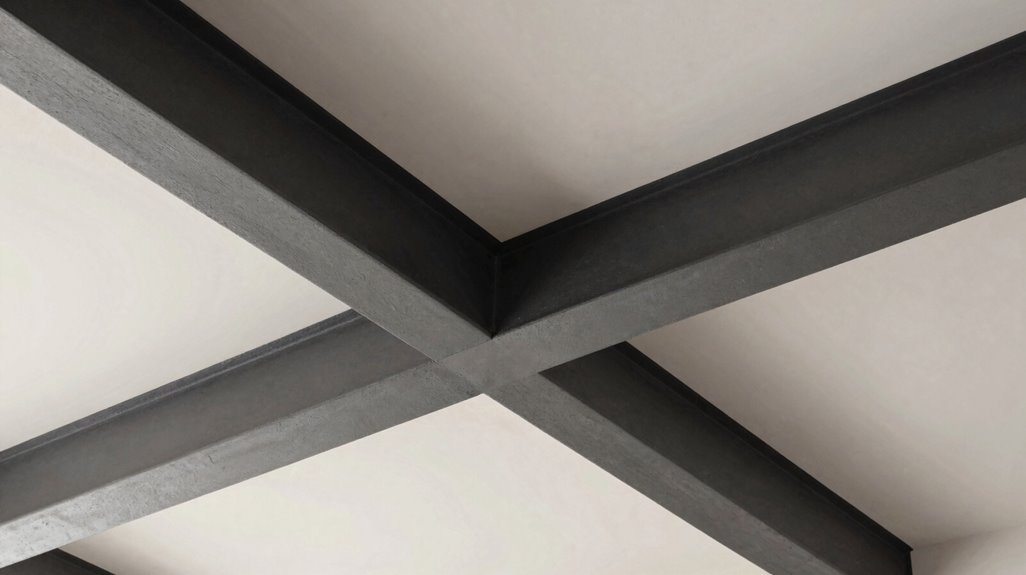
Where can you add dramatic structure without tearing down your existing ceiling? You’ll find your answer in beams and slats, the decorative ceiling treatment that delivers architectural interest with minimal demolition.
You install faux beams crafted from 1×6 lumber across 9-foot spans, predrilling holes and aligning with joist guidance for secure placement. You paint edges white for seamless integration. You extend slat designs from walls onto the ceiling, using spacers and crisscross nail angles to maintain straight, cohesive lines. You pair painted ceilings with these elements for bold color contrast.
- Measure joist locations before cutting any material
- Space slats 2-4 inches apart for optimal visual rhythm
- Predrill all holes to prevent lumber splitting
- Paint edges prior to installation for cleaner results
- Use construction adhesive plus nails for lasting hold
Textured Accent Ceilings: Plaster, Wallpaper, and Panel Options
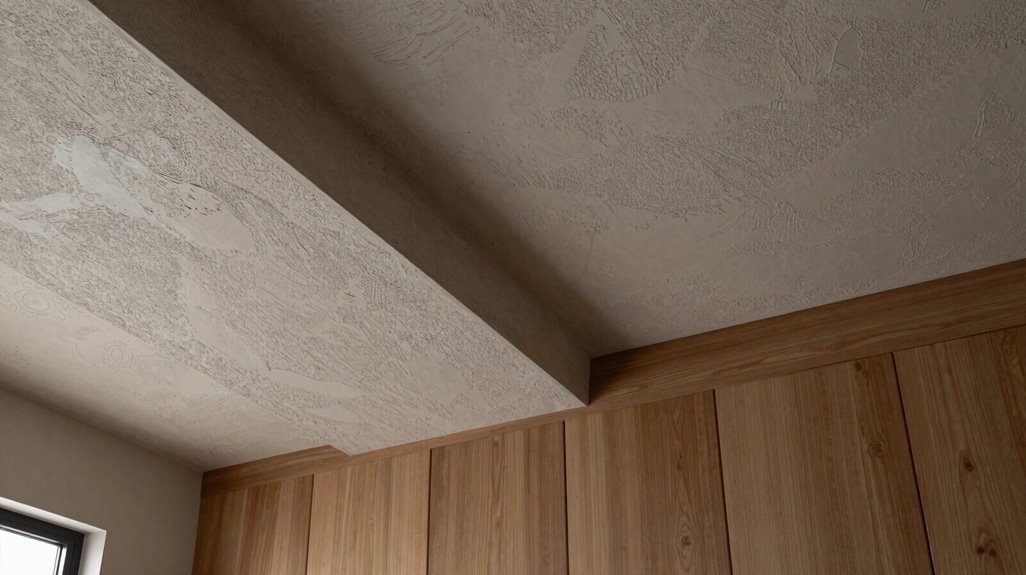
What methods transform a flat ceiling into a dynamic architectural surface? You achieve this through textured ceilings using plaster, wallpaper, or paneling.
Apply plaster in layers ranging from subtle stipple to bold stucco. These finishes diffuse light unevenly, creating dramatic shadows that add depth throughout your space.
Layered plaster transforms your ceiling into a canvas of light and shadow, adding architectural depth without structural changes.
Install wallpaper with patterned or metallic finishes overhead. You’ll need molding at seams to conceal edges, guaranteeing a polished, continuous appearance.
Choose wood paneling such as shiplap or planks for warmth. Natural, stained, or painted finishes adapt to your existing palette.
Explore paneling options including fretwork or beamed designs. Each technique introduces architectural detail, helping you define zones within open floor plans.
These approaches turn flat surfaces into dimensional features, establishing visual hierarchy without structural modification.
Coffered and Detailed Accent Ceilings: Investment-Level Impact
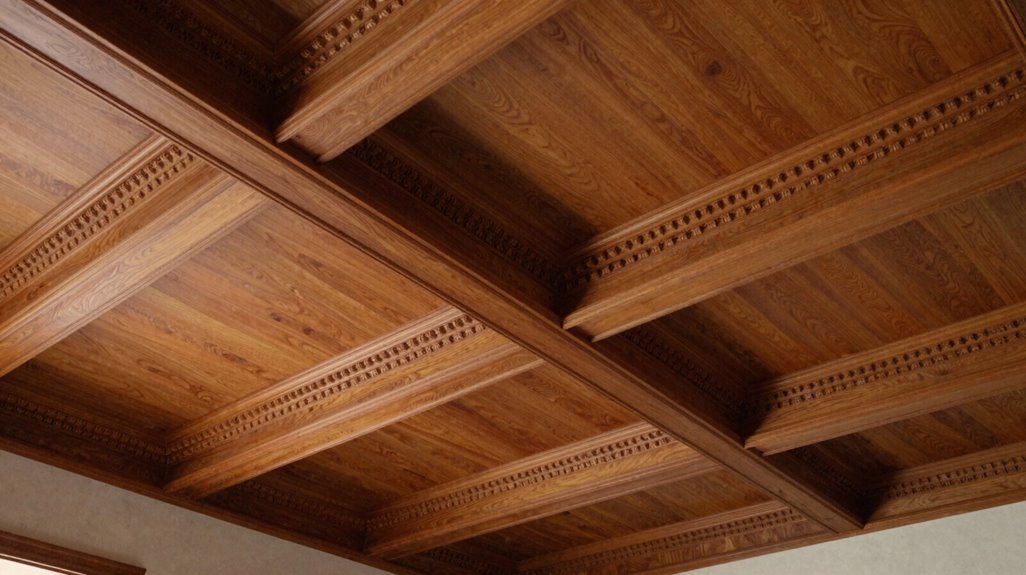
You’ll achieve architectural depth definition by installing a coffered grid of recessed panels, typically spaced 24 to 36 inches apart, which creates depth in both traditional and contemporary spaces while visually raising ceiling height by 6 to 12 inches of perceived dimension. If you seek traditional elegance, select molding profiles ranging from 3-inch intricate crown to 1-inch sleek minimalist strips, coordinating with recessed lighting positioned at grid intersections to emphasize structural geometry.
Given installation complexity considerations, including precise joist mapping, load-bearing beam placement, and potential HVAC conduit concealment requiring 4 to 6 inches of vertical clearance, you’ll need professional carpentry to maintain level alignment within 1/8-inch tolerance across 10-foot spans.
Architectural Depth Definition
How does a ceiling command attention without overwhelming the space beneath it? You install coffered ceilings, creating architectural depth through precise repetition of recessed panels and intersecting beams. This technique changes flat surfaces into dimensional compositions that expand vertical space without structural modification.
You define open-plan zones by installing coffered grids above specific functional areas, establishing visual boundaries without walls. The framework requires 3-4 inch recessed panels, finished with crown moldings and contrasting paint to emphasize shadow lines. Standard installations span 8-12 feet per coffered module, scaling proportionally to room dimensions.
Recessed panels create measurable depth perception. Moldings establish categorical style boundaries. Grid patterns organize spatial hierarchy. Shadow lines expand perceived ceiling height. Modular systems adapt to existing structural constraints.
Traditional Elegance Appeal
Coffered ceilings deliver investment-level impact when you prioritize traditional elegance through meticulous detailing and premium finishes.
You install coffered ceilings to generate architectural interest through recessed grids that expand perceived ceiling height. Select molded moldings ranging from intricate classical profiles to streamlined contemporary edges, matching your existing interior vocabulary. Apply ceiling color strategically: deep tones recess visually while gilded or painted finishes amplify traditional elegance.
You define open-plan zones by installing coffers above specific functional areas, creating implicit boundaries without walls. Coordinate your molded moldings with ornate fixtures to reinforce cohesive traditional elegance. This solution requires structural modification, precise alignment, and potential custom millwork, but you achieve categorical elevation of spatial hierarchy through deliberate architectural interest and disciplined material selection.
Installation Complexity Considerations
Why does installation complexity vary so dramatically between coffered systems? You’re navigating grid patterns, joist layouts, and moldings that demand precision, while detailed accent ceilings push you toward specialized fabrication and exact lighting alignment. Your investment-level ceiling requires understanding where costs accumulate and risks hide.
- Assess your joist spacing before selecting beam depth, since irregular framing demands custom solutions
- Calculate scaffolding needs for ceilings exceeding 9 feet, as height multiplies labor hours significantly
- Verify structural support capacity when using solid wood systems exceeding 15 pounds per square foot
- Budget materials cost at 40-60% above standard drywall, factoring custom millwork and premium finishes
- Schedule professional installation for projects requiring lighting alignment within 1/8-inch tolerance
You’re building something lasting. Accept that professional installation protects your timeline, guarantees finish quality, and validates structural integrity through proper inspection protocols.
Metallic and Mirrored Accent Ceilings: Small-Space Tricks
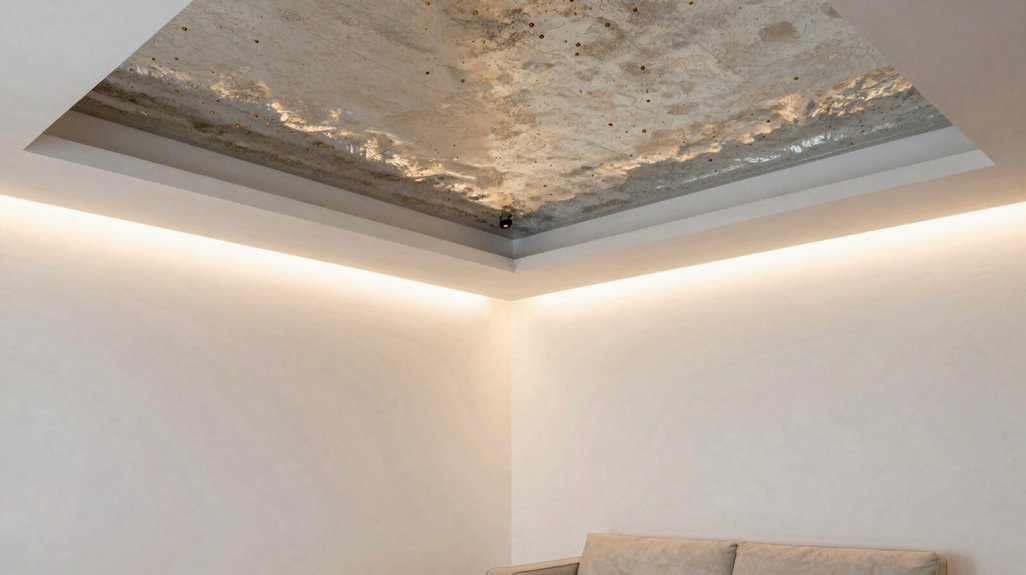
Where should you look when every square foot counts? Up.
Metallic finishes and mirrored ceilings change cramped quarters through strategic light reflection. You’ll achieve dramatic space enhancement when you position these surfaces to capture and redistribute illumination.
Consider these elements for maximum impact:
- Metallic finishes: Apply bronze or brushed nickel for subtle depth, or tin tiles for vintage character.
- Mirrored ceilings: Install panels to visually double your ceiling height through reflected light.
- Lighting plan: Integrate recessed fixtures and uplights to activate metallic sheen and eliminate shadows.
- Contrast brightness: Pair reflective ceilings with lighter walls to amplify perceived dimensions.
Avoid highly reflective surfaces exceeding 30% coverage, as glare compromises comfort. You’ll balance sophistication with liveability when you deploy restraint. Cost ranges: $8-15 per square foot for metallic paint, $25-40 for custom mirror installation.
Accent Ceiling Installation: Budget, Timeline, and Pro Hiring
Before you commit to an accent ceiling, assess your ceiling height, existing lighting, and project scope to build an accurate budget and timeline. Patterned or textured installations demand higher labor costs and extended schedules due to precision cutting, alignment, and finishing requirements.
You should hire ceiling specialists, those experienced with beams, coffers, or wallpapered surfaces, to confirm structural compatibility and deliver durable, professional results.
Budget Planning Essentials
How much should you actually set aside before committing to an accent ceiling? You’ll need a comprehensive budget that covers materials, installation, lighting adjustments, and ongoing maintenance demands. Material costs fluctuate dramatically based on your selection, ranging from economical wallpaper to premium wood planks or custom panels.
Factor installation expenses separately, recognizing that complex layouts demand professional expertise and extended timelines. You should also anticipate maintenance requirements, particularly in moisture-prone spaces like kitchens and bathrooms where resealing becomes essential. Establish a contingency fund of 10–20% to absorb surprises, including ceiling height complications or lighting repositioning needs.
- Calculate total material square footage with 10% waste allowance
- Request three contractor estimates before finalizing installation
- Schedule lighting evaluation during initial planning phase
- Research humidity-resistant finishes for maintenance reduction
- Reserve contingency funds exclusively for structural modifications
Hiring Installation Experts
Why gamble with your investment when selecting the right installation professional determines whether your accent ceiling succeeds or fails? You need a contractor who brings your vision to life without costly mistakes.
1. Gather Multiple Quotes
Request three to five detailed quotes itemizing materials, labor, preparation, and demolition costs. Compare these quotes line-by-line to identify hidden fees and make accurate budget comparisons.
2. Verify Credentials
Check licenses, insurance, and request photos of previous accent ceiling installations. Contact references to confirm workmanship quality.
3. Understand Timelines
Simple projects require 1–2 days; complex coffered ceilings demand several weeks. Confirm finish curing times with your contractor.
4. Secure Comprehensive Contracts
Your agreement must specify scope, timeline milestones, warranty terms, and change-order procedures. Discuss lighting integration early, confirming electrical coordination for LED strips or recessed fixtures.





