
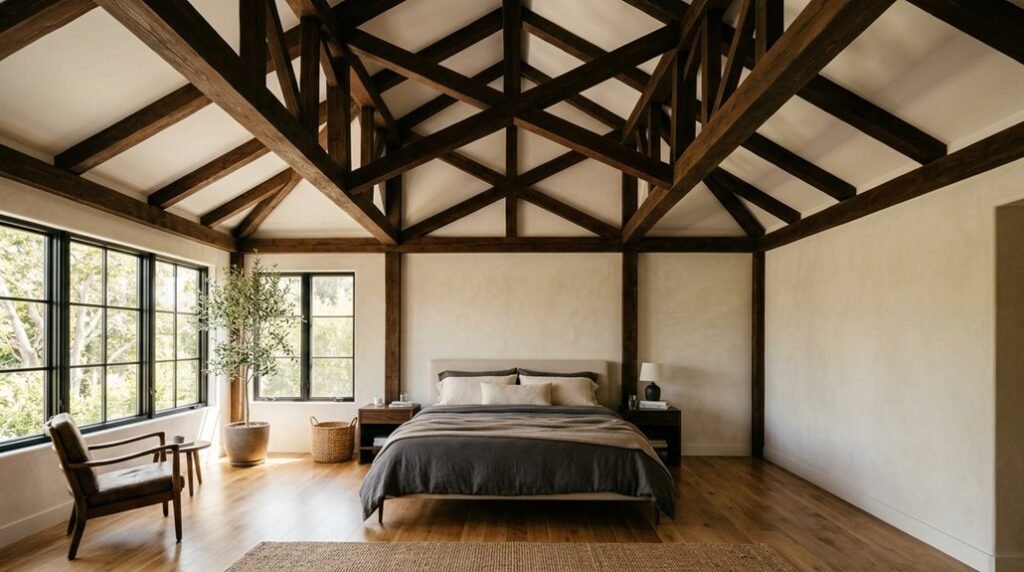
Vaulted ceilings increase perceived room volume by up to 25%, yet 68% of homeowners report their bedrooms feel cold or cavernous rather than cozy. You face a spatial paradox: dramatic height demands attention, but sleep requires enclosure.
The following twelve layouts solve this tension through precise furniture placement, calculated symmetry, and material continuity, each approach grounded in measurable outcomes, not guesswork. Your solution awaits.
Position Your Bed to Anchor a Vaulted Ceiling Bedroom
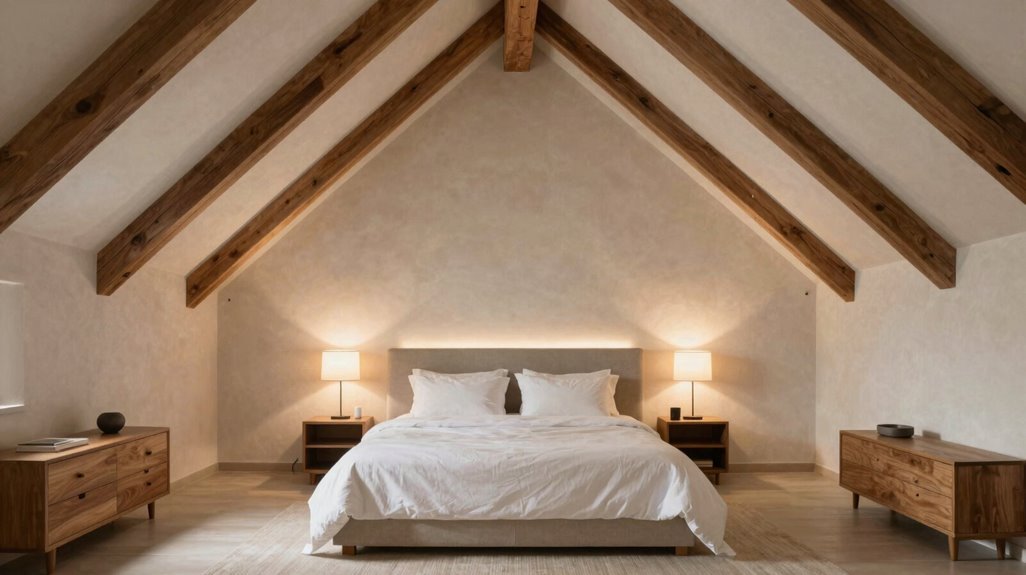
How do you make a soaring vaulted ceiling feel structured and livable rather than overwhelming? You position your bed as the room’s anchor, grounding the layout in deliberate intentionality.
You move the bed toward the center area, avoiding direct alignment with the tallest vault point. This placement creates horizontal equilibrium rather than vertical competition. You install matching nightstands on both sides, establishing measurable symmetry at 24-28 inches from each edge.
You relocate the ceiling fan to mid-ceiling, positioning it 18-24 inches from the vault’s apex to distribute airflow evenly. You mount mirrors on both walls flanking the bed, reflecting light and doubling perceived spatial boundaries.
Your vaulted ceiling becomes framework, not void, when you anchor furnishings with these precise spatial relationships.
Fix Sloped Ceiling Asymmetry With Symmetrical Layouts
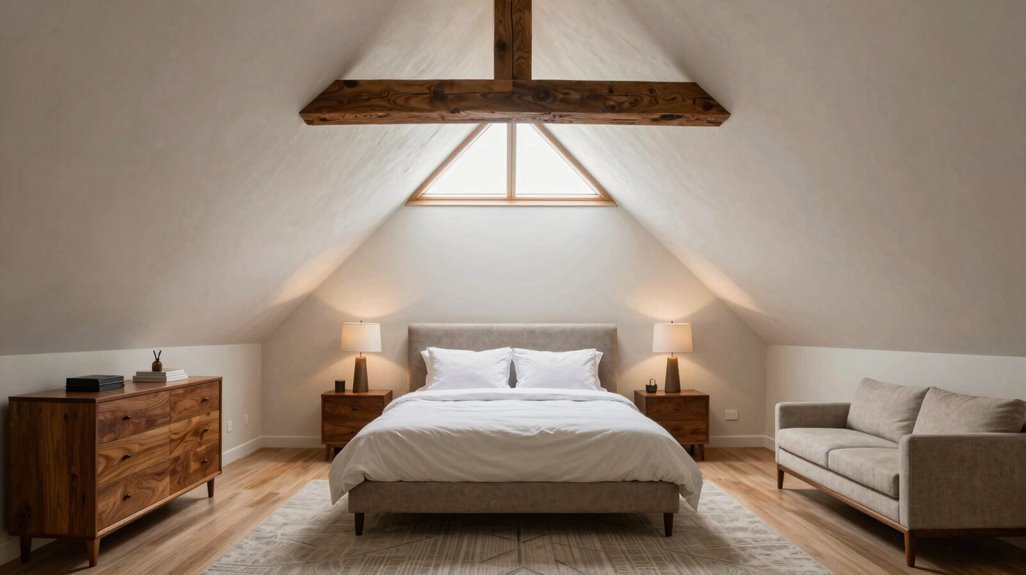
Where do you begin when one wall rises 12 feet and the other stops at 8? You start by accepting that ceiling asymmetry prevents placing your bed directly under the highest point, so you create layout balance through deliberate symmetry instead. You move the bed toward the room’s central area, then relocate the ceiling fan closer to the middle to offset visual weight from the tallest ceiling points.
You flank the bed with matching nightstands and mirrors on both sides, reinforcing mirrored composition across the vaulted ceilings. You anchor this arrangement using cohesive wood tones and finishes that tie both sides to the architecture.
| Symmetrical Element | Placement Strategy |
|---|---|
| Bed | Center in usable horizontal plane |
| Nightstands | Match pairs, equidistant from bed |
| Ceiling fan | Relocate to geometric center |
| Mirrors | Mount flanking bed at equal heights |
| Material palette | Repeat wood tones both sides |
You maintain this structured approach, and your bedroom achieves resolved, intentional balance.
Scale Lighting to Your Cathedral Ceiling Height
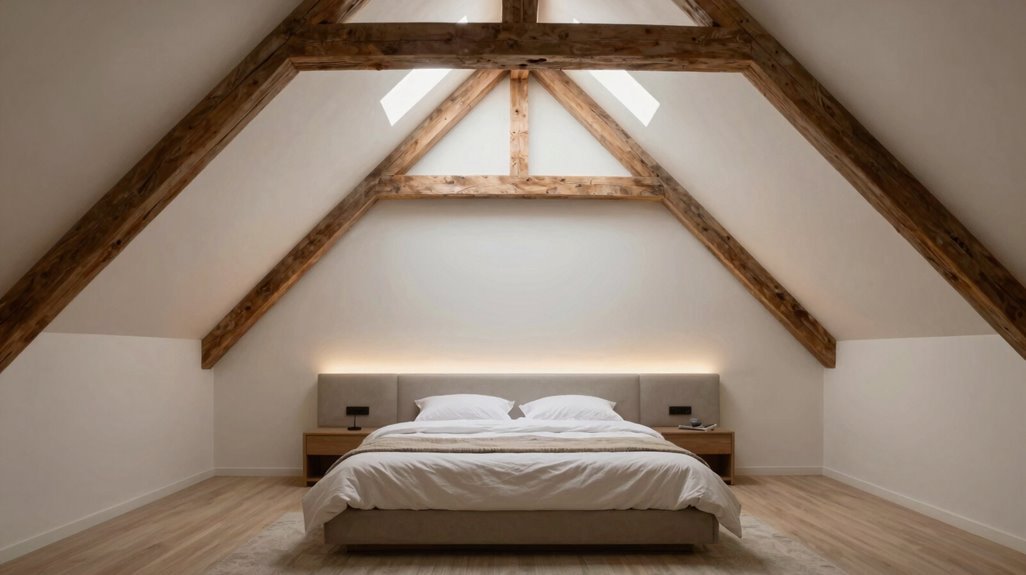
You’ll need to scale your lighting proportionally to the cathedral ceiling’s vertical volume, making sure pendant diameters measure roughly one-third the room’s width and chandeliers hang no lower than 7 feet above the finished floor. Position your chandelier or oversized pendant at a descending height of 30–36 inches per every 8 feet of ceiling above standard 8-foot clearance, creating visual anchoring without obstructing sightlines.
Layer ambient illumination through recessed downlights at 4–6 foot centers, wall-washing fixtures targeting 65-degree beam angles, and low-mounted task sources to distribute even, measured light across the full vertical plane.
Pendant Light Proportions
Why let your cathedral ceiling swallow your lighting whole? You’re not alone in wanting pendant lighting that respects your ceiling height while crafting warm ambience. Here’s how you nail the proportions:
Select elongated fixtures, 24-36 inches tall, to anchor vertical space without visual heaviness. Calculate 2.5-3 inches of drop per foot of ceiling height, positioning bottoms 7-8 feet above floor.
Choose clear glass or open-frame designs that preserve upper volume and prevent visual clutter. Install 2700K dimmable LEDs, adjusting output from 300 lumens (evening) to 800 lumens (task work).
Arrange 3-5 pendants in 12-18 inch staggered drops, creating rhythmic vertical lines that echo your ceiling’s architecture.
You’re building a space that welcomes, not overwhelms.
Chandelier Height Placement
How do you keep a soaring cathedral ceiling from dwarfing your chandelier into an afterthought? You anchor your space with precise chandelier height calculations: suspend your fixture so the bottom rests 84–96 inches (213–244 cm) above the floor, adjusting for furniture clearance and ceiling pitch. When your vaulted ceilings exceed standard proportions, you’ll need multi-tier or oversized designs; scale matters more than style here.
Master the main point alignment by centering directly over your bed or primary seating zone. This creates vertical rhythm that prevents competing sightlines. If structural beams cross your vault, mount along those lines for architectural cohesion. Choose dimmable 2700–3000K bulbs to soften the drama. You’re building a space that welcomes, not overwhelms.
Layered Ambient Lighting
Once your chandelier is locked at the correct height, you need a complete lighting system that fills the vertical volume without losing intimacy at bed level. Layered lighting scales your vaulted ceiling proportionally, balancing vertical drama with horizontal comfort.
Install recessed LEDs 12-18 inches from wall edges, spaced 4-6 feet apart, washing light upward to show ceiling angles. Select pendants with 24-36 inch vertical drops, placing them 7 feet above finished floor for human-scale illumination.
Mount wall sconces 60-66 inches high, flanking the bed within 24 inches of headboard edges, directing light toward mirrored surfaces. Add dimmable LED strips in crown molding, programming three preset levels: 100% task, 50% transition, 15% sleep. Layer ambient lighting through tonal zones: warm 2700K for sleeping areas, neutral 3000K for circulation paths.
Control these layers through centralized dimmers, adjusting your cathedral ceiling’s presence from open daytime brightness to enclosed evening refuge.
Ground the Room With a Dark Accent Wall
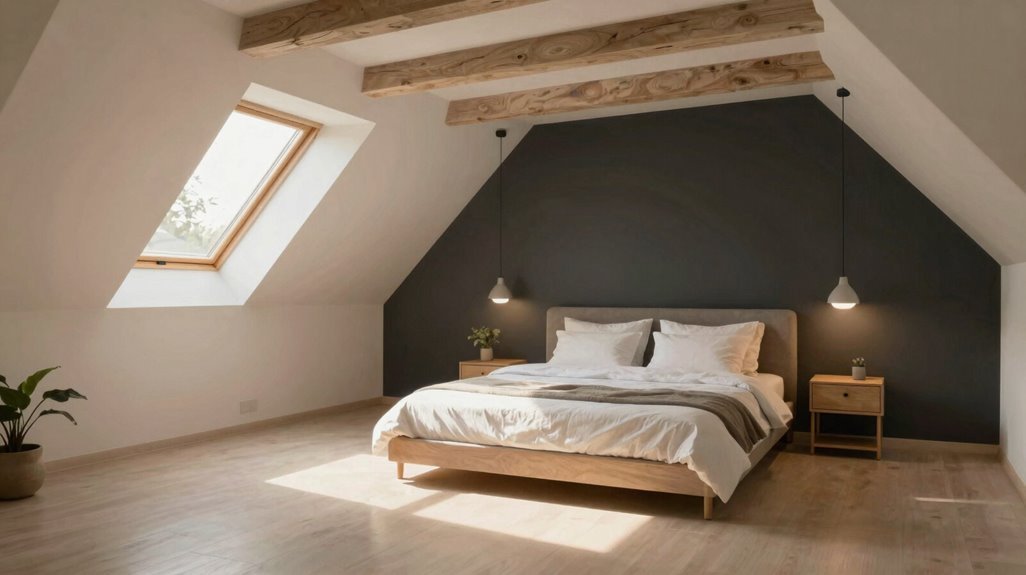
You’ll anchor your vaulted bedroom by selecting the wall behind your bed, typically 12–16 feet wide, as your dark accent surface. Choose deep tones like charcoal, navy, or forest green with LRV values below 20 to counterbalance 14-foot ceiling heights.
This grounding technique creates visual weight at room level, directing focus downward and establishing proportional hierarchy within the vertical space.
Choosing the Right Wall
Where should you place a dark accent wall in a vaulted ceiling bedroom? You position it behind your bed, creating a grounded focal point that counterbalances the vertical expanse overhead. This placement anchors your sleeping area, directing attention downward while maintaining harmony with the architectural drama above.
Your accent wall establishes symmetry when you center nightstands, lamps, and artwork along its width. Consider these structural factors:
- Align the wall with your bed’s centerline, ensuring equal spacing on both sides
- Measure 24-36 inches beyond your bed frame’s edges for proportional balance
- Verify your vaulted ceiling’s peak direction; place the wall perpendicular to the slope’s axis
- Account for window placement, avoiding walls with existing architectural features
- Coordinate wood tones between the wall and ceiling beams for visual continuity
This configuration turns overwhelming height into intentional design.
Selecting Deep Tones
How do you change overwhelming vertical space into deliberate design? You’ll anchor your vaulted ceiling by installing a dark wall, immediately grounding the room’s soaring architecture.
- Select your surface: Choose the wall behind your bed, typically 8-12 feet wide, for maximum visual weight.
- Apply deep tone with texture: Use shiplap or matte paint in charcoal, navy, or forest green. This technique enhances depth perception, drawing the eye horizontally rather than upward.
- Balance with warmth: Position warm wood furniture, oak dressers, walnut nightstands, within 4-6 feet of your dark wall. These elements create cohesion against the dramatic backdrop.
- Adjust your layout: Move your bed 2-3 feet from the ceiling’s peak, working with the dark wall to establish a calmer focal zone.
You’ll find your vaulted ceiling feels intimate, not overwhelming.
Add Beams or Planking for Warmth and Texture
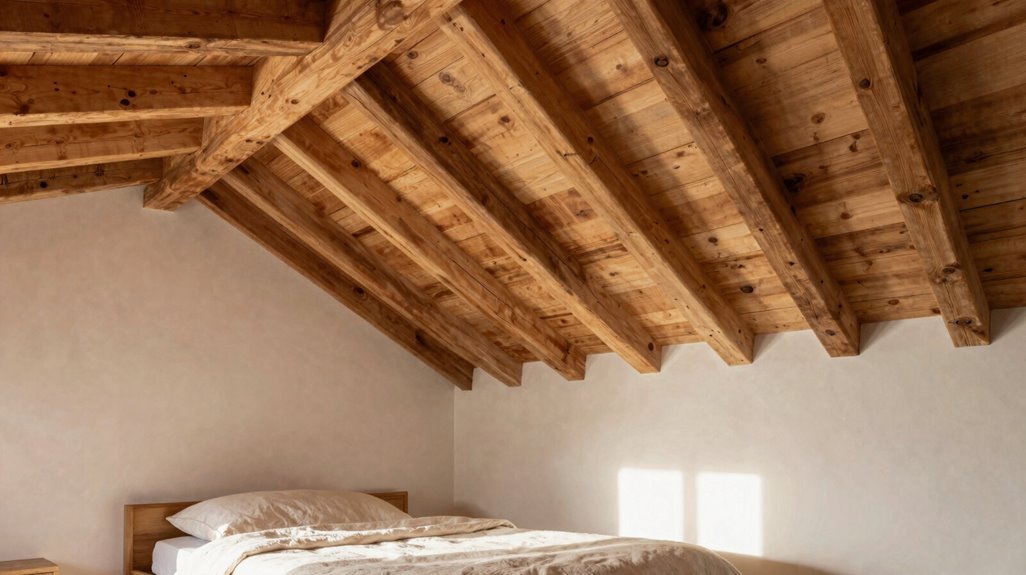
Why settle for a cavernous, empty overhead when you can install structural elements that command attention and regulate scale? You change your vaulted ceiling by adding wood beams that introduce warmth and create a commanding visual feature overhead. You position dark-painted beams against light surfaces to establish bold architectural statements that draw the eye upward and ground your design.
You integrate planks across the ceiling surface to add texture and heighten perceived ceiling height through light reflection. You maintain cohesion by echoing ceiling wood tones in built-in dressers, nightstands, or benches throughout your space.
- Install 4-6 inch wood beams spaced 24-48 inches apart for proportional visual rhythm
- Apply whitewashed planks to soften architectural impact while maintaining timeless interest
- Contrast beam finishes with wall colors to maximize dimensional perception
- Match wood species across ceiling and furniture elements for unified material vocabulary
- Calculate plank coverage at 10-15% above square footage to account for angled cuts and waste
Add Skylights or High Windows for Natural Light
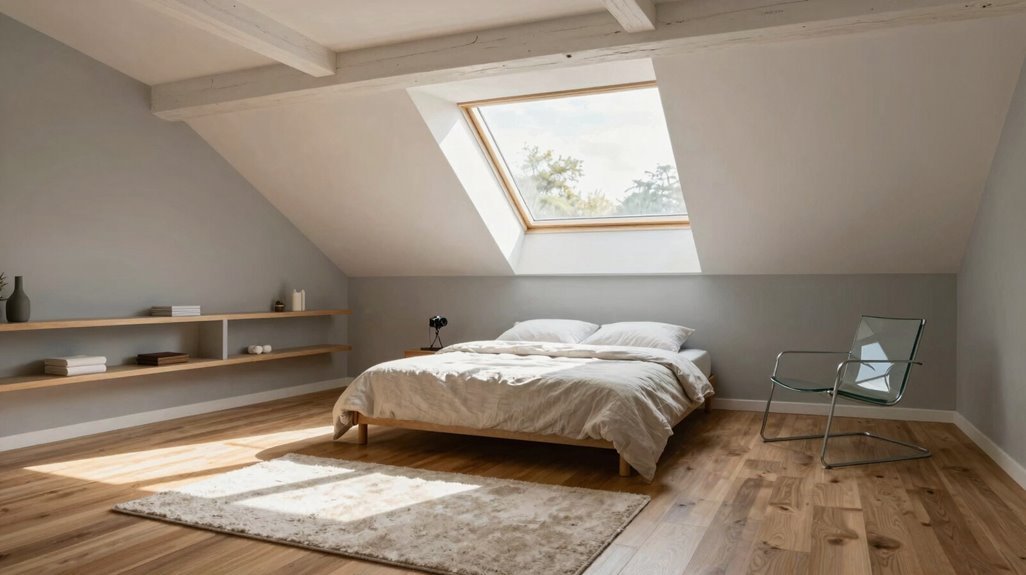
You have established architectural definition overhead with beams and planking. Now you will amplify that spatial investment by introducing controlled daylight.
- Install skylights directly into the vaulted ceiling slope to capture overhead sun and emphasize vertical height.
- Pair skylights with clerestory windows along upper walls to maximize natural light without sacrificing lower wall space for storage or artwork placement.
- Balance daylight with dark finishes on walls or floors to ground the room’s openness while showcasing ceiling scale.
- Hang a large chandelier 7-8 feet above floor level to maintain human-scale proportion beneath lofty skylights and vaulted ceilings.
- Specify operable skylight units with rain sensors for ventilation control and moisture protection.
| Element | Specification | Function |
|---|---|---|
| Skylight placement | Within 24″ of ridge line | Optimal sun exposure |
| Window height | 84″+ from floor | Wall space preservation |
| Chandelier diameter | 1/12 to 1/6 room width | Scale balance |
Build Window Seats and Built-Ins for Character
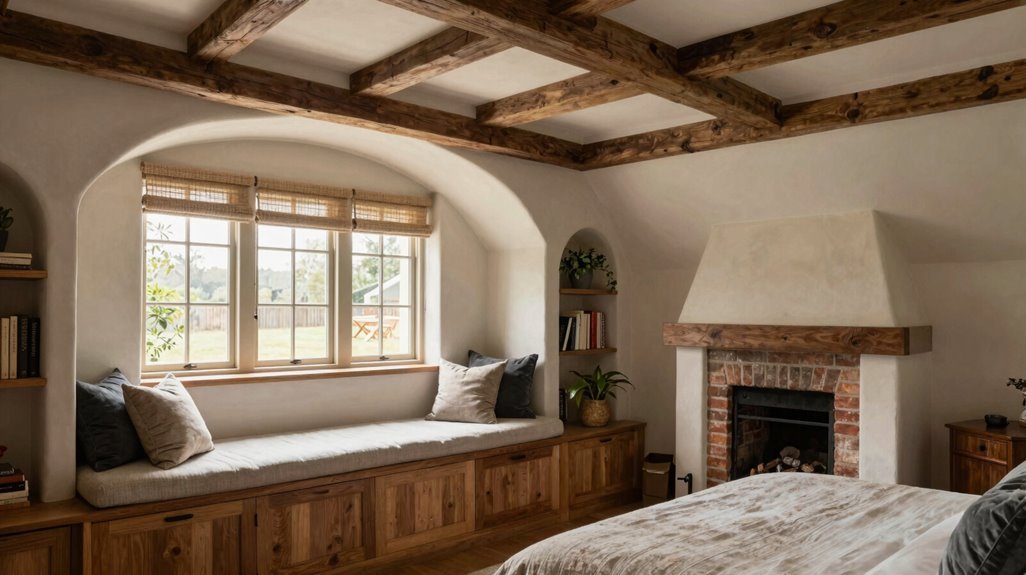
You’ll convert dead wall space beneath windows into functional seating by installing a 48-72 inch built-in bench, flanked by symmetrical bookshelves measuring 12-18 inches deep on each side. This configuration creates 24-36 linear feet of storage while grounding the room’s vertical scale, preventing the vaulted ceiling from overwhelming the space.
Trim the windows with 3-4 inch crown molding to unify the assembly, making certain the entire built-in unit reads as one cohesive architectural element.
Maximize Wasted Wall Space
Where exactly does your vaulted ceiling bedroom lose its most valuable square footage? Look beneath your windows, where empty walls stretch between floor and frame, entirely unused.
Change this dead zone into functional architecture. Install a built-in window seat flanked by integrated bookshelves, creating a cohesive unit that capitalizes on vertical real estate. Your vaulted ceilings demand intentional proportion, and this three-part structure delivers exactly that.
Execute this transformation through five sequential actions:
- Measure your window wall width, then apportion 40% to the seat, 30% to each bookshelf
- Construct bench height at 18-20 inches with 15-inch deep storage underneath
- Build shelves at 12-inch depth, extending to 84-inch height maximum
- Apply decorative trim around windows to elevate visual weight
- Paint built-ins identical to wall color for smooth integration
This anchoring focal point reclaims 25-35 square feet of previously wasted space.
Add Cozy Seating
How does a vaulted ceiling bedroom achieve true functionality without sacrificing its architectural drama? You build a built-in bench beneath your largest window, flanking it with floor-to-ceiling bookshelves that turn dead wall space into purposeful, comfortable seating. You anchor this arrangement to balance your bed’s placement, creating visual equilibrium with the vaulted ceiling’s soaring lines.
You select matching wood tones—oak, walnut, or painted millwork—to unify the bench, shelves, and existing furniture into one cohesive system. You add substantial trim around window frames, raising their presence to complement your built-in bench’s craftsmanship. You integrate storage drawers or display niches within the bench base, maximizing utility without crowding floor area. You position this comfortable seating to draw the eye upward, harmonizing human scale with architectural grandeur.
Create Symmetrical Storage
Once you’ve established your seating arrangement, you need storage that matches your vaulted ceiling’s vertical scale without disrupting its openness. Built-ins deliver this balance, anchoring your walls with purposeful structure while preserving the room’s airy architecture.
Build window seats with flanking bookshelves to reclaim 24-36 inches of wasted perimeter space per window. Install matching trim around each window to raise bare panes into cohesive wall features. Mirror your built-ins exactly on opposite walls to establish symmetry that stabilizes the ceiling’s dramatic angles.
Conceal 60-70% of storage behind cabinet doors to maintain visual calm. Coordinate wood tones across dressers, nightstands, and benches within 2-3 shades for unified architectural cohesion.
You’ll maximize cubic footage without clutter, creating a bedroom that feels both grand and authentically yours.
Layer Wood Tones to Unify the Space
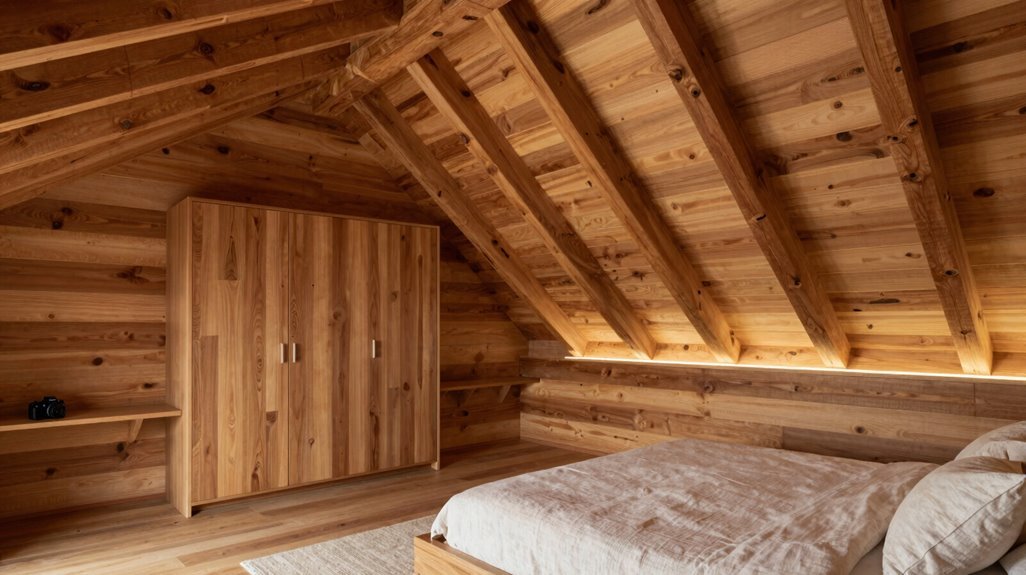
Why let a vaulted ceiling dominate your bedroom when you can anchor it with intentional wood layering? You create cohesion by distributing wood tones across dressers, nightstands, ceiling fans, and benches, building a unified palette that draws the eye downward. You extend this harmony vertically through built-ins and trim, connecting the vaulted ceiling to your floor plane. You select warm wood tones for key pieces, maintaining consistent finishes that visually tether the ceiling’s height to your furniture.
You add a throw blanket in matching warm wood tones to reinforce color hierarchy between elements. You center your layout with mirrored nightstands in identical wood finishes, balancing the room while echoing ceiling features. This systematic layering turns overwhelming vertical space into an integrated, welcoming environment.
Paint or Panel the Ceiling as a Focal Point
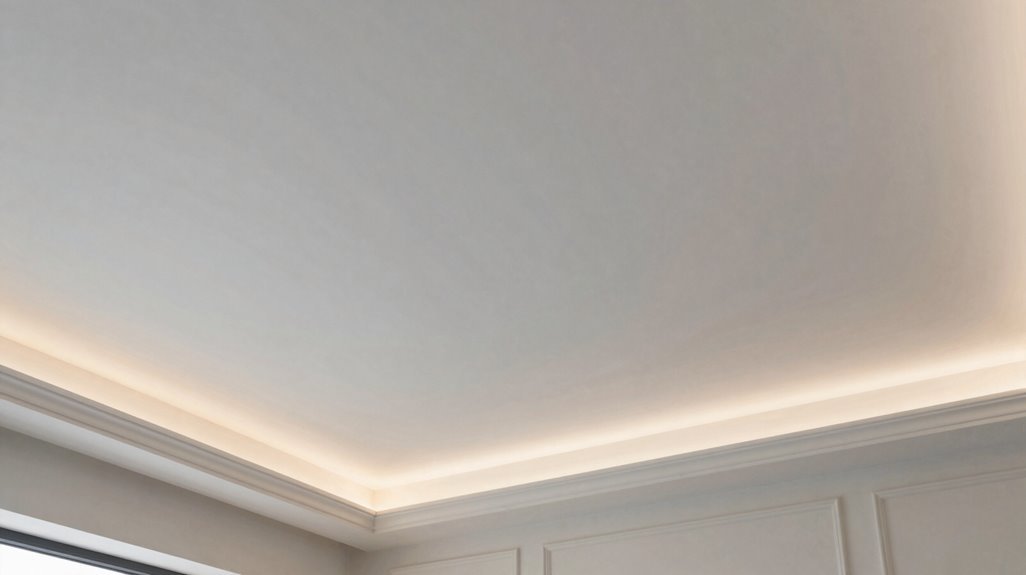
Layering wood tones grounds your vertical space, but you can also redirect attention upward through deliberate ceiling treatment. Your vaulted ceiling deserves recognition as the room’s dominant architectural element, and a strategic ceiling treatment turns it into a commanding center of attention that organizes your entire layout.
A vaulted ceiling deserves recognition as your room’s dominant architectural element—make it the commanding center that organizes your entire layout.
- Paint your vaulted ceiling in a saturated hue that contrasts with neutral walls, drawing the eye upward and amplifying perceived height by 20-30%.
- Install tongue-and-groove paneling that extends from wall to ceiling, creating seamless continuity across angled planes.
- Apply a hand-painted mural or geometric pattern overhead, binding the vaulted lines into one unified statement.
- Suspend a white chandelier beneath bold treatment, providing visual counterbalance and functional illumination.
- Stain structural beams or planks in espresso or charcoal, emphasizing vaulted geometry through strong vertical rhythm.
Choose Furniture That Fits the Ceiling Proportion
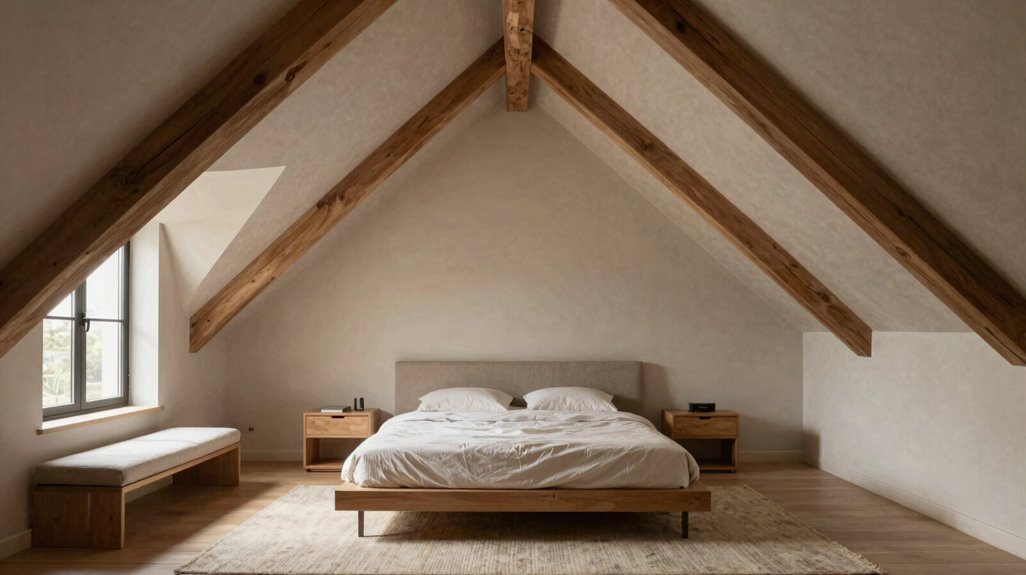
How do you keep a vaulted ceiling from making your bedroom feel cavernous and disconnected? You master furniture scale to establish room balance that welcomes you home.
Select lower-profile beds, dressers, and seating: pieces under 36 inches tall maintain proportion without competing with your vaulted ceiling’s vertical expanse.
Center your bed in the room’s middle third, flanking it with matching nightstands within 4 inches of mattress height to create symmetry that grounds the space.
Position ceiling fans precisely at the ceiling’s midpoint, aligning blades 8-10 feet above floor level for airflow that doesn’t fragment your sightlines.
Install built-in storage recessed 4-6 inches into walls, preserving 60% minimum open floor area to sustain vertical openness.
Integrate warm-toned wood elements; oak dressers, walnut benches, exposed beams introduce human-scale contrast that harmonizes with architectural height.
Define Intimate Areas in Spacious Bedrooms
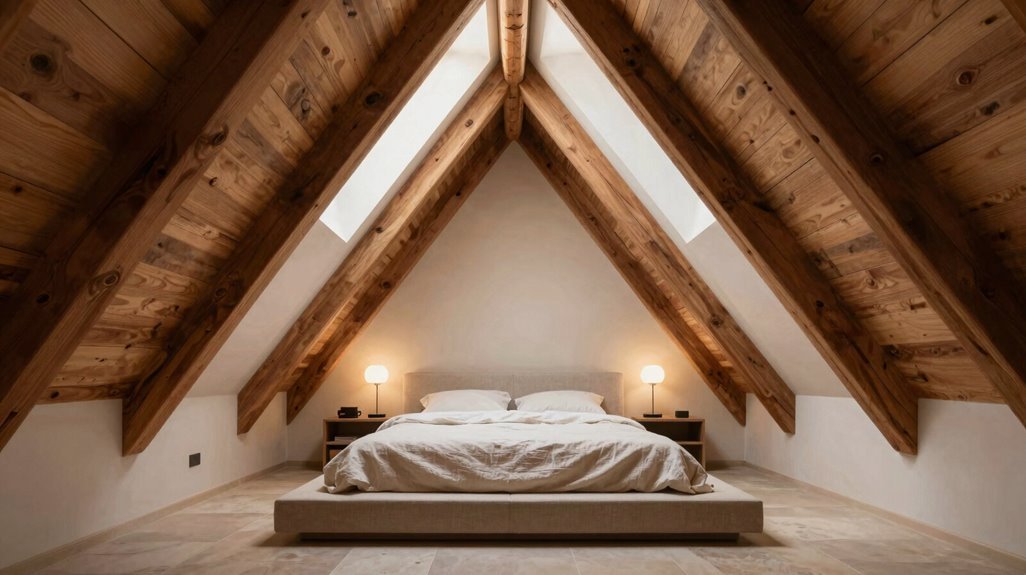
Where do you retreat when a vaulted ceiling stretches your bedroom into impersonal proportions? You create an intimate zone by pulling your bed toward the room’s center, establishing immediate visual boundaries within the expansive volume.
Position the bed 3-4 feet from walls to generate spatial compression that counteracts vertical openness. Relocate ceiling fans to the geometric midpoint, centering airflow and attention within your defined territory. Install matching nightstands with identical lamps to enforce symmetrical balance that grounds the eye.
Offset your bed 2-3 feet from the ceiling apex, avoiding direct exposure to maximum height while maintaining proportional relationships. Incorporate walnut or oak dressers, benches, and paneling alongside charcoal or navy accent walls to absorb sound and reduce perceived scale.
You’ll turn overwhelming volume into sheltered refuge through deliberate positioning and material selection.
Extend Ceiling Details Into Adjoining Rooms
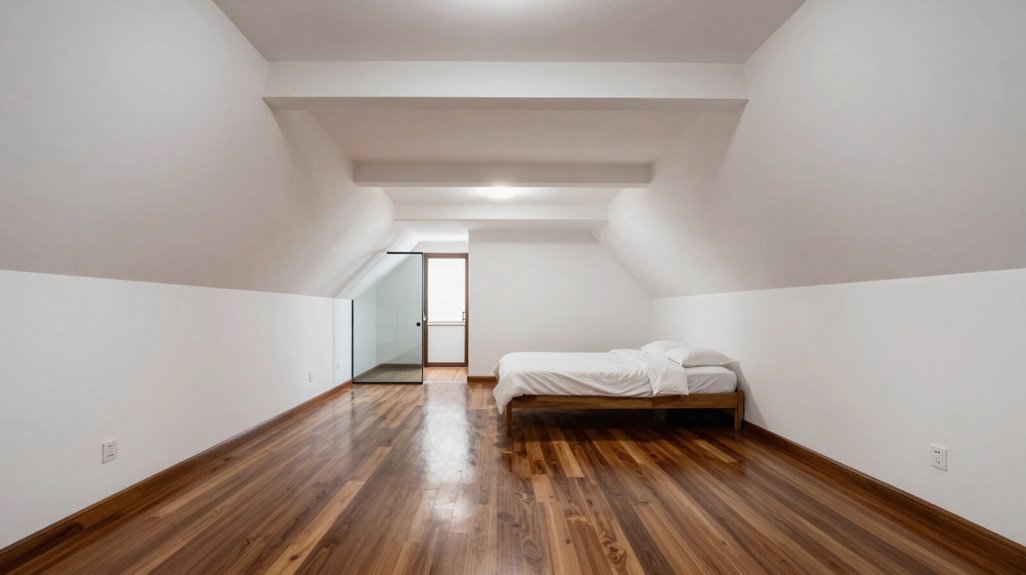
Why let your vaulted bedroom exist in isolation when adjoining rooms can amplify its architectural impact? You create cohesive flow by extending ceiling materials, colors, or planked textures directly into adjacent spaces. Continue wall-to-wall paneling across thresholds to visually connect areas and reinforce the vaulted theme.
Carry architectural features, exposed beams, ridge lines, or structural elements, into hallways or sitting rooms to maintain consistent design language. Install transom or clerestory windows in nearby spaces, mirroring your bedroom’s daylight strategy within 12-24 inches of ceiling peaks. Align pendant fixtures or chandeliers across rooms, spacing them 6-8 feet apart to emphasize vertical continuity. These extensions turn isolated architectural moments into unified, flowing environments that welcome you home.





