
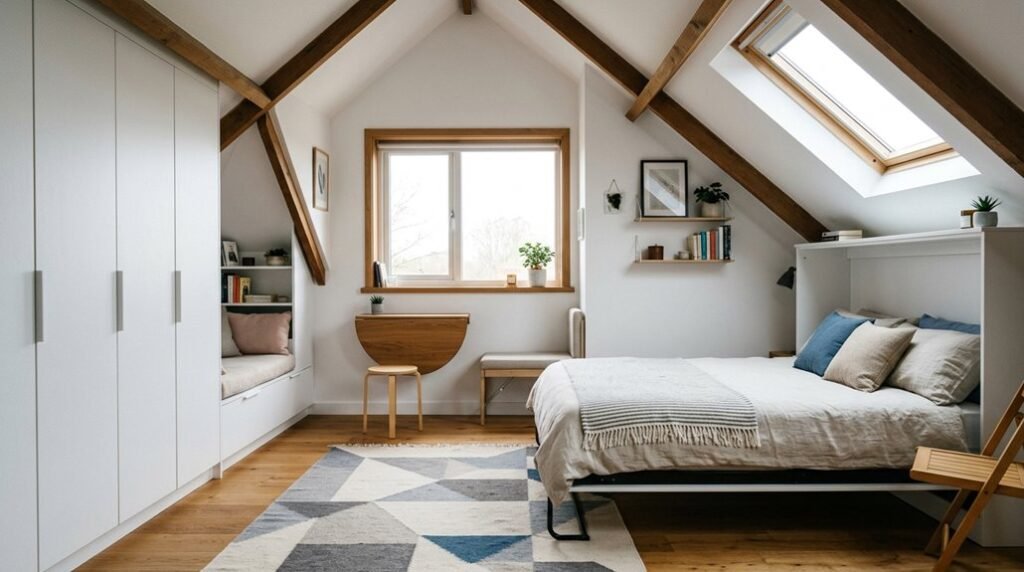
Sarah Chen gained 23 square feet of usable floor space in her 1984 Cape Cod bedroom by measuring slope heights before purchasing furniture. You face the same challenge: angled ceilings that swallow functionality unless you deploy precise spatial strategies.
This guide delivers seven measurable solutions, including 15-inch shelf depths and 18-inch bench heights, to reclaim every inch. Your transformation starts now.
Measure Your Sloped Ceiling Heights Before Buying Anything
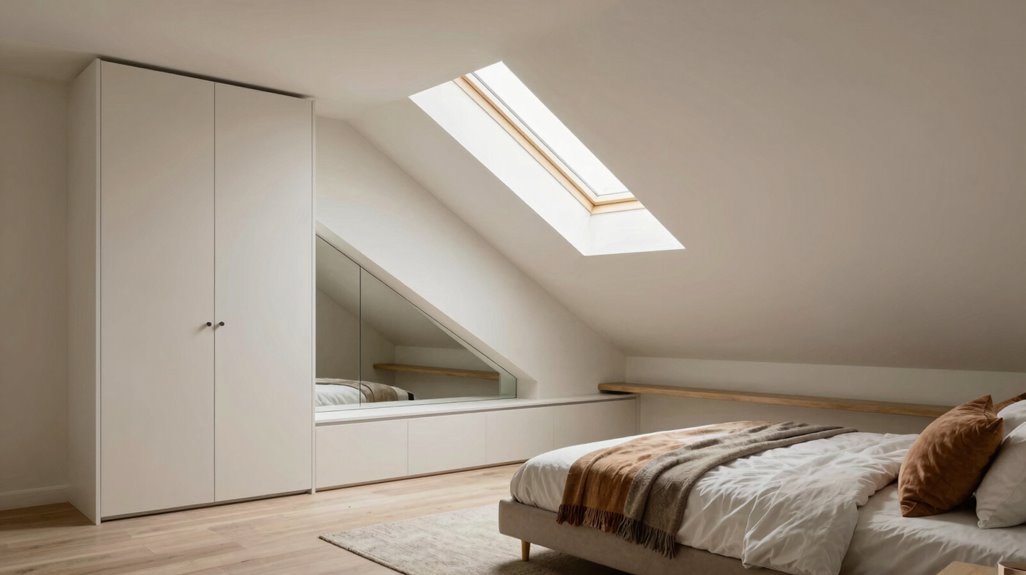
Where exactly does your ceiling slope, and how steeply? You’ll need to know this before you buy a single piece of furniture. Grab your tape measure, and start height mapping immediately.
Measure at three critical points: the tallest wall, the room’s center, and the lowest point under the slope. Record each dimension in inches, not feet, for precision. Subtract the lowest measurement from the highest to calculate your total drop. Any area below 60 inches becomes a dead zone requiring specialized solutions.
Sketch a simple heatmap: shade regions above 84 inches for full-height furniture, 60-84 inches for medium storage, and below 60 inches for built-ins only. Mark your alcoves, dormers, and eaves; these irregular spaces often accommodate custom seating or storage that follows your sloped ceilings perfectly.
Check pathway clearances last, making certain 30-inch minimum widths to doors and closets stay unobstructed.
Pick Low Beds and Seating That Fit Under the Slope
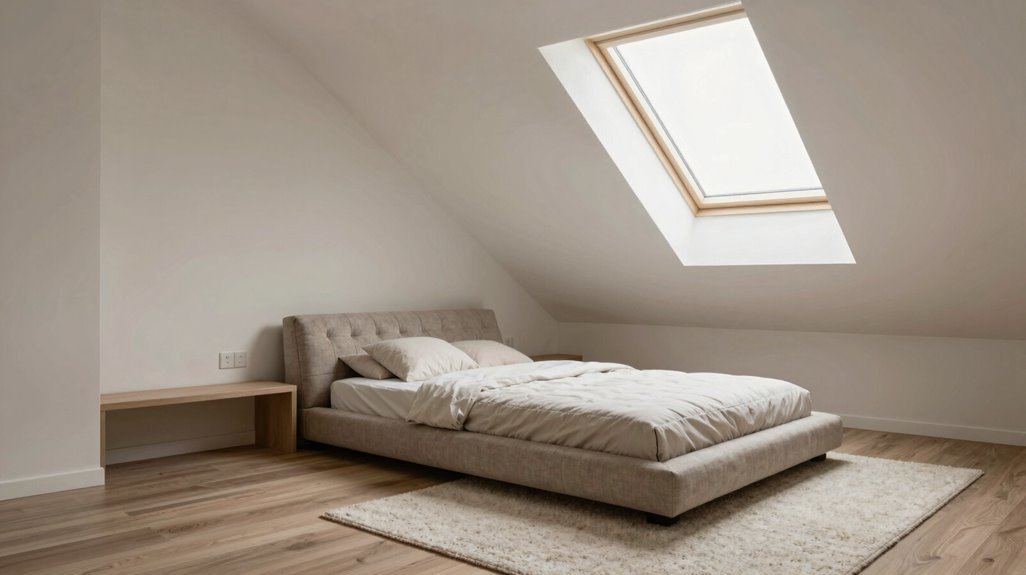
You’ll maximize every inch of headroom by selecting a platform bed, 12–18 inches tall, that slides directly under the lowest slope without forcing you to duck. Pair this with floor cushions or a 6-inch meditation pillow along the taller wall, keeping your seating zone 24–36 inches from the angled junction.
Finally, integrate an 18-inch storage ottoman at the foot, which doubles as seating while preserving your vertical clearance above.
Platform Bed Benefits
How do you reclaim usable space beneath a sloped ceiling without sacrificing comfort? You choose a platform bed, typically 18–24 inches in height, which creates clean sightlines and preserves openness where the slope descends.
| Feature | Specification | Benefit |
|---|---|---|
| Bed Height | 18–24 inches | Maintains ceiling clearance |
| Storage Type | Drawers beneath platform | Maximizes under-bed capacity |
| Integration | Built-in headboard | Saves wall space |
| Pairing | Low-rise nightstands | Expands usable floor area |
You gain integrated storage under platform without obstructing headroom. Place the bed where the slope peaks, then install modular drawer systems beneath. You’ll optimize every cubic foot, even in awkward angles.
Pair with compact side tables to complete an efficient, comfortable sleeping zone your visitors will appreciate.
Floor Cushion Options
Why let a sloping ceiling dictate your room’s limits when you can work beneath it? You reclaim dead space by selecting floor cushions, 6–10 inches tall, that preserve headroom while creating functional zones under sloped ceilings.
- Position 6–10 inch cushions in curved or L-shaped formations along your highest wall clearance to establish movement corridors and defined nooks.
- Pair cushions with slim, folded mattresses or roll-out mats for convertible guest bedding in tight under-slope areas.
- Select cohesive, light-breathable fabrics to maintain visual airiness, and choose hollow ottoman-style cushions with built-in storage to maximize utility.
You turn constrained architecture into adaptable living space through deliberate, measured choices.
Storage Ottoman Solutions
Where should you store linens, shoes, and bedside essentials when vertical space vanishes beneath a slanted ceiling? You deploy storage ottomans and under-bed storage systems that compress functionality into horizontal planes.
Select low-profile beds measuring 12–16 inches off the floor. This clearance maximizes headroom beneath slopes while opening clean sightlines across your room’s lower zones.
Integrate 18-inch storage ottomans with concealed drawers or lift-top lids. These units provide seating without vertical intrusion into restricted ceiling areas.
| Ottoman Placement | Function Gained | Clearance Required |
|---|---|---|
| Against lowest slope | Bench seating + hidden storage | 18 inches vertical |
| Bed foot position | Under-bed storage extension | 12–16 inches vertical |
| Wall-hugging row | Continuous seating corridor | 16 inches minimum |
Position narrow, flat-topped ottomans with square upholstery along slope walls. Avoid rounded profiles that encroach on circulation paths.
Combine multiple small ottomans with platform beds featuring built-in compartments. This layered approach yields flexible seating clusters and concealed storage within every available slope zone.
Paint Slanted Walls to Visually Expand the Space

Although slanted ceilings can compress a room’s perceived dimensions, strategic paint application turns this architectural constraint into a spatial advantage. You achieve visual expansion by treating your slanted wall as a deliberate design element rather than an obstacle to conceal.
Apply deep charcoal or navy to the gable end, pairing it with warm white adjacent walls to elongate sightlines and amplify perceived height. Execute vertical color transitions along the slope, shifting from saturated base tones to lighter apex hues to draw the eye upward. Anchor bold slanted-wall color with pale, streamlined furnishings, eliminating visual weight that narrows the space.
You wash lower-ceiling zones in soft, reflective tints while allowing the angled plane to carry saturated pigment. This technique structurally redefines boundaries, converting compression into architectural character without sacrificing square footage.
Layer Lighting That Shows Off Angles Without Headroom Clashes
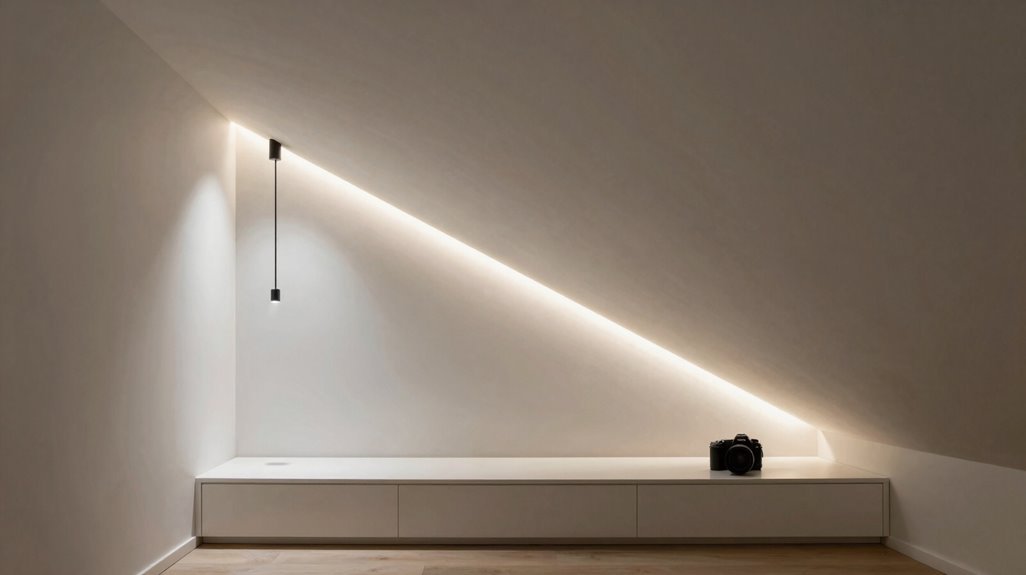
Paint defines your slanted ceiling’s boundaries, but light reveals its architecture without demanding clearance you don’t have. You need layered lighting to conquer this challenge.
Install your three-layer system: ambient, task, and accent lighting work together to eliminate harsh shadows across your sloped ceiling surfaces.
Mount recessed lights directly along the roofline, following each angle precisely. Add dimmers to adjust brightness where headroom drops below 6 feet.
Position track lighting to highlight architectural joints or built-in storage while keeping 30-inch pathways completely clear.
Place task fixtures, reading lamps, desk lights, only in zones with 7+ feet of headroom, typically beneath the slope’s highest point.
Balance daylight with adjustable shades that control glare on angled planes without sacrificing openness.
Transform Dead Zones Into Reading Nooks and Hidden Storage
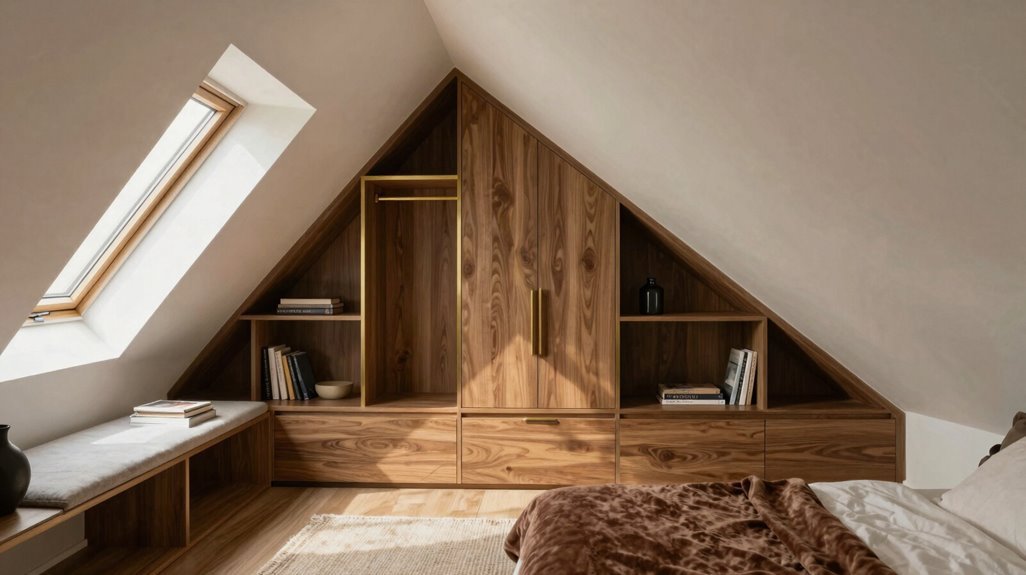
How do you reclaim the triangular voids where your walls meet the roofline? You install low-profile built-ins that follow the angles of your sloped walls, creating functional space without overhead congestion.
- Construct window-seat storage with 12-inch deep drawers beneath 18-inch high cushions to capture eave space for linens and seasonal items.
- Deploy adjustable shelving at 15-degree angles matching your roof pitch, providing 24-inch vertical storage tiers without floor encroachment.
- Integrate hidden storage through recessed pull-out bins, accessed by 8-inch tall openings that maintain clean sightlines while concealing clutter.
You position slim side tables (16 inches maximum width) alongside 20-inch thick floor cushions. You layer ambient, task, and accent lighting at 4-foot intervals to eliminate shadows. You prioritize modular units you can expand in 24-inch sections as needs evolve.
Build Custom Storage Directly Into Your Sloped Ceiling
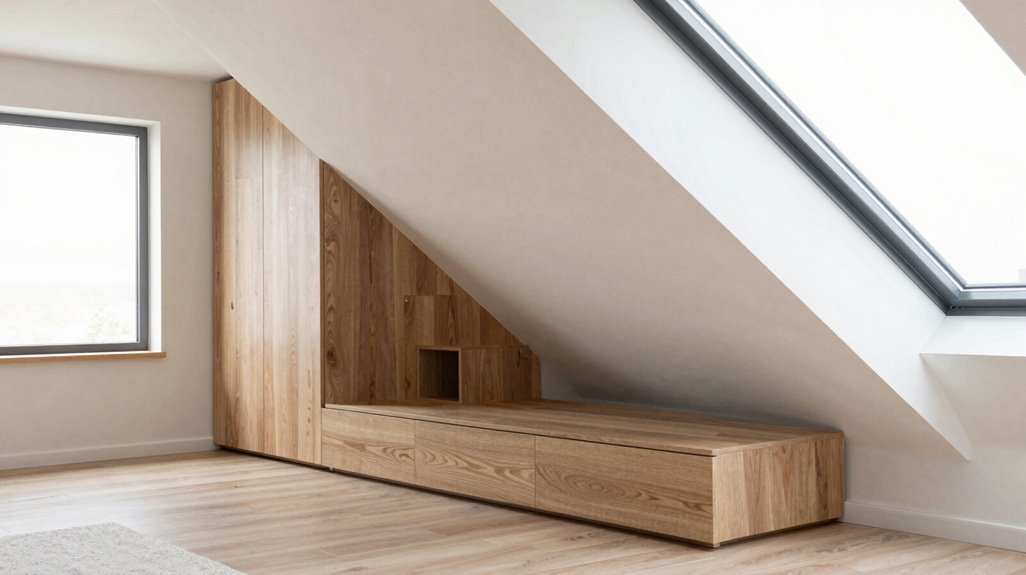
You can reclaim 30-50% of lost cubic footage by installing eaves drawer systems with 12-18 inch deep pull-outs, roofline shelving units that track your specific pitch angle, and window seat storage benches measuring 18-24 inches high with 36-48 inch widths. These three integrated solutions eliminate floor clutter while conforming precisely to your ceiling’s slope, typically requiring 2-4 days for professional installation or 4-6 weekends for competent DIY execution.
Make sure to use fire-rated materials, specify soft-close hardware for drawers, and check that load ratings reach 75-100 pounds per linear foot before committing to any single configuration.
Eaves Drawer Systems
Where should you store seasonal bedding, off-duty wardrobes, and archived documents when your bedroom’s ceiling slopes to a 30-degree angle? You build eaves drawer systems directly into that wasted triangular void, reclaiming every cubic inch without sacrificing floor space.
Your eaves storage strategy demands precision. First, you measure ceiling height at 12-inch intervals along the slope, recording variations between 24 and 60 inches. Second, you select shallow-depth drawers, maximum 16 inches front-to-back, that glide below the critical headroom zone. Third, you specify soft-close slides rated for 75-pound loads, ensuring decade-long durability.
Materials range from birch veneer requiring 4-6 week fabrication to modular systems delivering 2-week turnaround. Custom units follow your exact roof pitch, converting 40 square feet of dead space into functional wardrobe capacity. Structural allowances for rafters and vents typically reduce usable depth by 4 inches per side.
Window Seat Storage
Why let the lowest, most awkward zone beneath your slope sit empty when you’re desperate for storage? You can convert this dead space into functional window seat storage that serves dual purposes.
Build your sloped ceiling seating with these specifications:
- Frame depth: 12–18 inches for staged compartments
- Access type: Hinged lift-top lid with slide-out baskets
- Lighting: LED strips integrated into seat edges
Install shallow drawers along the eaves for seldom-used linens, toys, or seasonal items. Position daily essentials on higher, forward shelves. Your window seat storage follows the roofline precisely, maximizing vertical capacity without consuming floor area.
This solution removes dark dead zones beneath your sloped ceiling while maintaining clean sightlines. You’ll gain concealed capacity for 4–6 storage bins, plus dedicated seating that steadies the room’s layout.
Roofline Shelving Units
How can you reclaim the triangular voids where your walls meet the roof? You build roofline shelving that traces every angle of your sloped ceiling, turning dead space into functional storage. This approach maximizes headroom at peak heights while establishing low-profile display zones beneath the slope.
- Map your ceiling pitch with a digital angle gauge, then cut shelf boards to match each degree of slope for seamless integration.
- Install modular uprights at 16-inch intervals, adjusting heights to accommodate dormer variations without custom fabrication.
- Integrate LED strips along shelf undersides, spacing puck lights every 24 inches to illuminate contents and emphasize architectural geometry.
Select finishes, white MDF, natural plywood, or painted grain, that echo your room’s existing palette. You’ll create built-ins that feel original to the structure, not afterthoughts.
Decide Whether to Embrace or Camouflage Your Remaining Angles
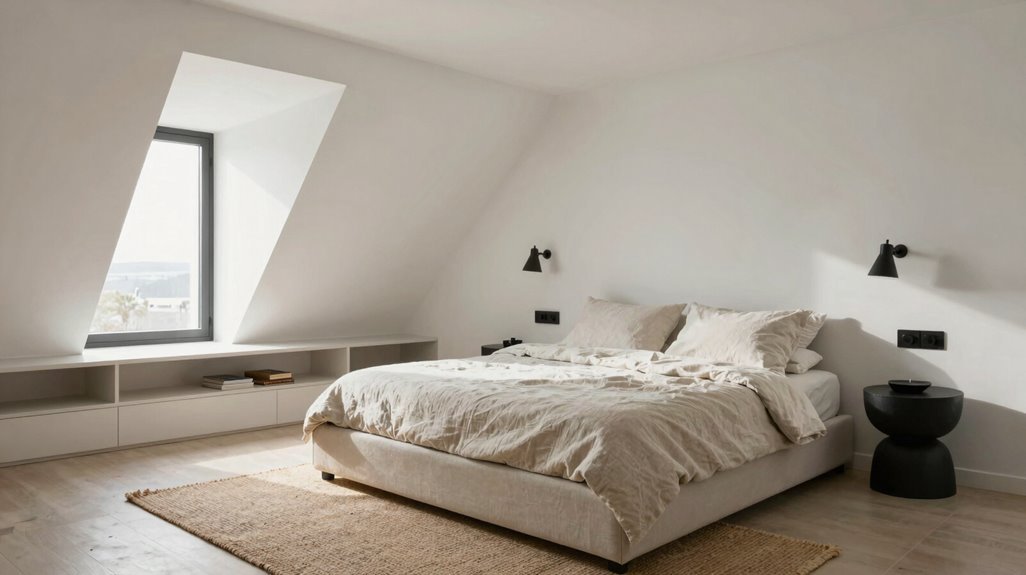
Once you’ve addressed the primary architectural challenges in your slanted ceiling bedroom, you’ll need to make a strategic decision about your remaining angles: you can either emphasize them as deliberate design features or minimize them to create visual uniformity.
Embrace your slanted walls by applying bold color, deep blue, forest green, or burnt orange, to one dominant surface, keeping adjacent walls neutral to contain visual weight.
Camouflage problematic angles through unified color application and strategic low-profile furniture, reducing perceived height variation by 30–40%.
Deploy the hybrid approach: highlight slopes above windows or beds while downplaying peripheral angles, establishing 2–3 focal zones maximum.
Install built-ins following rooflines: 15-inch deep shelves, 18-inch high storage benches, to convert slopes into functional architecture.
Evaluate your spatial constraints, measure vertical clearance at 3-foot intervals, then commit to one strategy for cohesive results.





