
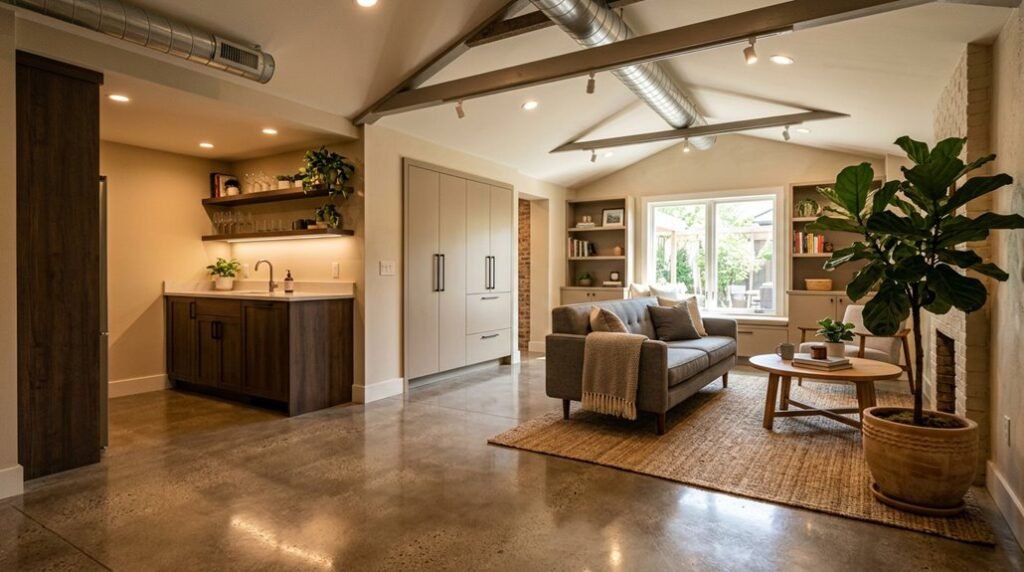
You might think your basement is too damp to finish, but proper moisture control changes even chronically wet spaces into livable square footage.
Start with a comprehensive moisture audit: inspect walls, floors, and perimeter drainage, then document every finding with dated photographs before you frame a single wall.
You’ll need exterior waterproofing, drainage mats rated for 15-20 years, interior vapor barriers with 0.1 perms or lower, and a dehumidifier maintaining 50-60% relative humidity.
Measure ceiling height precisely; minimum 7 feet 6 inches for comfort, less if you’re routing ducts through soffits; and select mold-resistant materials like cement board, luxury vinyl plank, or porcelain tile, never solid hardwood.
Start Your Basement Remodel With a Moisture Check
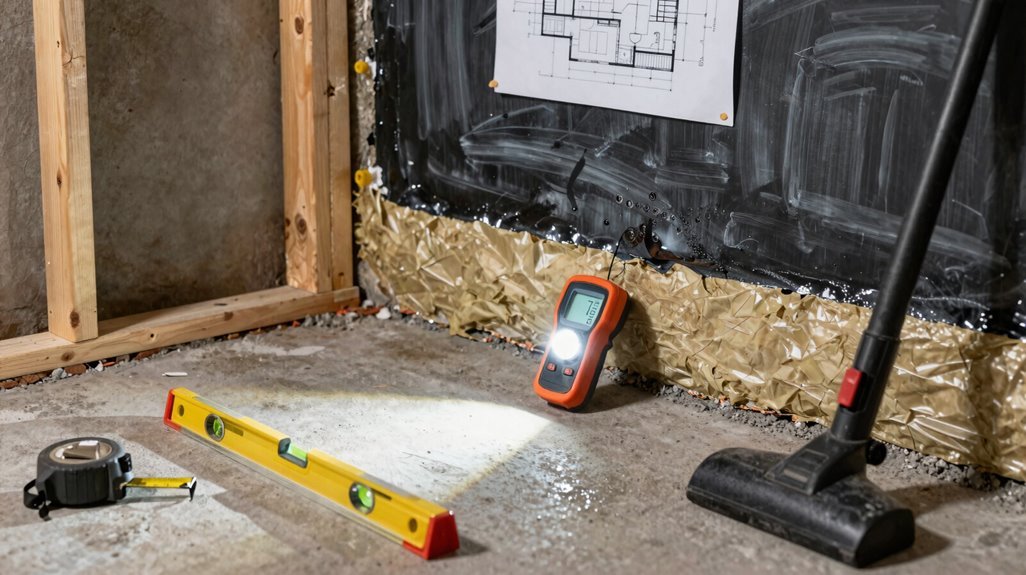
Before framing a single wall, ensure your basement is truly dry—finishing over moisture ruins everything.
Before you frame a single wall, ask yourself whether your basement is truly dry. You’re joining countless homeowners who’ve learned that finishing over moisture ruins everything.
1. Conduct a thorough moisture check
Inspect foundation walls, floor joints, and perimeter drainage. You’re looking for musty odors, efflorescence, or minor discoloration that signals vapor intrusion. Document every finding with photos and measurements.
2. Apply waterproofing before finishing
Apply exterior waterproofing coatings to block liquid water. Install drainage mats beneath flooring systems to channel seepage toward sump pumps. You’re building protection that lasts decades, not months.
3. Set up moisture control systems
Deploy vapor barriers, dehumidification equipment, and humidity monitoring devices. Maintain relative humidity below 60% year-round.
Your finished basement belongs in your home’s permanent inventory, not its liability column. Address moisture now, or dismantle your work later.
Measure Ceiling Height Before Designing Your Layout
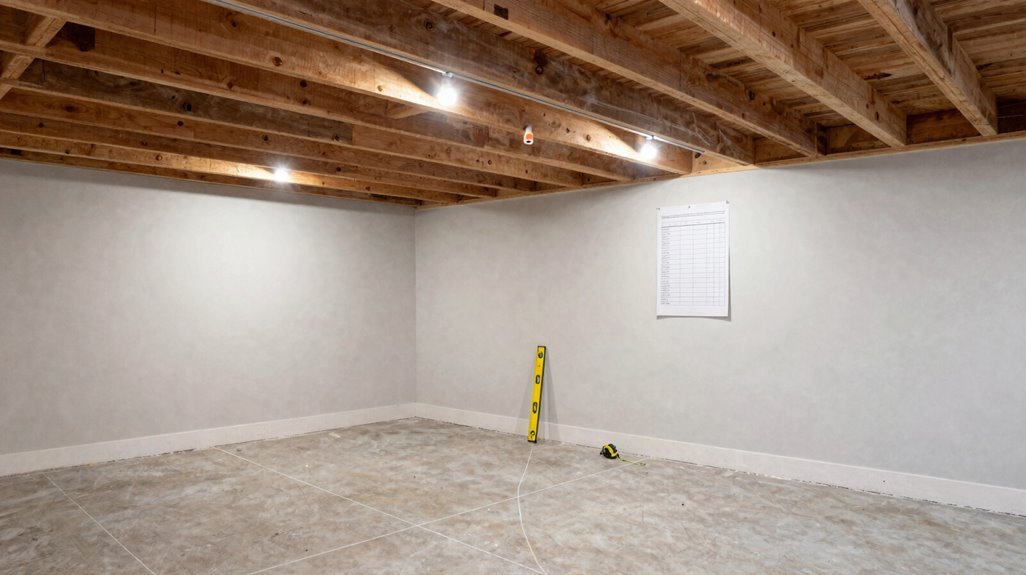
Where exactly will your head clear the beam? You’ll need to measure height before you commit to any layout decision. Basements typically require minimum ceiling heights of 7 feet for livable spaces, and your local codes may demand more.
Grab your tape measure and record clearance at multiple points. Map ductwork, pipes, and beams that steal precious inches. You’re checking code compliance early because height limitations affect bedroom approvals and rental designations. If systems block your path, call professionals to discuss rerouting options.
Your accurate measurements guide soffit placement, stair positioning, and framing choices. Low clearance demands drop ceilings or creative solutions; adequate height lets you build full rooms. Measure now, design after, and you’ll avoid costly mid-project surprises that force compromises you can’t afford.
Map Existing Plumbing Before Finalizing Room Placement
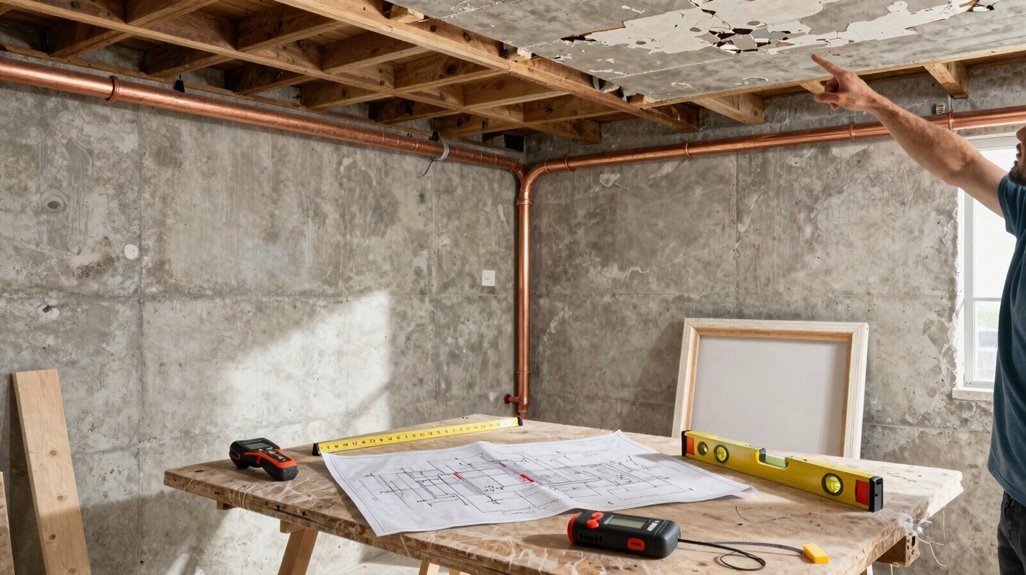
Why reroute a drain line when you can design around it? You save thousands by mapping your plumbing layout before locking in room placement. Position bathrooms, laundry, or wet bars within 10 feet of existing drain lines, supply pipes, and vent stacks. You’ll cut installation costs by 40-60 percent and reduce future leak risks.
Design around existing drain lines instead of rerouting them—save thousands and cut installation costs by up to 60 percent.
Follow this systematic approach:
- Locate all visible pipes using a flashlight and inspection mirror, marking drain locations, pipe diameters, and cleanout access points on your basement floor plan.
- Test for hidden moisture by taping 2-foot plastic squares to concrete walls for 48 hours; condensation underneath signals moisture control problems requiring remediation before framing.
- Measure vertical clearances from floor to joists, noting beam locations that affect fixture placement and drainage slope requirements.
Select Mold-Resistant Materials for Basement Conditions
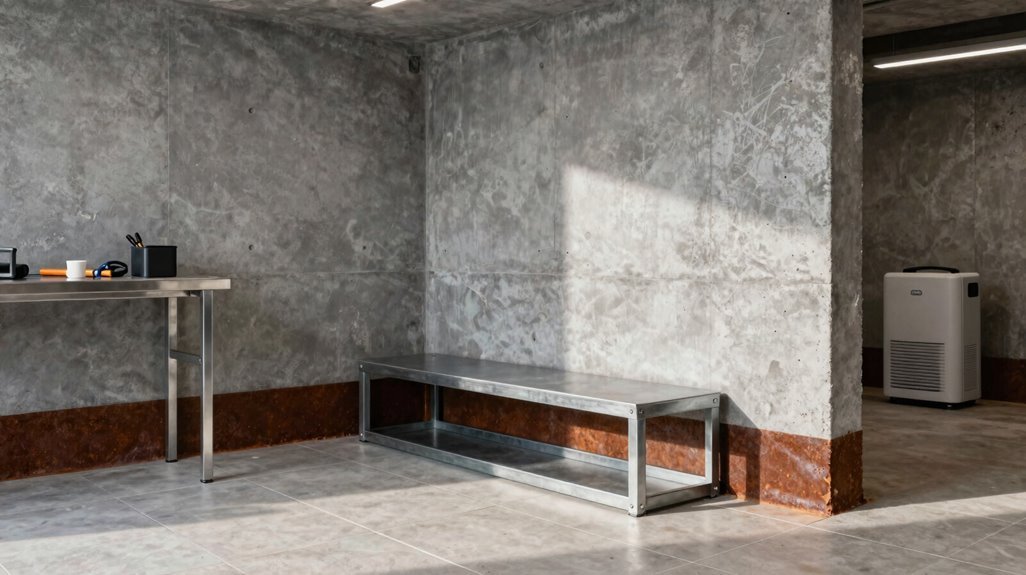
Once you’ve mapped your plumbing and confirmed your room layout, you’ll face the material choices that determine whether your basement stays dry and functional for decades. Basement moisture demands specific mold-resistant materials, not standard upstairs supplies.
Wall Systems: Install mold-resistant drywall (moisture-resistant green board or cement board), and apply waterproofing primer plus moisture-resistant paint in two coats.
Flooring: Select vinyl plank, ceramic tile, or sealed concrete; materials registering under 4% moisture absorption. Avoid solid hardwood, which exceeds 12% absorption and warps within 18 months.
Storage: Specify exterior-grade plywood (3/4-inch minimum) with zinc-coated fasteners, rusting 70% slower than standard hardware.
Coatings: Apply waterproofing sealant to foundation walls, achieving 10-15 mil thickness per manufacturer’s specifications.
These material selections prevent the costly remediation averaging $2,500-$6,000 per incident.
Insulate Floors and Walls to Prevent Condensation and Heat Loss
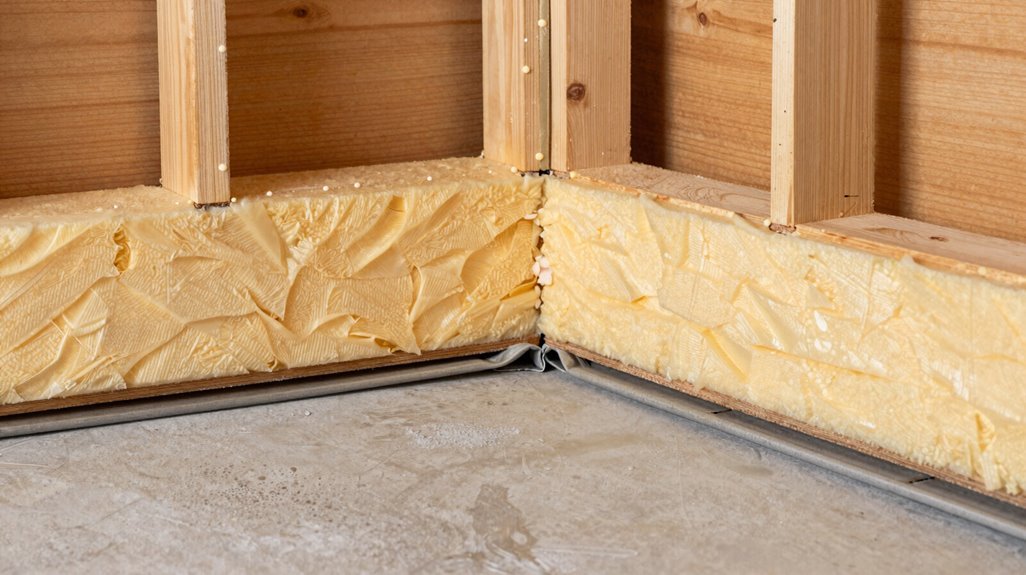
How do you stop your basement from becoming a damp, energy-draining liability? You tackle insulation placement with precision, balancing moisture control against energy efficiency. Your vertical walls need insulation to block condensation and cold drafts, but you must seal exterior rim joists first with at least 2 inches of extruded polystyrene. This step cuts energy loss significantly.
Follow this condensation prevention strategy:
- Seal and insulate exterior rim joists before wall work begins
- Install moisture-resistant insulation in ceilings and walls only after fixing outside water leaks
- Plan your layout strategically to maintain consistent climate and long-term savings
Never insulate walls if exterior leakage persists; you’ll trap mold. You deserve a basement that works as hard as you do, not one that drains your wallet through poor planning.





