
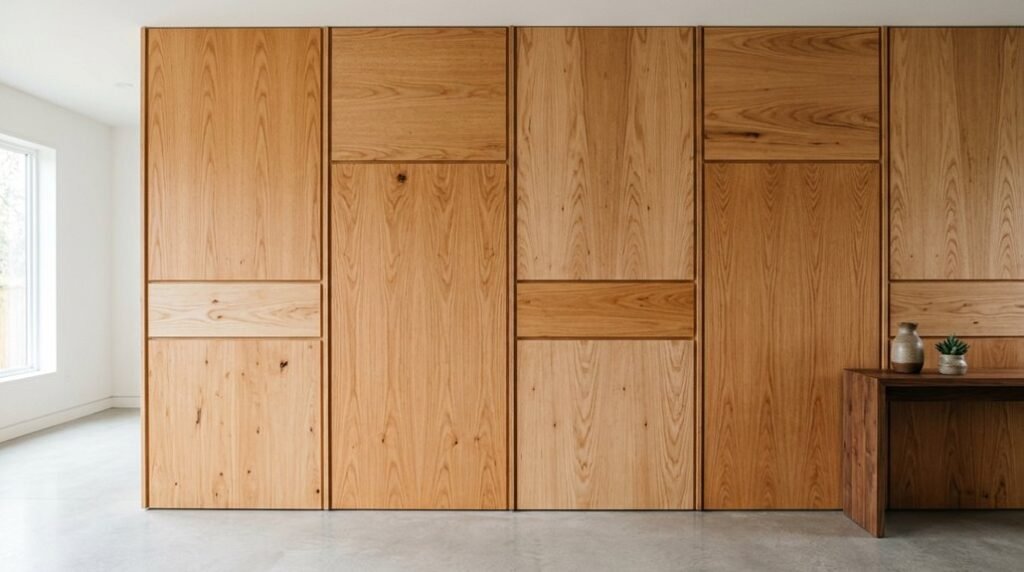
You probably don’t realize that plywood walls can outperform drywall by 300% in shear strength while cutting installation time nearly in half.
When you select the right grade, thickness, and fastening pattern, you convert a basic structural material into a finished surface that resists moisture, accepts any finish, and adapts to curves, angles, and built-ins that drywall simply cannot manage.
The real challenge isn’t whether plywood works; it’s knowing which of the 12 standard grades, 6 thickness options, and 4 veneer cuts will deliver the rigidity, appearance, and durability your specific room demands.
What Is a Plywood Wall? (And Why It Beats Drywall)
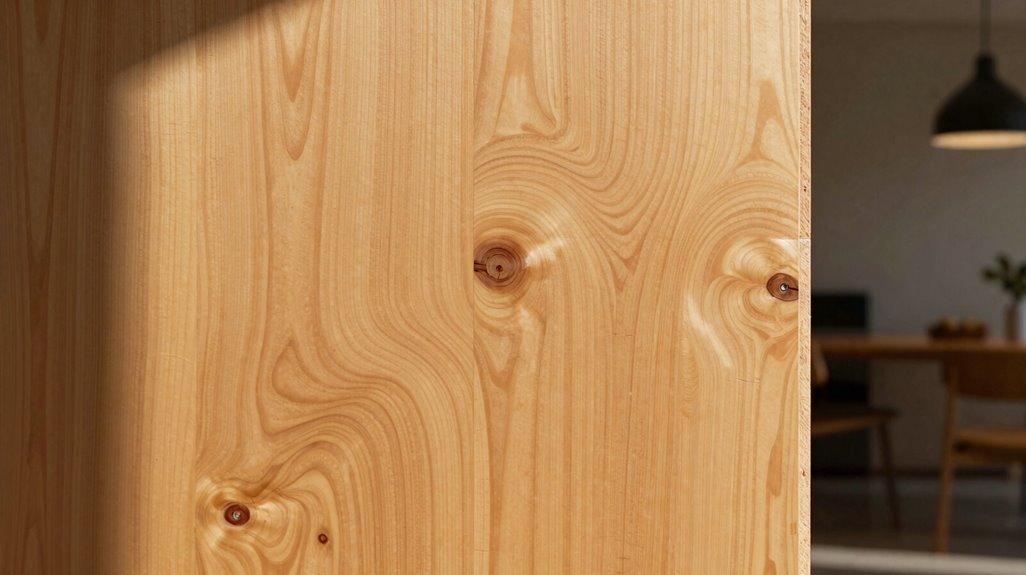
Why settle for ordinary walls when you can build something stronger? Plywood walls redefine vertical surfaces using engineered sheets as your primary or finished layer, serving dual purposes in structural sheathing and decorative interior applications.
Build stronger vertical surfaces with engineered sheets that serve both structure and style.
You gain immediate advantages through construction: cross-grained veneers stack perpendicular layers, distributing stress evenly and preventing warping or splitting that plagues solid wood.
Your standard plywood sheet size measures 2440 mm by 1220 mm, with thickness options spanning 3 mm to 18 mm for indoor projects. Selecting appropriately depends on your mounting requirements and load-bearing needs.
The payoff manifests in measurable performance: moisture resistance exceeds drywall in humid environments, while screw-holding capacity lets you mount fixtures anywhere without locating studs. You’re joining tradespeople, designers, and homeowners who’ve recognized plywood’s structural honesty, creating spaces that perform as beautifully as they appear.
Plywood vs. Drywall: Strength, Moisture, and Cost Compared
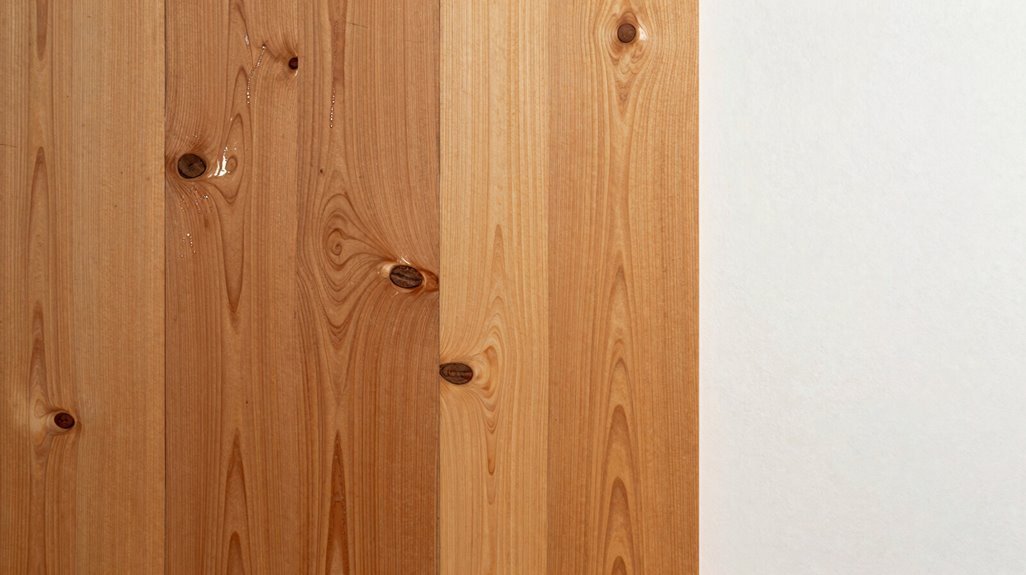
Two materials dominate your wall-building decision, and choosing wrong costs you thousands in repairs, replacements, or subpar performance you cannot reverse. You need to weigh plywood against drywall across three critical dimensions.
1. Strength and Structural Performance
Plywood delivers twice the rigidity of drywall at equal thickness. You gain superior screw-holding capacity, reducing fastener failure in high-use installations. Drywall cannot match this structural integrity.
2. Moisture Resistance
Plywood resists moisture better than damp drywall, cutting mold risk in humid environments. You protect your investment where water exposure threatens.
3. Cost Analysis
| Factor | Plywood | Drywall |
|---|---|---|
| Material cost | Lower per sq ft | Lower base cost |
| Finishing costs | Higher (stain/varnish/paint) | Lower (standard paint) |
| Repairs | More complex | Easier |
You balance upfront material savings against finishing complexity. Drywall suits fire-rated, smooth-painted interiors. Plywood rewards you with durability, decorative flexibility, and moisture resistance where performance matters most.
Choose the Right Plywood Wall Grade and Thickness
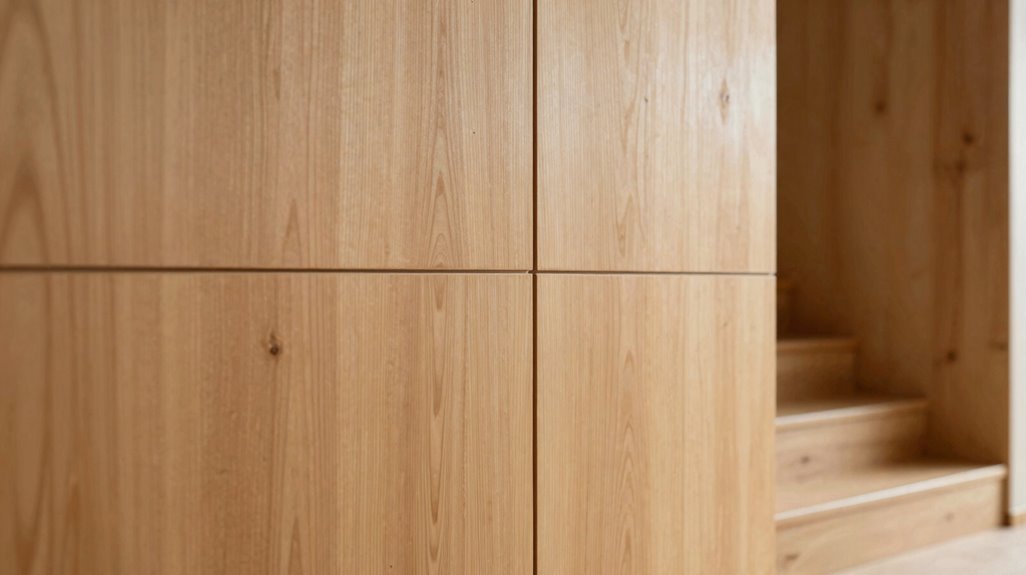
You’ll match your environment to the right grade, calculate structural thickness with precision, and balance cost against performance to build walls that last. Start by assessing moisture exposure and load requirements, then cross-reference specifications against available plywood ratings from 4mm decorative faces to 50mm structural sheets.
Your final selection depends on understanding how edge quality grades, like BB/BB or S/BB birch, determine finishing labor and material waste.
Match Environment to Grade
How do you choose plywood that won’t fail in your specific space? You match your environment to the right grade, plain and simple.
| Your Space | Your Plywood Solution |
|---|---|
| Dry, visible interiors | Baltic birch for beauty, tight grain, and smooth faces |
| Moisture-prone areas | Moisture-resistant exterior-grade/CDX or marine plywood |
| Sustainability-focused builds | Nordic sources with PEFC environmental certifications, E1-rated |
You’re building something that lasts, so don’t guess. Use interior-grade plywood for decorative dry walls, but switch to exterior-grade/CDX when humidity threatens. Thickness follows function: 4mm–12mm for panels, 12mm–18mm for structural sheathing.
Baltic birch improves visible spaces, while moisture-resistant grades prevent warping where water lives. Check environmental certifications to protect air quality and prove you belong among builders who care about every detail.
Calculate Structural Thickness
What thickness keeps your wall from sagging, splitting, or failing under load? You’re choosing between 4mm and 27mm, plus custom options, so match your plywood thickness to structural demands. For interior structural walls, you’ll specify 1/2″ or 5/8″ CDX as your structural grade. Moisture-prone zones demand exterior-grade or marine plywood instead.
Your wall assemblies gain rigidity through ply count: three plies suit light duty, five plies resist warping, and seven plies maximize nail/screw holding. More layers mean less deflection under load. CDX handles interior framing, while marine plywood withstands dampness with superior edge stability.
Exterior sheathing behind finishes requires glue-rated panels like WPC. You’ll calculate span ratings against stud spacing, verifying that your chosen panel carries dead and live loads without failure.
Balance Cost and Performance
Where exactly does your budget intersect with performance demands? You need to match plywood grade and thickness to your specific interior walls application without overspending.
1. Decorative vs. Structural Grades
Choose Birch plywood, 4 to 12 mm, for decorative interior walls where appearance matters.
Select 12 mm CDX or exterior-grade panels for interior walls requiring structural performance.
2. Cost Analysis
Plywood runs 10 to 15% below high-end drywall, 20 to 30% under solid hardwood per square foot.
Factor finishing costs, which exceed material savings.
3. Thickness Trade-offs
6 to 12 mm panels reduce cost and weight.
18 mm panels increase screw-holding power and rigidity, but raise material cost substantially.
4. Moisture Resistance Decisions
Spec marine-grade or BWR/BWP plywood with exterior glue for wet zones.
Accept higher upfront cost to minimize replacement expenses.
Install Plywood Walls: Acclimate, Fasten, and Gap Correctly
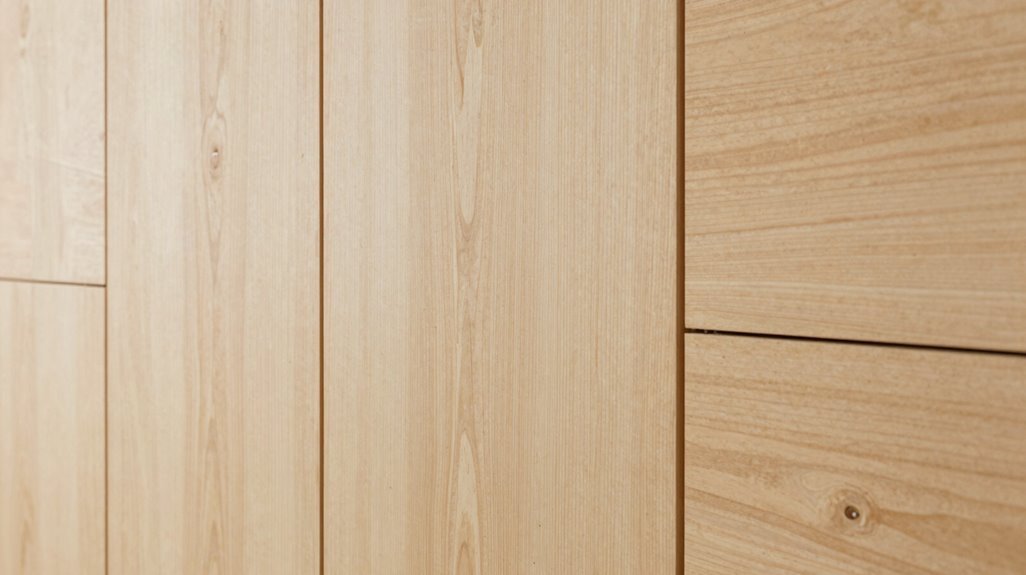
Why do plywood installations fail within months of completion? Most often, you’ve skipped the basics that keep wall panels stable and true.
1. Acclimate Your Materials
You must acclimate plywood in the installation room for 48 hours minimum. Store panels flat, off the ground, with battens at 400–600 mm intervals for warping avoidance. This step balances moisture content with your environment.
2. Plan Fastening Patterns and Seam Locations
You need proper fastening patterns, typically face-fix with screws, to prevent buckling and squeaking. Map seam locations to less-visible areas before you start.
3. Gap Correctly
You must leave a 2–3 mm expansion gap between panels. Consider shadow gaps or flexible caulk at joints for clean results. Check fire-rated assemblies and local codes during installation.
Apply 5 Designer Finishes That Elevate Plywood Walls
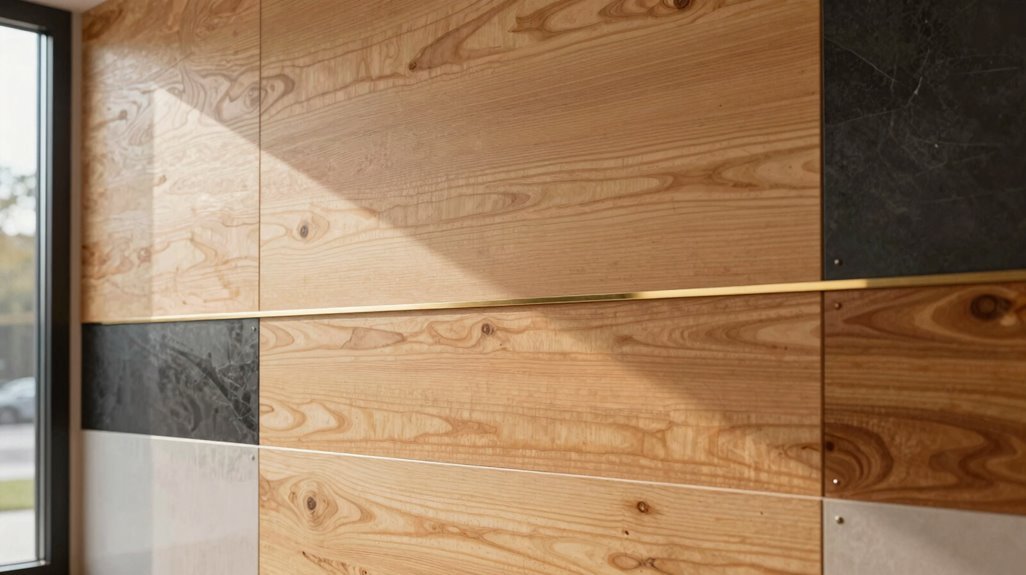
Once your panels are secured with proper gaps and fastening, you’re ready to turn raw surfaces into deliberate design statements.
1) Natural Grain Enhancement: Apply hard wax oils or two coats of Bona polyurethane to your plywood wall. Test oils and varnishes first, since they may darken the wood unexpectedly.
2) Stained Accent Walls: Create a full wall using large panels or grooved installations. Select stains from light oak to dark walnut to match your desired mood.
3) Zero-VOC Paint Systems: Prime properly, then use zero-VOC paints for safe, washable surfaces in children’s spaces.
4) Veneer Matching: Specify book-matched or slip-matched veneer to emphasize symmetry or mirrored effects across your wall.
5) Shadow Gap Detailing: Plan seams strategically to create dramatic reveals between panels.
These finish options let you control veneer presentation, stains, and environmental safety without guesswork.
Best Rooms for Plywood Walls (And Pitfalls to Skip)
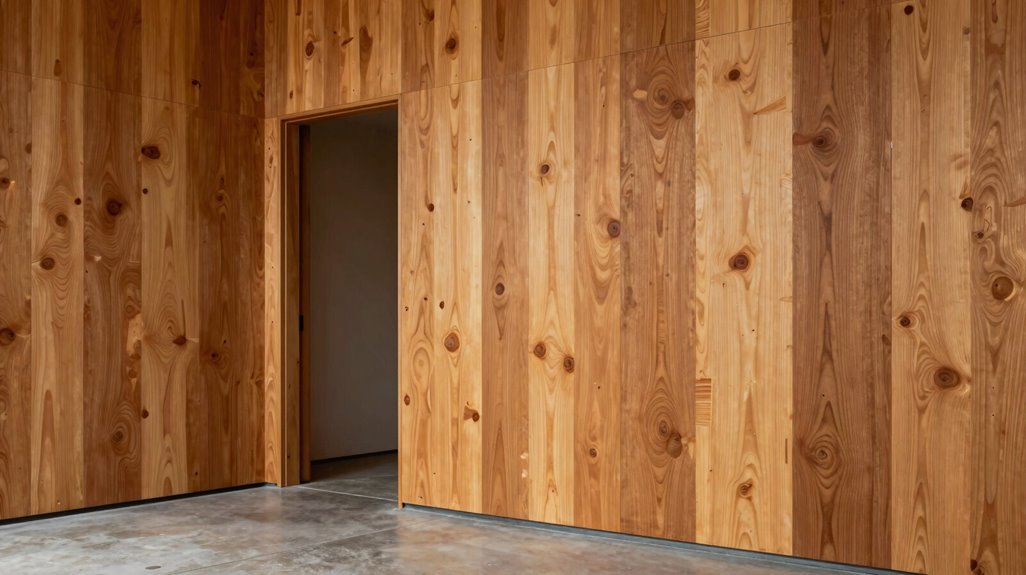
Because plywood walls deliver warmth, durability, and design flexibility, you can install them strategically across residential and utility spaces without sacrificing performance. Assess room suitability before selecting materials: living rooms, bedrooms, and hallways accept birch or oak veneers with 3–4 finish options, while bathrooms and kitchens demand moisture-resistant plywood to prevent mold.
Plywood walls marry warmth with resilience—choose your grade wisely, and every room becomes both sanctuary and statement.
Garages require 1/2″ to 5/8″ CDX plywood for superior screw-holding capacity. Plan panel layout carefully; use full walls (~20% of space), half-walls (4–5 feet high), or 2×3 foot panels to avoid visual overwhelm. Never skip acclimatization or expansion gaps. Check finishes compatibility across large surfaces to prevent uneven absorption. Standard interior plywood fails in wet zones without proper grades.
- Feel the grounded comfort of natural grain surrounding your family gatherings
- Rest assured your bathroom won’t betray you with hidden mold behind beautiful walls
- Secure your heaviest tools knowing your garage walls won’t crumble
- Breathe easier when your careful planning creates visual harmony, not chaos
- Belong among homeowners who build smart, not twice





