
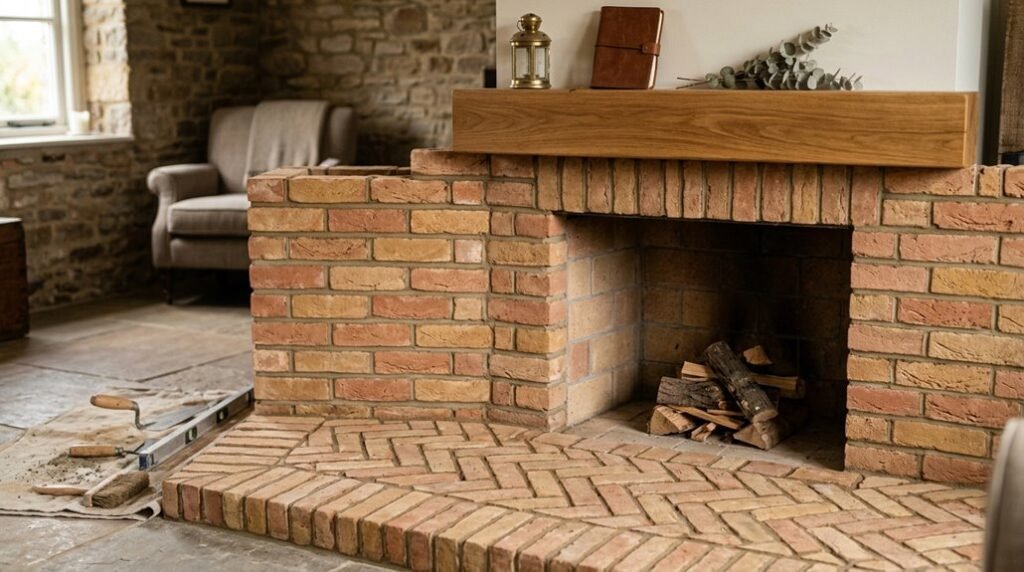
Most hearth failures trace back to skipped substrate preparation, not material selection. You’ll need to master five distinct phases: fire-source determination, code verification, substrate leveling, backer-board installation, and surface finishing. Each phase contains non-negotiable specifications, including 36-inch clearances, 5 mm expansion gaps, and 24-hour cure times, that protect your structure from thermal expansion damage.
Before you purchase a single tile, you must resolve three critical variables: your fire source (open flame, wood stove, or eco-burner), your jurisdiction’s specific clearance requirements, and your substrate’s current deflection rating. Get these wrong, and your expensive stone surface will crack within two heating seasons.
Choose Your Fireplace Hearth Type and Fire Source
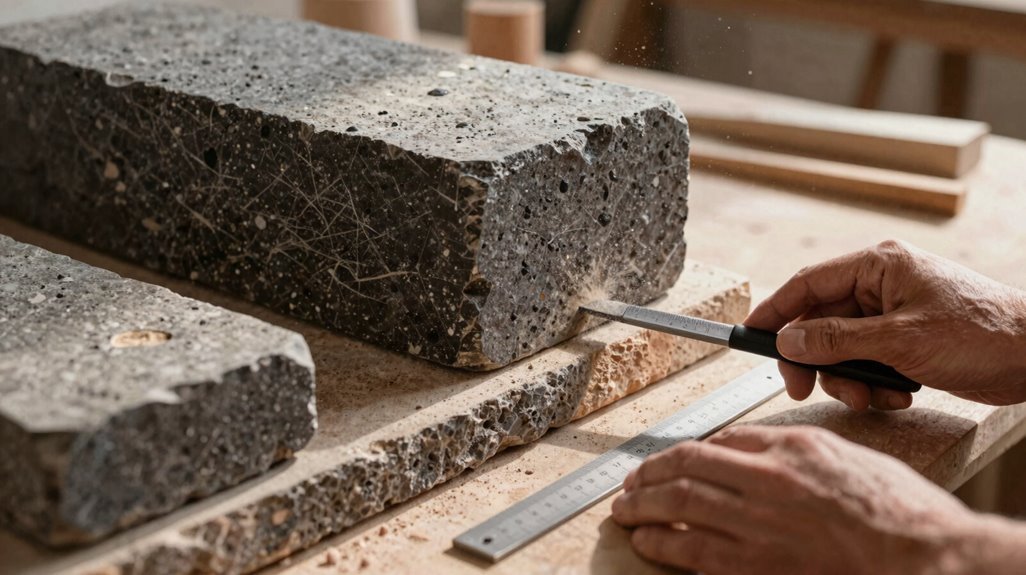
Before you lay a single stone, you must decide what you’re building and why. Your fireplace hearth starts with this choice.
Every stone answers to a purpose you must first define.
1. Select Your Fire Source
You face three primary fire source options: open fireplaces, wood-burning stoves, or eco-burners. Each demands different hearth specifications, clearances, and construction methods. Open fireplaces require the most robust protection; stoves and eco-burners permit greater flexibility.
2. Determine Hearth Construction Type
Construction hearths are essential for open-fire applications, built from concrete, stone, or brick. Decorative hearths suit stoves and eco-burners, emphasizing aesthetic integration.
3. Choose Flush or Raised Design
Flush hearths create seamless floor transitions; raised platforms improve accessibility and define visual boundaries.
4. Specify Non-Combustible Materials
Select slate, marble, granite, ceramic tile, or engineered stone. Thickness requirements range 12–50mm depending on heat exposure.
Confirm Local Codes and Gather Your Materials
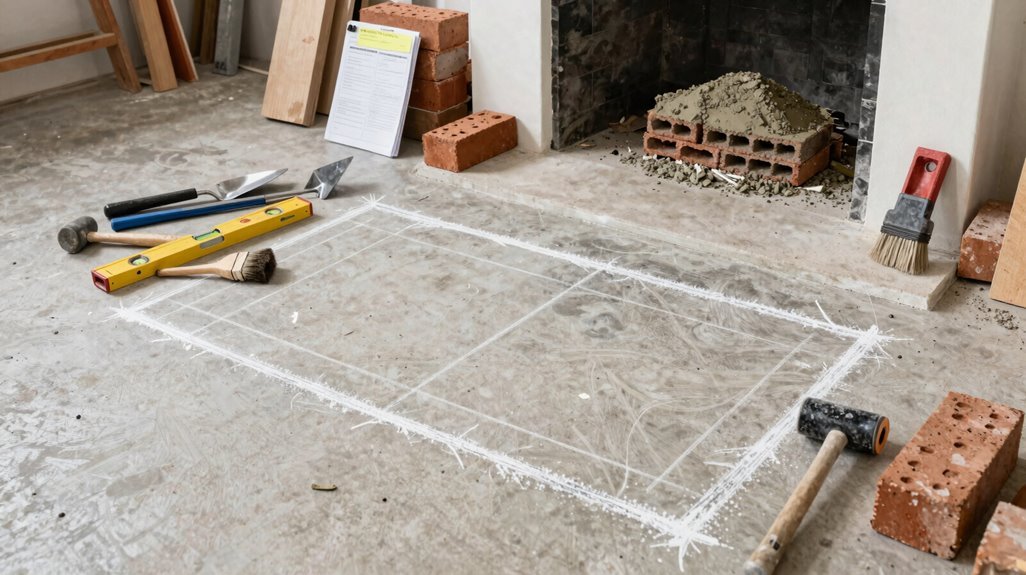
Before you purchase a single board or bag of mortar, you’ll check your local building codes and obtain the required permits, since hearth installations demand inspections and strict clearance distances from combustibles. You’ll verify that every base material, whether stone, brick, concrete, or cement backer board, meets non-combustible, high-temperature ratings for your specific fireplace type.
Once you’ve confirmed compliance, you’ll gather your complete material list: self-leveling patch, cement backer board, thin-set mortar, heat-rated tile adhesive, backer board screws, seam tape, and a reliable level for precise installation.
Code Compliance Check
Where exactly do you begin when codes, permits, and material specifications converge on a single project? You begin with code compliance, because your hearth isn’t just a surface; it’s a safety system that protects your home and everyone in it.
Before you purchase materials, contact your local building department. Request permit applications, and ask about inspection schedules. Verify your jurisdiction adopts NFPA 211, IRC R1001, or equivalent standards.
Confirm hearth clearance distances to walls, floors, and trim using a measuring tape. Verify all base materials, tiles, and adhesives are non-combustible materials rated for 200°F+. Match your design to fireplace type: masonry units need 20″ front clearance, prefabricated units follow manufacturer specs. Photograph clearances and retain material data sheets for inspectors. Cross-reference manufacturer guidelines for adhesive curing times, typically 24-72 hours.
Document everything. Your compliance record belongs in your project folder.
Material Selection Prep
With your compliance documentation filed, you’ll shift into procurement mode, selecting materials that satisfy both code requirements and your surface finish preferences. You’ll source non-combustible substrates like cement backer board, then choose tile, stone, or concrete that withstands thermal stress without degradation.
| Material Category | Specific Items | Purpose |
|---|---|---|
| Substrate | Cement backer board, self-leveling patch | Create level, fire-rated foundation |
| Adhesives | Thin-set mortar, heat-resistant adhesive, flexible mastic | Bond materials under thermal cycling |
| Hardware | Backer board screws, seam tape, tile trowel, level | Secure installation with proper gaps |
You’ll verify your tile tolerates temperatures exceeding 200°F without cracking or discoloration. You’ll plan 5 mm expansion gaps throughout.
You’ll gather wire brushes for surface prep. You’ll confirm every component meets local non-combustible standards before transport.
Level and Prep the Installation Area
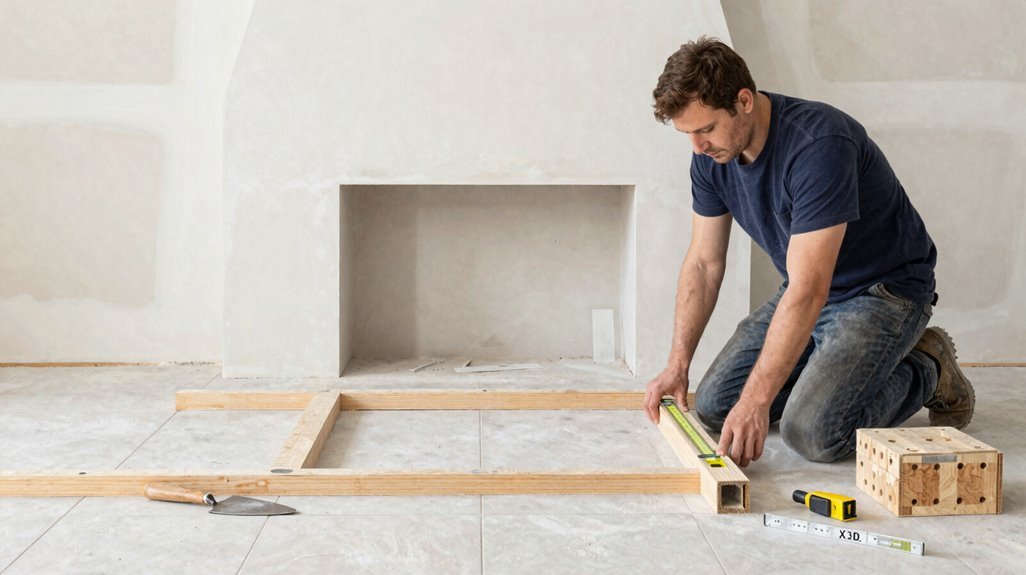
Why rush into laying materials when a poorly prepped surface will undermine every step that follows? You’re building something permanent, so treat leveling, prep, and hearth installation with the precision they deserve.
Start by clearing every combustible item from the work zone; you need a safe, non-flammable perimeter before touching any tools. Remove baseboards or trim that’ll block your flush fit; they’ll only create gaps you’ll regret later. Inspect your floor systematically, marking low spots and dips that demand correction. Clean thoroughly, then dry completely; moisture kills adhesion. Establish your reference plane by leveling the surrounding floor, whether you’re planning a flush hearth or a raised design. Surface stability determines structural integrity. Don’t compromise here.
- Clear all combustibles from the fireplace perimeter immediately
- Remove interfering baseboards and trim for seamless fitting
- Identify and mark floor irregularities requiring correction
- Clean and dry the surface completely before proceeding
- Level surrounding floors to establish your reference plane
Install Backer Board for Tile-Based Hearths
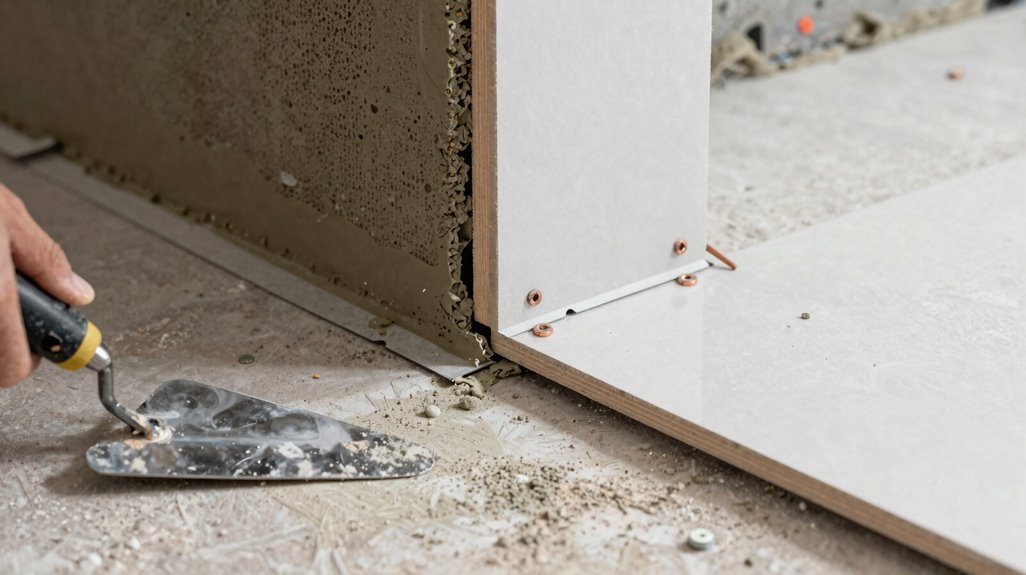
Your subfloor is now prepped and level, so you’re ready to build the non-combustible foundation that’ll carry your finished hearth surface. You’ll install two sheets of cement backer board, each 3 by 5 feet and 1/2 inch thick, cutting pieces to fit your hearth void. Align the first backer board layer flush with your hardwood floor level, then add a second layer 1/2 inch shorter on three sides for a staggered offset that prevents seam alignment.
| Layer | Thickness | Fastener Length | Joint Treatment |
|---|---|---|---|
| First backer board | 1/2″ | 2 1/4″ screws | None |
| Second backer board | 1/2″ | Mortar bond | Tape + thin-set |
| Total elevation | 1″ | N/A | Full seal |
| Edge finish | Marble trim | N/A | Cover damage |
| Final check | Non-combustible | N/A | Ready for hearth tile |
Mortar the second layer to the first, sealing joints with seam tape and thin-set mortar. Drive 2 1/4 inch backer board screws through both layers into the subfloor. Cover damaged edges with marble quarter-round trim, checking that your surface is non-combustible before proceeding to hearth tile installation.
Apply Adhesive and Set Your Hearth Surface
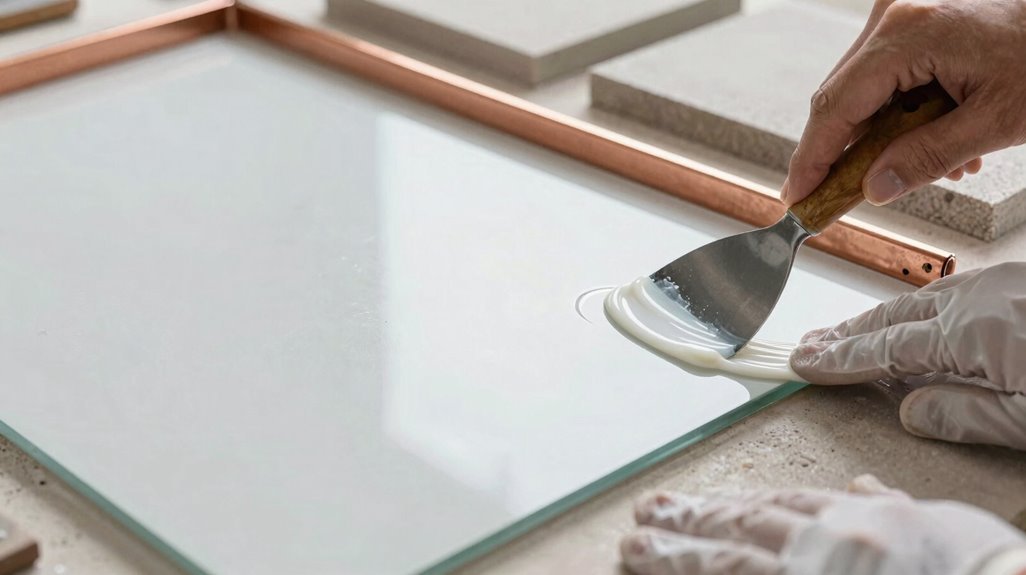
How exactly do you secure a hearth surface that’ll withstand 1,200°F temperatures without cracking or delaminating? You’re selecting an adhesive method matched to your surface type: grip-fill or flexible adhesive for smooth or uneven subfloors, thin-set mortar for tile-ready bases. You’re cleaning the hearth area until it’s dry, debris-free, and entirely non-flammable. You’re spreading adhesive in uniform, bed-like layers with your specified notch trowel.
Choose grip-fill, flexible adhesive, or thin-set mortar based on substrate conditions. Verify the underlayment is clean, dry, and non-flammable before application. Spread adhesive in consistent, bed-like layers using proper notch dimensions.
Set the hearth surface gently, then check that it’s level in every direction. Adjust positioning immediately, since adhesive begins skinning within 15-30 minutes.
Cure, Seal Gaps, and Finish
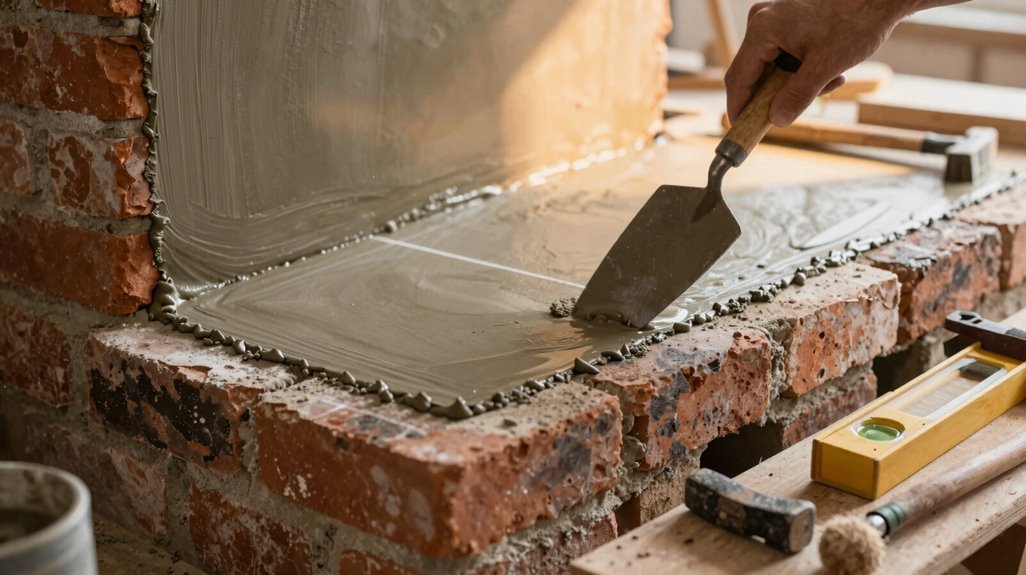
Once you’ve set the hearth surface, patience becomes your most critical tool. Allow the adhesive to cure for 24 hours before light use, and wait 48 to 72 hours for full strength. Check for level now; you can’t adjust later.
Fill any 5mm expansion gaps at the edges with heatproof flexible mortar. This lets your hearth move without cracking. Next, apply high-temperature grout or sealant between tiles or stone to block moisture intrusion. Inspect joints after initial cure; add more sealant wherever you spot openings.
Finally, install non-combustible trim or quarter-rounds for a clean seam with adjacent flooring.
| Task | Material | Timeframe |
|---|---|---|
| Initial cure | Adhesive/mortar | 24 hours |
| Full cure | Adhesive/mortar | 48–72 hours |
| Gap sealing | Flexible mortar/ sealant | After 24 hours |
Inspect, Maintain, and Use Your New Fireplace Hearth
Why invest time and effort into building a hearth if you’ll neglect it afterward? You didn’t join this community of builders to watch your work crumble. Prioritize hearth maintenance, and your fireplace will protect your home for decades.
You didn’t join this community of builders to watch your work crumble.
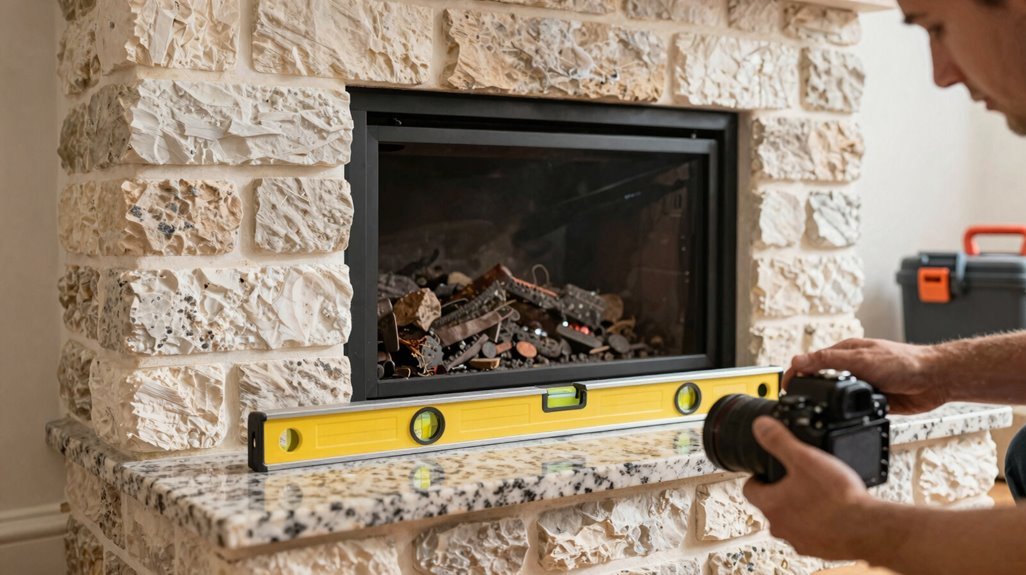
Your level surface demands quarterly inspection. Check for cracks, moisture infiltration, and debris accumulation every three months. Maintain proper safety clearance by keeping a 36-inch clear zone in front.
Verify the hearth remains level using a 4-foot spirit level. Brush away dust and ash buildup weekly during burning season. Re-grout compromised mortar joints immediately upon detection. Confirm expansion gaps remain intact, without bridging debris. Secure loose trim or quarter-rounds to prevent trip hazards.
Inspect every 90 days. Reseal annually. When you light fires, use a proper grate, never stack fuel on the surface, and monitor conditions continuously.





