
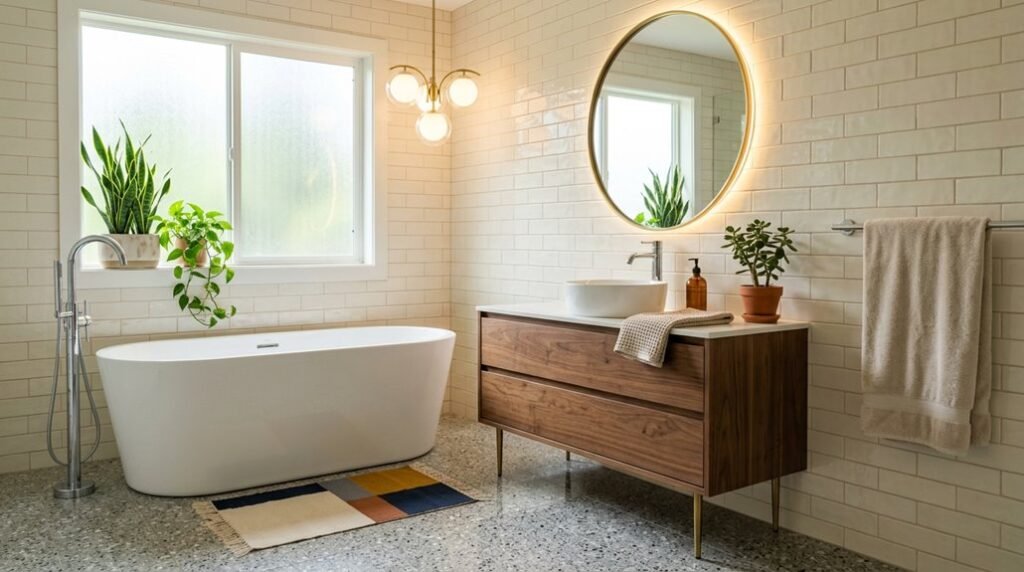
Mid-century modern bathrooms appear in 67% of homes built between 1945 and 1965, yet most owners struggle to balance preservation with function. You face a specific challenge: honoring original butter yellow fixtures while creating a cohesive, livable space.
The following five strategies provide measurable solutions for color coordination, material selection, and spatial organization without requiring full renovation. Each tip includes precise specifications, product categories, and implementation timelines to renew your bathroom within 48 to 72 hours of concentrated effort.
You will learn which grout widths prevent visual chaos, how many metal finishes coexist successfully, and exactly where to position mirrors for maximum light amplification. The result is a bathroom that respects its architectural origins while meeting contemporary standards for durability and ease of maintenance. Your first decision involves wall color strategy; it determines every subsequent choice.
Start With the Walls: Color Strategies for Butter Yellow Fixtures
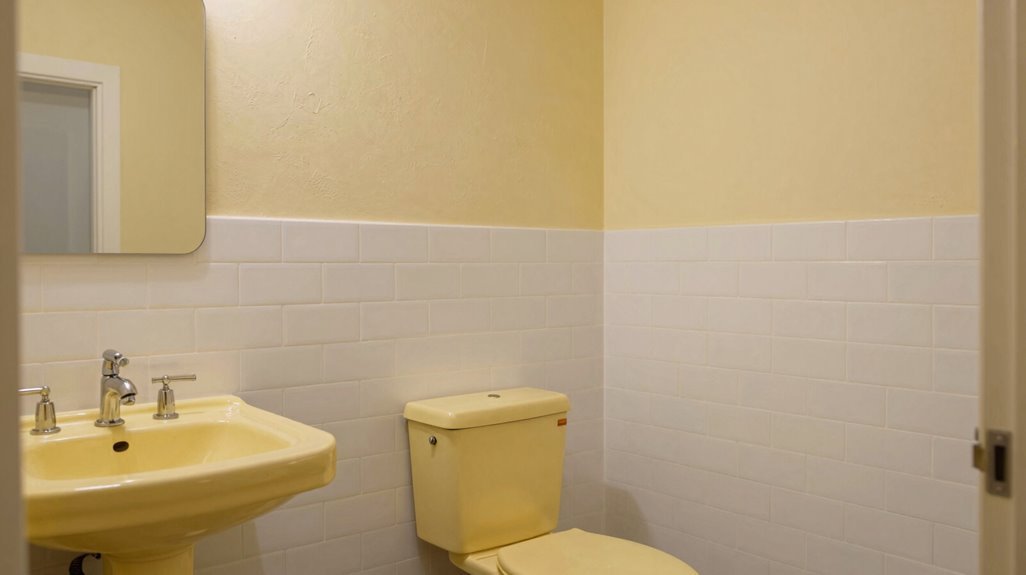
How do you keep vintage butter yellow fixtures from looking dated instead of distinctive? You start with strategic wall colors that frame them as intentional, curated choices.
1. Choose Complementary or Contrasting Wall Colors
You select creamy whites or warm beiges to complement butter yellow, or you deploy teal and navy for bold contrast. You avoid off-yellow tones, which wash out the space.
2. Build Mid-Century Modern Cohesion
You pair warm wall tones with walnut vanities, wood paneling, and brass hardware. You create a retro-polished environment where every element reinforces belonging to a design tradition.
3. Add Controlled Visual Interest
You introduce subtle wall texture or patterned tile accents, hex or herringbone, near fixtures.
4. Deploy Statement Walls Strategically
You paint one wall emerald or cobalt, keeping three walls neutral for gallery-like balance.
Pick Tile That Converses With Vintage, Not Over It
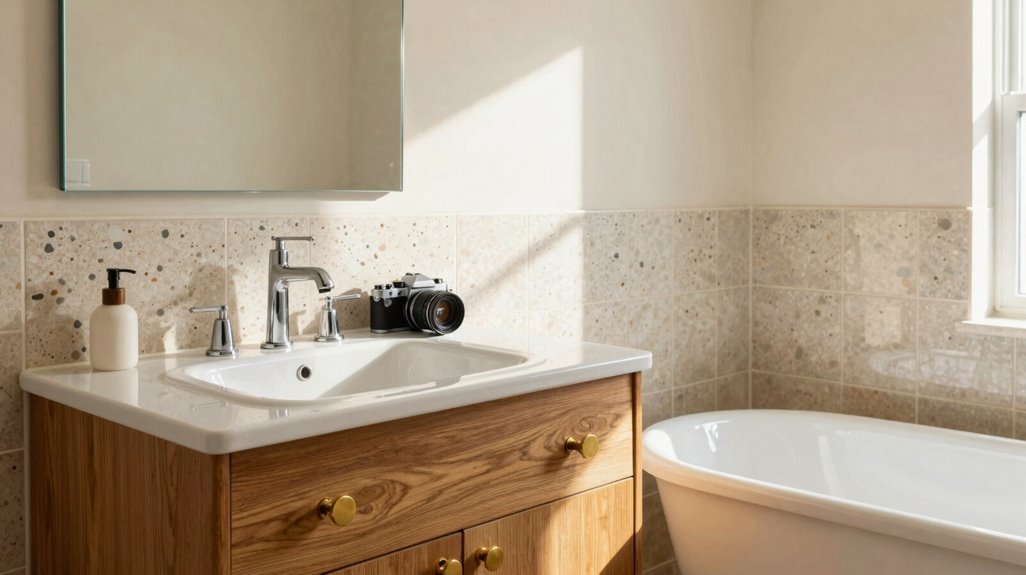
Once you’ve established your wall color strategy, you’ll turn your attention to tile selection, the element that physically surrounds and supports your butter yellow fixtures.
1. Wall Tiles: Install 3×6 subway tiles with tinted grout, ranging from warm gray to charcoal. This pairing complements your walnut vanity and brass fixtures, creating unified mid-century tiles that frame your fixtures without competing.
2. Floor Options:
- Hexagon penny tiles ground the space with period authenticity
- Herringbone marble floors establish visual centers when balanced with neutral walls
- Patterned basketweave or stacked tiles add texture and retro character
3. Bold Applications: Deploy chevron or hex tiles on floors or accent walls. These reinforce mid-century palettes while remaining legible beside original fixtures, maintaining visual coherence rather than chaos.
Mix Metals Without Replacing Original Hardware
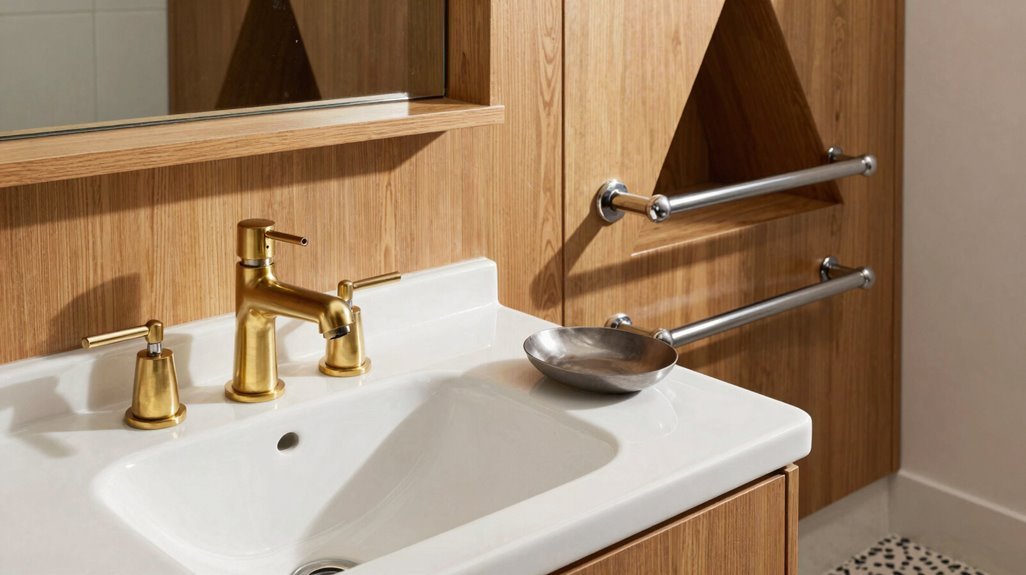
Why replace perfectly preserved butter-yellow fixtures when strategic metal mixing achieves the same visual impact? You’re working with vintage assets, not limitations. Pair existing fixtures with brass hardware on sconces, towel bars, and vanity pulls to build layered warmth. Repeat brass accents across three elements minimum: lighting, mirrors, cabinet hardware, to establish cohesion. Your preserved fixtures become the room’s color anchor.
Introduce secondary metals through non-invasive updates: matte black or brushed nickel on complementary elements creates depth without demolition. Echo era-appropriate finishes like brass or gold-toned metal accents that harmonize with walnut cabinetry and marble surfaces. Balance high-contrast pairings by coordinating with white subway or hex tile tones, so metal accents read as intentional design. Brass-framed mirrors or trim for sconces add variety while respecting original fixtures.
Choose Mirrors That Double Light and Space
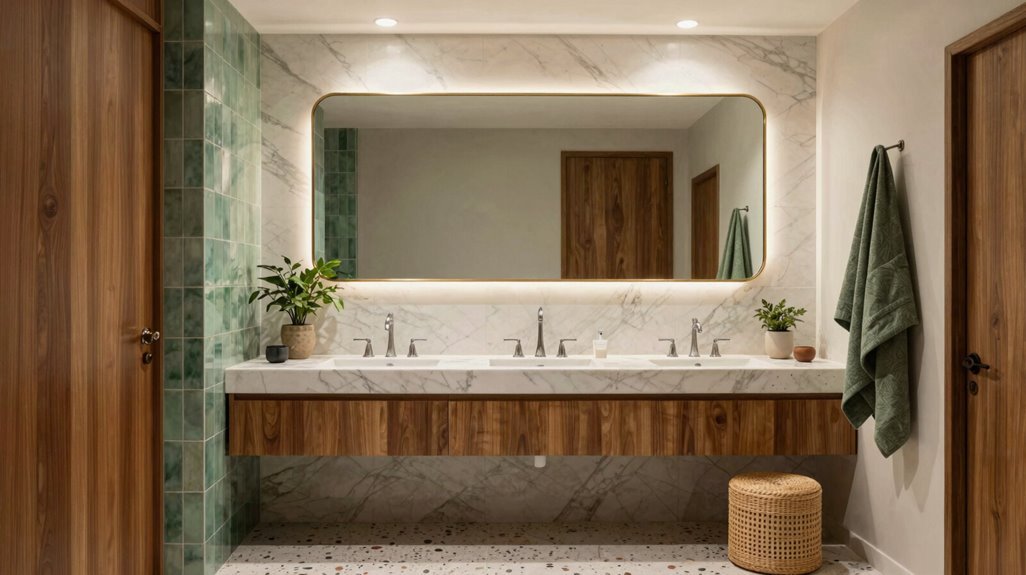
Where should you position a mirror to expand a cramped bathroom without moving a single wall? You position mid-century mirrors to capture natural light from windows or skylights, creating light reflection that doubles perceived square footage. You mount wall-mounted mirrors directly across from light sources to amplify brightness throughout the space.
You select mirrors with slim, tapered frames in wood or brass to maintain clean lines while reflecting illumination. You install frameless or partially recessed options to maximize wall height and visually enlarge the room.
You pair two identical oval or round mirrors above dual vanities for symmetrical balance that expands spatial perception. You choose sunburst or geometric framed pieces as centerpieces against blue or white tile accents. You avoid crowding the vanity area, keeping functional clearance intact.
Add Texture Through Accessories, Not Renovation
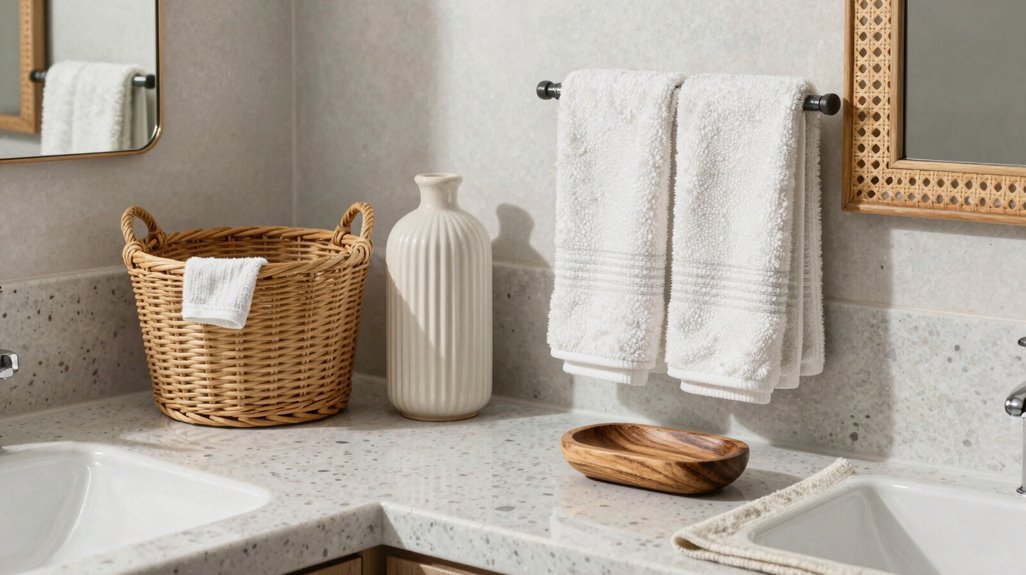
How can you turn a flat, sterile bathroom into a layered, dimensional space without tearing out a single fixture? You add texture through accessories, not renovation. This mid-century approach lets you build visual depth with strategic selections.
You start with three material categories:
- Woven or fluted wood, walnut vanity details, wood slat accents
- Natural stone surfaces, marble countertops, stone tiles with matte brass hardware
- Textiles and soft surfaces, geometric rugs, towel bars, fabric shower curtains
Layer these accessories in matte, gloss, and honed finishes within a restrained, cohesive palette. You complement existing butter yellow fixtures without replacement. Add tactile wall treatments like wood paneling or textured plaster in mid-century tones.
This method builds richness, warmth, and belonging through calculated material contrast, not demolition.





