
You don’t need a bigger kitchen; you need a system that treats your 24 square feet of counter space as finite real estate.
Seven sequential steps will change your surfaces from cluttered catch-alls into functional workstations, starting with a ruthless audit that removes 50% of current items within 20 minutes.
Each step builds on the last, creating zones that prevent the spillover effect you’ve accepted as normal.
The result isn’t minimalism, it’s operational clarity.
Audit Your Counters: What’s Essential vs. Visual Noise
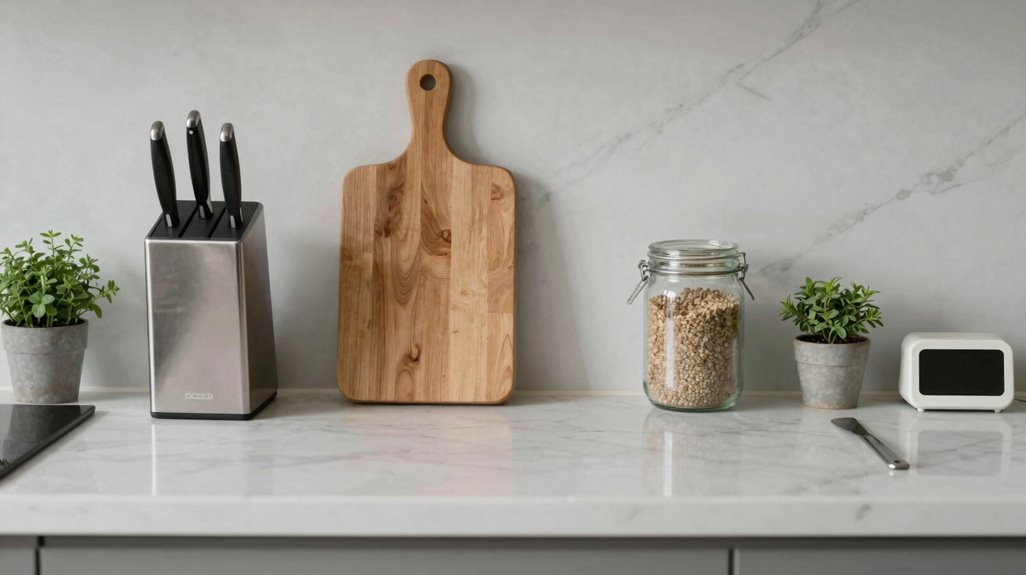
Why does your kitchen feel chaotic before you’ve even started cooking? You’re staring at visual noise, not functional space. Start your counter organization by identifying essential items: keep daily-use objects within arm’s reach, including canisters for coffee pods, salt and pepper, and a cutting board combo with oil dispensers near your stove.
Group decorative pieces with purpose, using a marble tray to corral small items behind your cutting board, maintaining 75% functionality to 25% decor. Create dedicated zones for cooking, prep, and appliances to prevent spillover.
Establish a quick declutter routine: remove non-counter items, wipe surfaces with scented cleaner, and refresh with a candle. This preserves visual calm and supports belonging through intentional, shared domestic order.
Move These 3 Categories Off Your Counters First
You’ve identified what’s truly necessary on your counters, so now you’ll tackle the excess that’s stealing your workspace. Start by removing three categories: small appliances, groceries, and nonessential decor.
- Small appliances: Move every unit you don’t use daily, blenders, toaster ovens, stand mixers, into cabinets or pantries. You’ll reclaim 2-4 square feet of counter space for active prep.
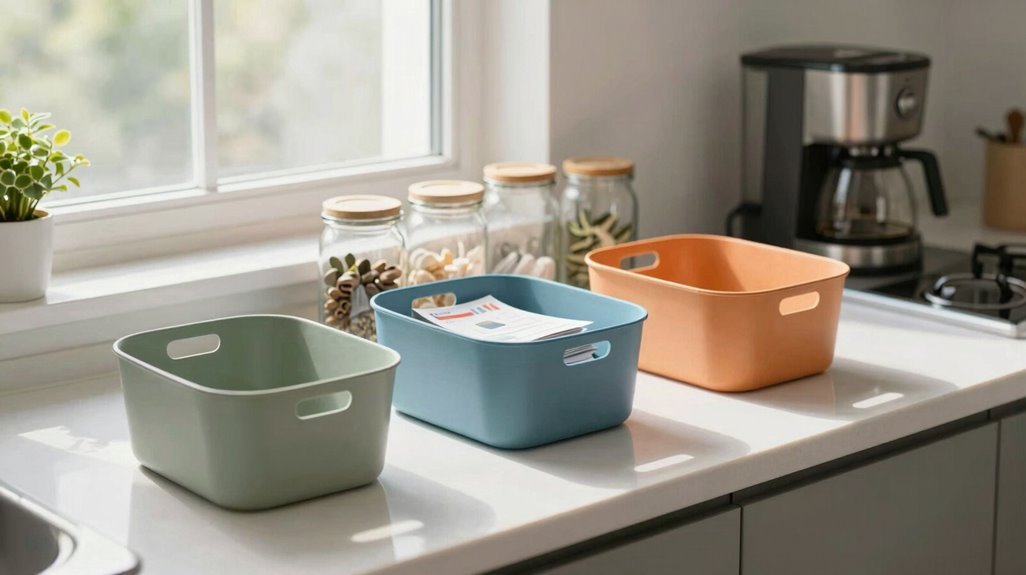
- Groceries: Relocate snack bags, bread loaves, and produce bowls into pantry bins or top-shelf baskets. This prevents visual clutter and food spoilage.
- Decor: Clear decorative pieces that don’t serve daily functions. Replace with functional organization zones.
Establish a one-in-one-out rule for these categories. When you acquire one new small appliance, grocery container, or decorative item, you’ll remove one equivalent item. This keeps open counter space and prevents future buildup.
Corral Daily Essentials in Decorative Vessels
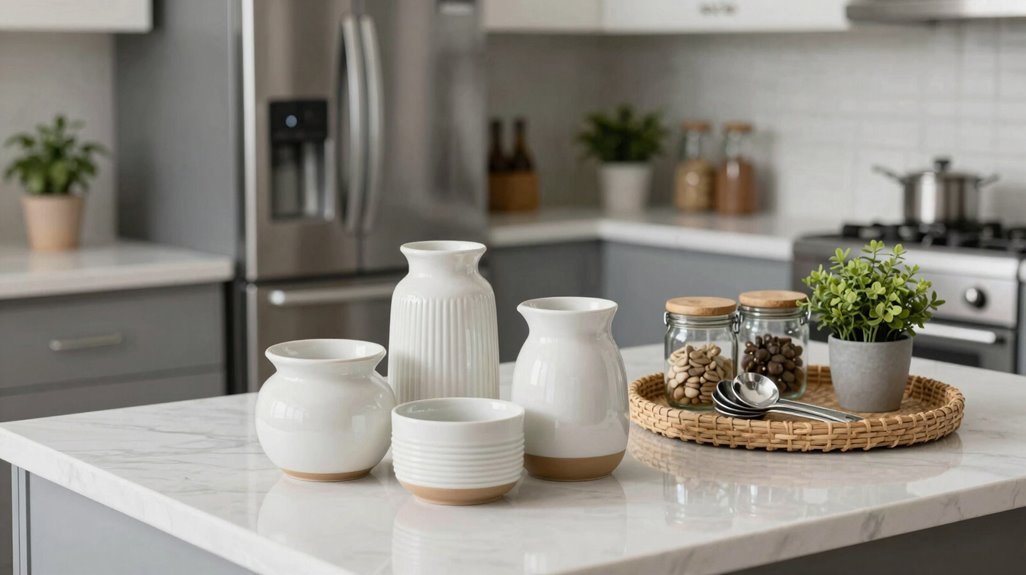
You’ll select decorative vessels that balance aesthetic cohesion with categorical containment, arranging each vessel within a 24-inch radius of its primary use zone to minimize retrieval time.
Position footed compotes, canister sets, and repurposed containers at staggered heights to create visual hierarchy while maintaining functional accessibility. Your vessel arrangement must account for daily frequency metrics, placing high-use items in forward positions and occasional-use items in rear positions to optimize workflow efficiency.
Decorative Storage Selection
How do you keep daily essentials within arm’s reach without surrendering your counters to visual clutter? You select decorative vessels that merge utility with visual harmony, turning counter organization into an intentional system.
Your vessel selection determines whether daily-use essentials become eyesores or assets. Choose pieces that share material, color, or scale to create a cohesive display across your workspace.
- Ceramic footed compote bowl: Position this 8-10 inch vessel at your primary prep zone for arm’s-length tools.
- Marble tray: Corral salt, peppers, and a trim cutting block in this 12×16 inch surface.
- Vintage silver champagne bucket: Repurpose as a roomy utensil holder, accommodating 15-20 tools.
- French canister set: Deploy labeled canisters for coffee pods, stirrers, and sweetener, maintaining categorical order.
Functional Vessel Arrangement
Where should your coffee pods, stirring sticks, and daily utensils live when drawers feel too distant during rushed mornings? You corral these everyday items in functional vessels positioned within arm’s reach, turning frantic searches into seamless motion.
Select a ceramic compote bowl for stirring sticks and sweeteners, pairing it with vintage canisters housing coffee pods. These containers merge countertop organization with cohesive aesthetics, forming unified stations through intentional grouping.
Allocate your surface using the 75/25 principle: three-quarters functionality, one-quarter visual breathing room.
Integrate patina-rich pieces, antique silver, weathered ceramic, to build character without sacrificing clarity. Group related items: sugar beside spoons, tea bags near infusers. Each vessel serves daily demand while contributing to your kitchen’s collected, intentional atmosphere. You achieve accessible efficiency through deliberate containment.
Arrange Containers Into One Cohesive Look
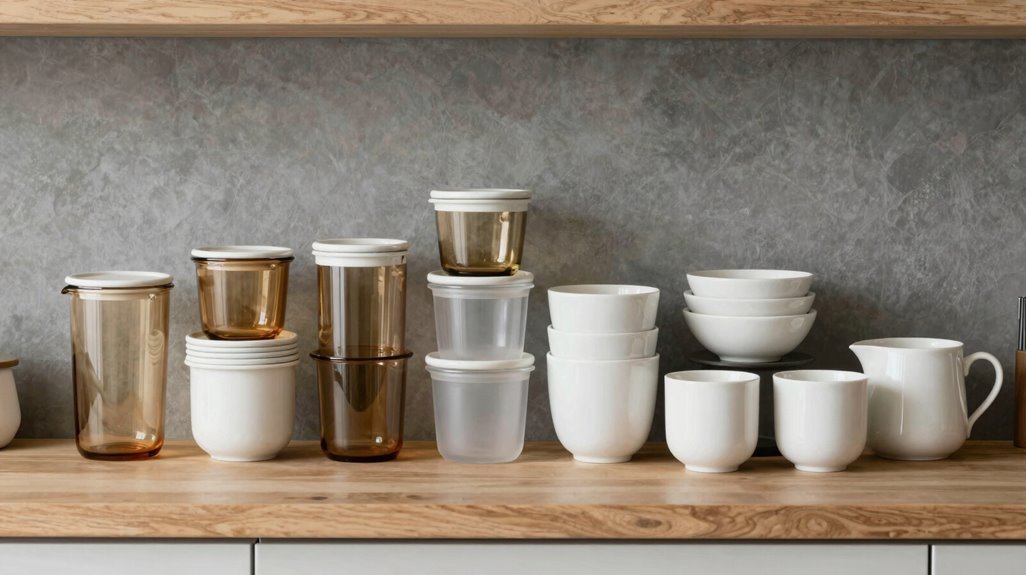
What transforms a cluttered countertop into an efficient workspace? Strategic counter organization that unifies your surfaces through deliberate design choices. You’ll create visual harmony by grouping decorative containers with daily-use items, forming a unified appearance that feels purposeful rather than chaotic.
To achieve this unified aesthetic, follow these steps:
- Select coordinating materials like ceramic, marble, or glass that complement your kitchen’s existing finishes and scale.
- Deploy specific vessels such as footed compotes, marble trays, and vintage containers to corral salt, spices, and utensils within easy reach.
- Establish kitchen zones for cooking, prep, and appliances, maintaining visual balance while maximizing usability.
- Apply the 75/25 rule, prioritizing 75% functionality with 25% decorative elements, preserving open space while containing clutter attractively.
Use Vertical Space to Reclaim Counter Room
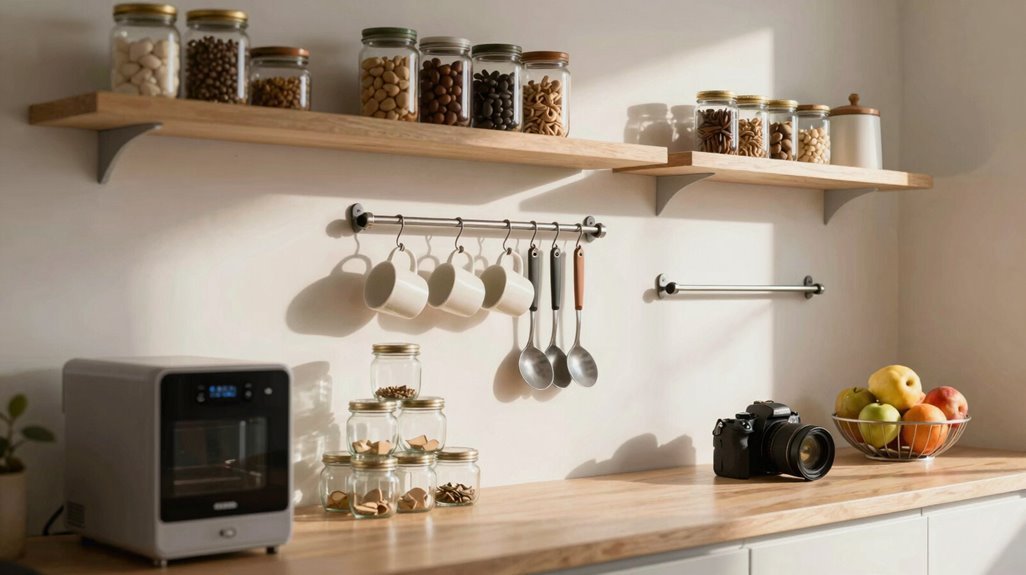
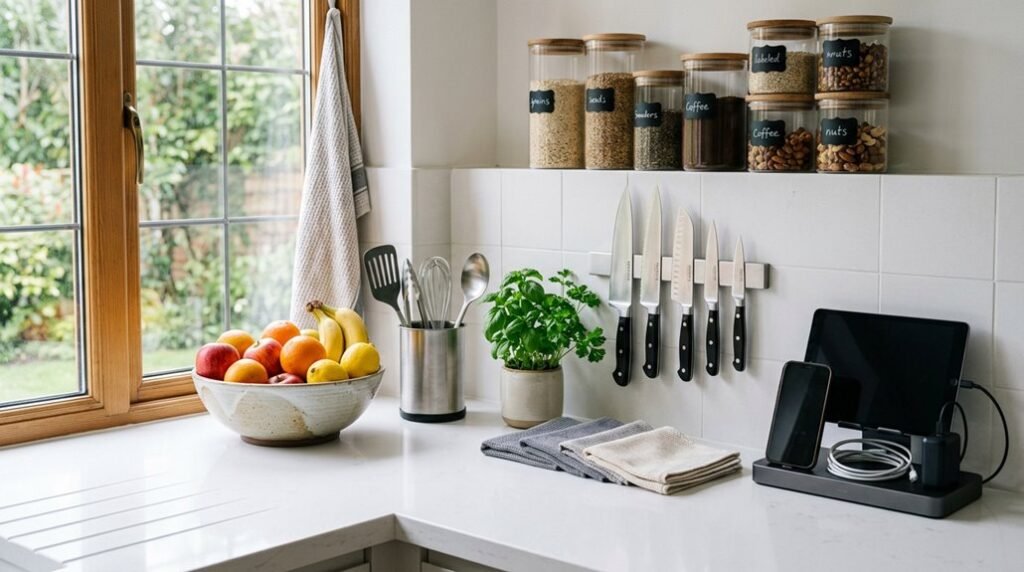
When your counters feel cramped and unusable, you’re likely ignoring your kitchen’s most underutilized asset: vertical space. You’re freeing precious counter real estate by installing wall-mounted storage, such as rails, pegboards, or hanging racks, within 12-18 inches of your primary work surfaces. You’re mounting utensils, knives, and small containers directly on walls, eliminating surface clutter entirely.
You’re maximizing vertical space further with open shelving positioned 15-24 inches above countertops, storing canisters, spices, and daily-use items in labeled zones. You’re selecting tall, slim storage units, typically 6-12 inches deep, to preserve walkway clearance while expanding capacity.
You’re establishing distinct kitchen zones along vertical planes: cooking tools cluster near stoves, prep items hover above cutting boards, and utensils align with dish zones. You’re choosing functional decorative elements, like raised-edge vintage trays, adding 3-4 inches of storage height without sacrificing aesthetic cohesion.
The One-In-One-Out Rule for Lasting Counter Clarity
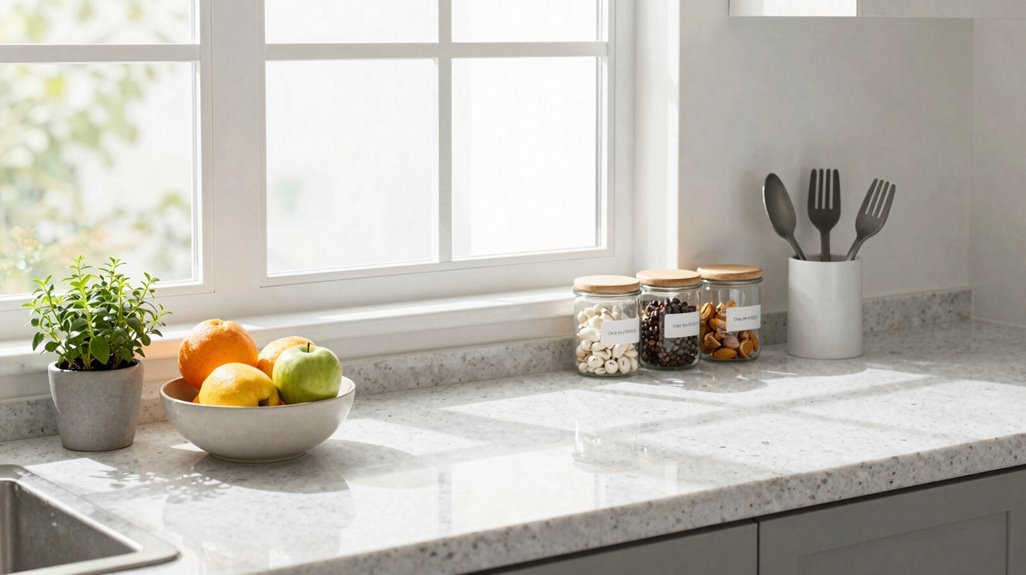
How quickly do kitchen counters return to chaos after you’ve cleared them? You’re not alone in this struggle, and there’s a proven system to stop the cycle.
Kitchen counters return to chaos faster than we care to admit—here is how to stop the cycle for good.
Implement the one-in-one-out rule to maintain lasting counter organization. When you bring something new onto your counter, you remove something old immediately. This prevents accumulation and keeps your space functional.
Apply this rule within designated zones: cooking, prep, and appliance areas, so clutter doesn’t migrate. Pair it with regular decluttering cycles, reviewing your counters weekly to remove items that no longer serve daily purposes. Strengthen your system with open-space design: maintain 75% functional items and 25% decorative elements. This ratio sustains visual order without sacrificing personality.
Follow these four steps to embed this habit:
- Evaluate every new item before it touches your counter, confirming daily-use necessity.
- Remove one existing item immediately when you add something new.
- Assign each item to a specific zone, preventing territorial creep.
- Schedule weekly 10-minute reviews to enforce continuous clarity.
Refresh Your Setup Seasonally Without Rebuilding
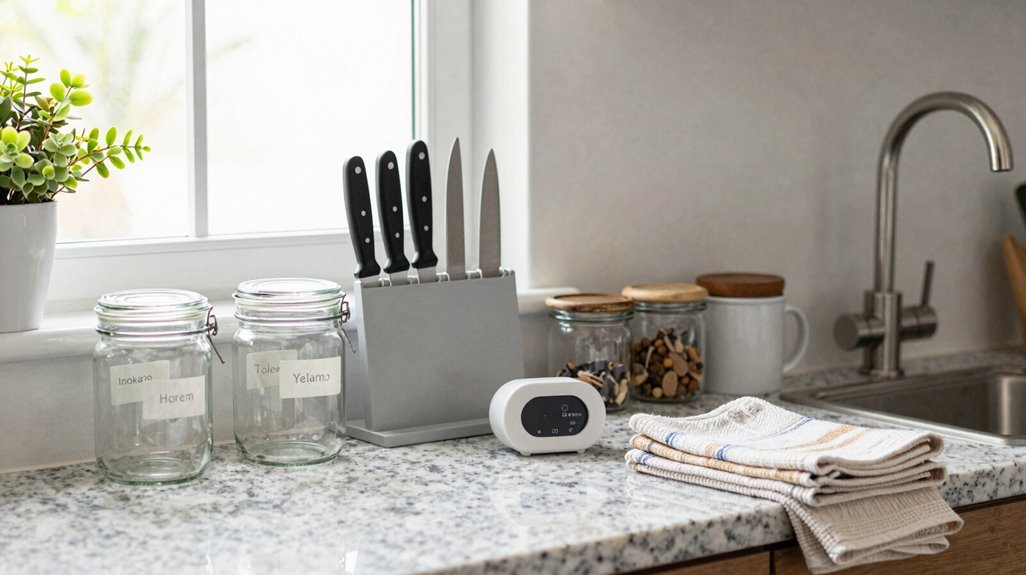
You’ll keep your counters visually current without structural overhauls by swapping seasonal accents like textiles, small decor, and color schemes every 90 days, then rotating functional pieces, such as cutting boards, canisters, or appliance placements, to maintain ergonomic flow.
Execute this refresh by storing off-season items in labeled bins within upper cabinets, freeing 12-18 inches of prime counter real estate for daily-use tools while peripheral zones host rotating display elements.
Commit to a 20-minute seasonal audit, using a simple three-column checklist: relocate, retain, or refresh, so your kitchen evolves systematically without accumulating dormant clutter.
Swap Seasonal Accents
Why completely overhaul your kitchen counters each season when a targeted swap achieves the same visual impact with far less effort? You maintain 75% functional items and 25% decorative pieces, preserving counter organization while enabling a quick refresh. This ratio keeps open counter space intact for cooking and prep.
- Anchor with storage-friendly seasonal accents, such as a decorative bread box in complementary colors, to maintain cohesion without sacrificing utility.
- Deploy leaning vintage trays or from-shelf décor, making sure you have easy access and minimal disruption to existing systems when seasons shift.
- Update display vignettes with seasonally colored textiles or coordinating glassware, balancing visual interest with preserved work zones.
- Schedule lightweight quarterly refreshes, rotating one or two decorative pieces like vintage tins or marble trays while re-evaluating spacing to prevent visual clutter.
Rotate Functional Pieces
Since you’re already maintaining a 75/25 split between functional and decorative items, rotating your core pieces seasonally lets you refresh the entire counter setup without dismantling your organizational foundation. You’ll swap functional pieces based on usage patterns, keeping daily essentials within arm’s reach while storing occasional items. This rotation preserves your kitchen counters’ organization while adapting to seasonal cooking needs.
Use two-colored post-it notes, light pink for function, dark pink for style, to map your counter zones before rotating. Move appliances to create dedicated cooking areas, freeing space for cutting boards and prep bowls. Test each rotation for two weeks, then adjust for accessibility. Your counters stay cohesive, your workflow improves, and you belong to a community that treats organization as a solvable, systematic problem.





