
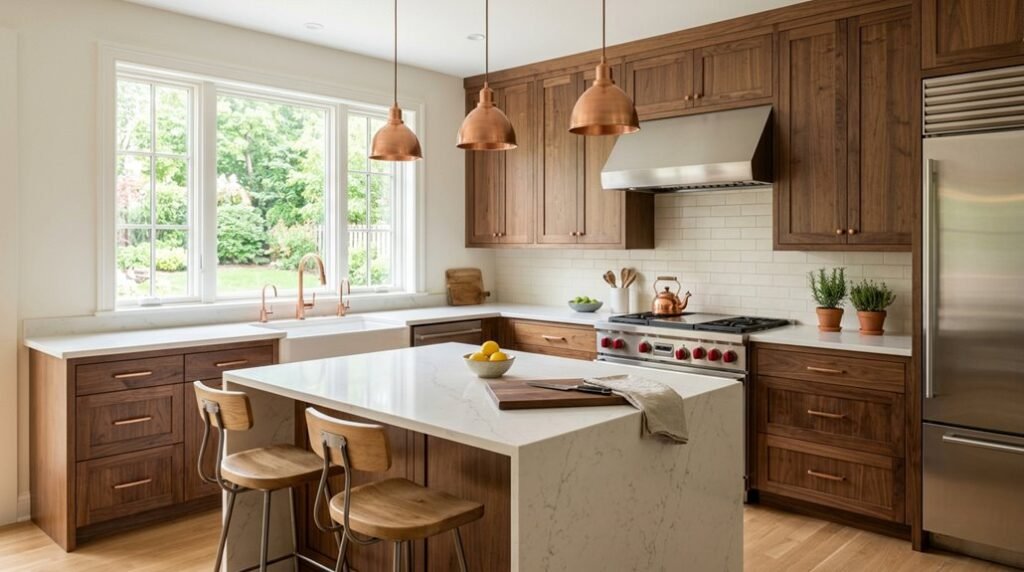
Measure your space, map your triangle, and size your appliances; you’ll need precision before a single cabinet order. You’re solving a logistical puzzle where 24-inch base depths, 36-inch countertops, and 4-to-9-foot work legs either function or fail.
Get these seven rules right, and you’ll avoid the $15,000 do-over that haunts half of all kitchen renovations. The first mistake costs more than you think.
Measure Your Kitchen: Record Dimensions Before Any Planning
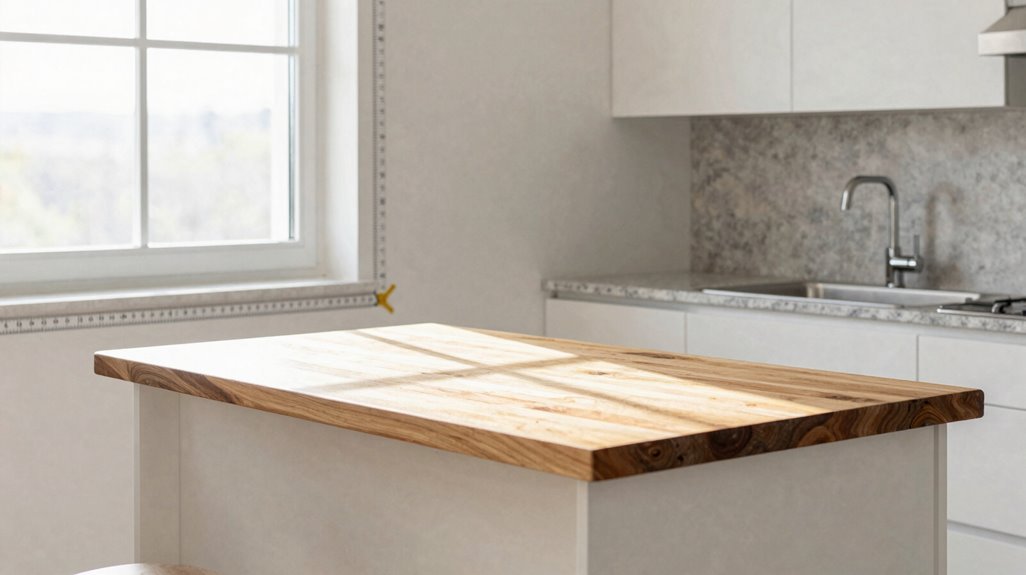
Why waste time reordering cabinets that won’t fit? You grab your tape measure, and you record every dimension that matters. You measure width, length, and ceiling height first. These numbers become your floor plan’s foundation.
You verify standard references: base cabinets run 24 inches deep, uppers stop at 12 inches, countertops sit at 36 inches high. You check your work triangle clearance; you need 48 inches between islands and perimeter cabinets, 36 inches minimum for pathways. You confirm appliance widths: dishwasher at 24 inches, microwave at 24 inches, trash pull-out at 18 inches. You note door swings and ceiling height to decide if cabinets reach the top or stop short with transoms. You build belonging through precision, because your kitchen works when your measurements don’t lie.
Set Your Realistic Budget: What Quality Levels You Can Actually Afford
You’ll start by mapping your available funds against three distinct quality tiers: entry-level basics, mid-range upgrades with soft-close hardware, and premium full-height detailing, while reserving 10–20% contingency for design fees and site adjustments.
Prioritize essential structural elements first, including 36″ countertop heights, 24″ base cabinets, and 48″ walkway clearances, before allocating remaining dollars to cosmetic finishes. This systematic approach prevents costly mid-project revisions and makes certain every dollar directly supports your layout’s functional requirements.
Budget Planning Basics
Before you select a single cabinet finish or appliance finish, you’re locking in a financial framework that will dictate every downstream decision in your kitchen project. You’re establishing a realistic budget that categorizes quality tiers, economy, mid-range, premium, and aligns your expectations with actual funds.
You must include all major cost centers: cabinetry consumes 30-40% of your allocation, countertops demand 10-15%, appliances require 15-20%, labor pulls 20-25%, and plumbing/electrical takes 5-10%. You’re adding contingencies of 10-20% for structural surprises.
You’re leveraging standard sizes to control costs, 24-inch base cabinetry depth, 12-inch upper depth, 24-inch dishwashers, to access off-the-shelf components with predictable pricing and shorter lead times.
- Allocate 30-40% to cabinetry
- Reserve 10-20% for contingencies
- Specify 24-inch standard sizes for appliances
Quality Tier Breakdown
You can’t negotiate with your budget, but you can negotiate within it. Your quality tier determines every material choice ahead.
Entry-Level
Your budget matches standard 24-inch appliances and 24-inch base cabinetry with laminate countertops. Expect simpler hardware and basic finishes.
Middle-Tier
Your budget stretches to full-height cabinetry, mid-range quartz or granite, and upgraded lighting fixtures.
Ultra-High-End
Your budget accommodates custom cabinetry, large-format premium countertops, and professional-grade appliances.
Higher tiers add premium cabinetry, solid surface materials, and high-performance appliances. These choices affect your total cost more heavily than layout modifications.
Align your expectations with achievable features within your selected tier, and you build a kitchen that fits both your practical needs and your financial reality.
Smart Allocation Strategies
Where does your money go first? You lock in your design budget by mapping quality tiers, economy, mid-range, premium, to real costs before touching a sample.
You protect structural essentials first: plumbing, electrical, ventilation. These form your non-negotiable baseline, preventing scope creep that derails projects.
You deploy a staged approach for predictable results:
- Reserve 30–40% for cabinet allocation, your largest single expense
- Assign 20–30% to appliances, balancing performance with efficiency
- Distribute remaining funds across countertops, hardware, lighting, and installation
You build budget contingency at 5–15%, cushioning against shipping delays, design changes, and installation surprises. You document acceptable finishes, hardware specs, and features in a cost-aware design brief, confirming every choice aligns with your established financial framework.
Map Your Work Triangle: Position Sink, Stove, and Fridge for Efficiency
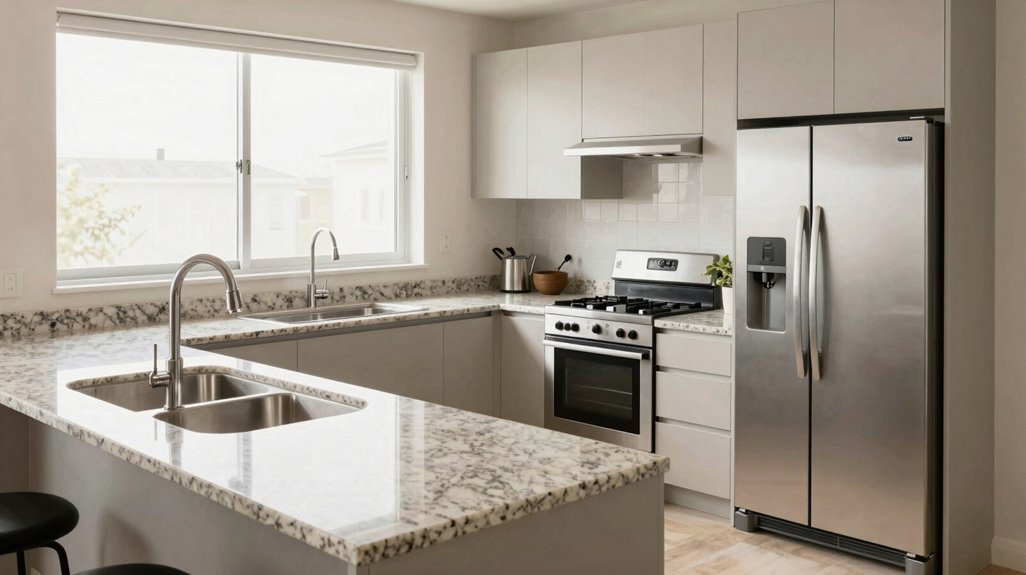
You’ll position your sink, stove, and refrigerator to form a work triangle with sides measuring 4 to 9 feet each, keeping the total perimeter between 12 and 26 feet for optimal efficiency. When your kitchen layout deviates from this classic model, you’ll adapt by establishing functional zones that align with your specific cooking habits and workflow priorities.
You’ll also create dedicated prep zones with immediate access to tools and ingredients if baking or specialized tasks dominate your routine, making certain every movement serves a practical purpose.
Optimal Triangle Spacing
Why does a poorly planned kitchen exhaust you halfway through cooking dinner? You’re fighting your own space, wasting steps between tasks, and losing the rhythm that makes cooking feel effortless. The kitchen triangle solves this.
Master these spacing fundamentals:
- Keep each leg between 4 and 9 feet for optimal spacing
- Maintain total perimeter between 12 and 26 feet
- Remove obstructions blocking any pathway
These measurements aren’t arbitrary constraints. They define workspace efficiency, the measurable distance between function and frustration.
When you position your sink, stove, and refrigerator within these parameters, you create workflow zoning that respects how you actually move.
Modern kitchens sometimes adapt this framework. If baking dominates your routine, prioritize prep access over strict tradition. But understand the rules before you bend them. Your kitchen triangle determines whether you cook with momentum, or against it.
Zone Placement Strategy
How should you arrange the three anchors of your kitchen? You’ll map your work triangle first, keeping each leg between 4 and 9 feet with a total perimeter of 12 to 26 feet for optimal workflow.
In open-concept spaces, you’ll prioritize functional kitchen zones over rigid triangle rules to maintain efficiency. If you bake frequently, you’ll establish a dedicated prep zone near your main work areas with immediate access to tools and ingredients. You’ll minimize movement between your three primary zones to reduce travel distance and fatigue.
Before you commit, you’ll use planning tools or visualizers to test multiple sink-stove-fridge configurations. These digital resources let you evaluate traffic patterns and access points without costly mistakes. You’ll measure twice, place once, and build a kitchen that works as hard as you do.
Clear Your Walkways: Minimum Spacing Rules That Prevent Collisions
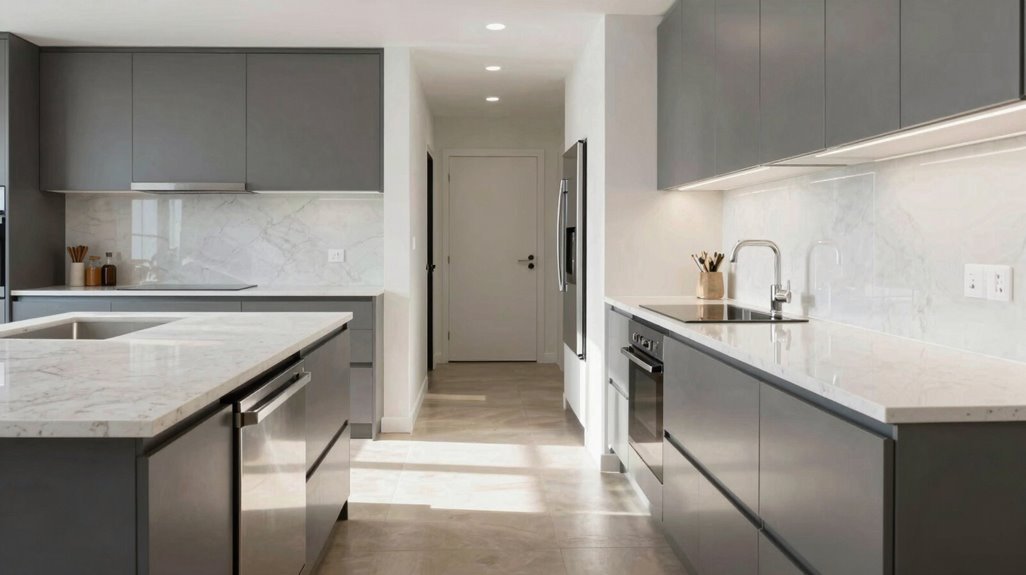
The walkways in your kitchen determine whether you move efficiently or constantly dodge obstacles during daily tasks. You need strategic clearance rules that protect your circulation patterns and eliminate collision risks.
Designers and homeowners who build smart kitchens follow these spacing standards:
- Maintain 48 inches minimum between islands and perimeter cabinets for unobstructed passage
- Remove all obstacles blocking pathways adjacent to prep, cooking, and cleaning zones
- Respect dedicated aisles in open-concept layouts to preserve safe, collision-free movement
Your minimum doorway clearance must never block the kitchen work triangle. Keep walkways completely free of clutter. When you preserve these measurements, you create efficient transitions between tasks.
Your kitchen becomes a space where multiple people work simultaneously without interference, joining the community of homeowners who value functional, well-planned design over costly mistakes.
Size Your Appliances First: Avoid Costly Layout Mistakes
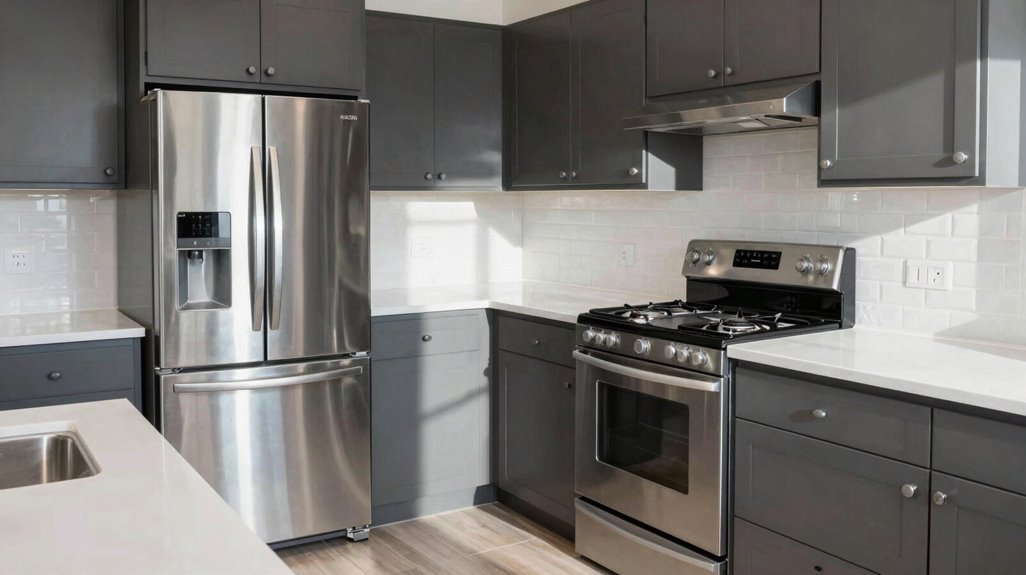
What happens when you’ve built your dream cabinets, only to discover your refrigerator won’t fit the allocated space? You’re left with costly modifications, delayed timelines, and a kitchen that never feels quite right. Size your appliances first, and you’ll avoid this common pitfall entirely.
Start with standard widths: your dishwasher needs 24 inches, your microwave requires 24 inches, and your trash pull-out typically demands 18 inches. Plan your clearance requirements early, maintaining 36 inches of walkway width and making certain unobstructed door swings for your fridge, oven, and dishwasher.
Align appliance heights with your cabinetry, using 24-inch base depths and 12-inch upper depths for visual cohesion. Map your work triangle deliberately, positioning your fridge near storage, your sink near cleaning zones, and your range within efficient reach. Check that countertop overhangs don’t collide with appliance doors. Get these measurements right, and your layout succeeds.
Calculate Your Cabinet Space: Square Footage Formulas by Kitchen Size
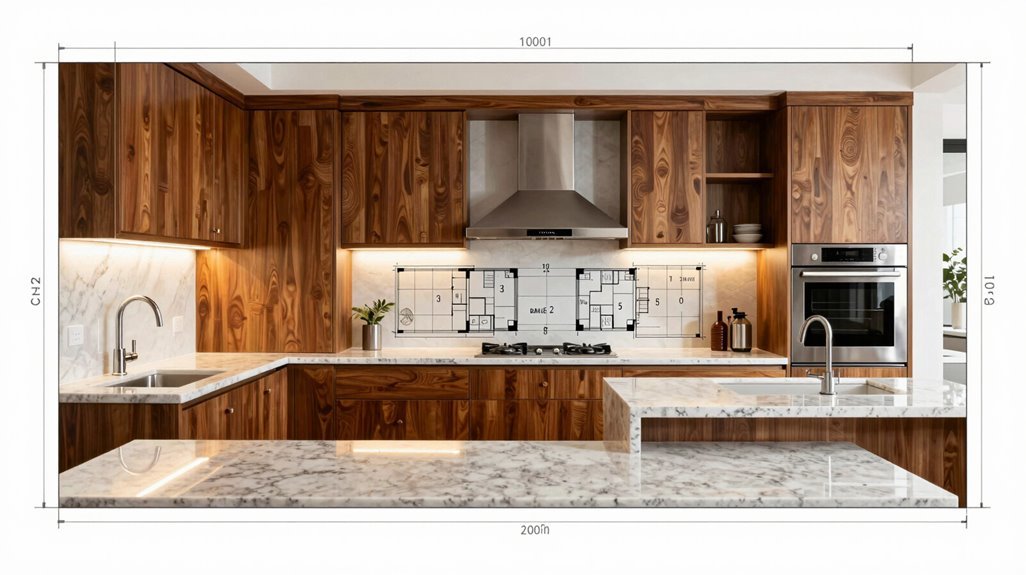
Once you’ve locked in your appliance dimensions, you’re ready to determine how much cabinet space your kitchen can actually support. Your square footage dictates everything, so measure carefully. Small kitchens (150 sq ft), medium (151–350 sq ft), and large (350+ sq ft) each demand different cabinet counts.
Start your needs inventory now. List every item you’ll store, then calculate base and upper cabinets required. You’ll need to respect the 24-inch base cabinet depth and 12-inch upper cabinet depth standards, or you’ll waste space.
For layout efficiency, follow these rules:
- Maintain 36-inch minimum walkways between cabinet runs
- Keep appliance proportions balanced to your square footage
- Limit cabinet door widths to 22 inches maximum
Use a planning tool or designer to translate your numbers into reality. CliqStudios offers free assistance to match cabinet quantities with your kitchen’s dimensions and budget.
Design Your Prep Zone: Counter Space Requirements for Real Cooking
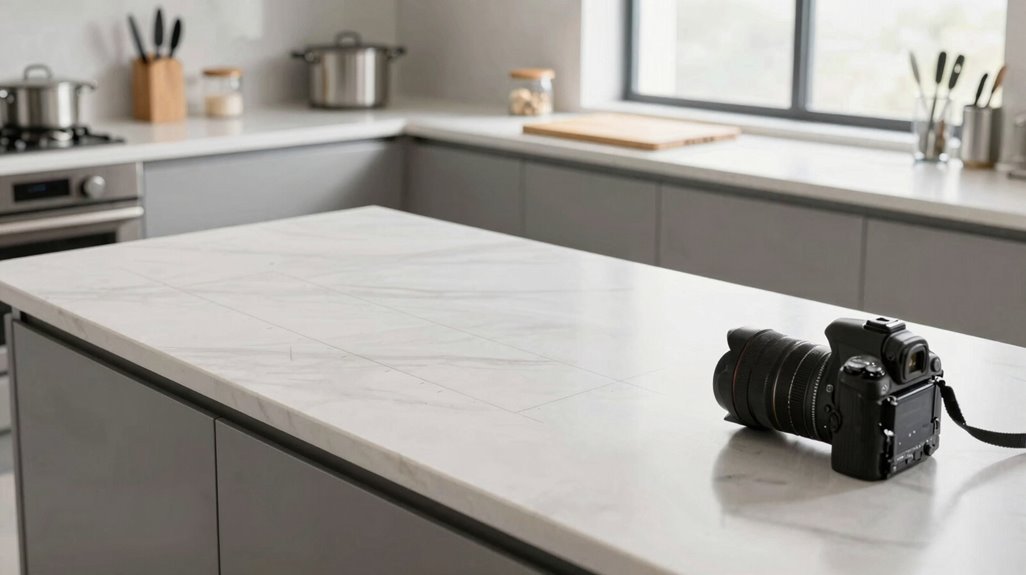
Where do you actually chop vegetables, roll dough, and stage ingredients? You need dedicated counter space carved from your kitchen’s core.
Every real kitchen begins with counter space: where dough rolls, vegetables drop, and cooking actually happens.
Position your prep zone inside the work triangle, the anchor connecting sink, refrigerator, and stove. You’ll minimize steps, you’ll preserve momentum. Standard countertop depth runs 24–25 inches; deploy this fully near your sink and cooktop, leaving 36-inch walkways clear.
- Locate uninterrupted surfaces. A single 48-inch stretch beats fragmented segments.
- Separate chopping zones from staging areas. You’ll cut clutter, you’ll sharpen efficiency.
- Verify appliance clearances; dishwasher doors demand 21 inches when open.
Walnut worktops, properly sealed, merge prep function with gathering spaces. Your family belongs where you belong: at the center of real cooking. Build it measured, build it permanent.





