
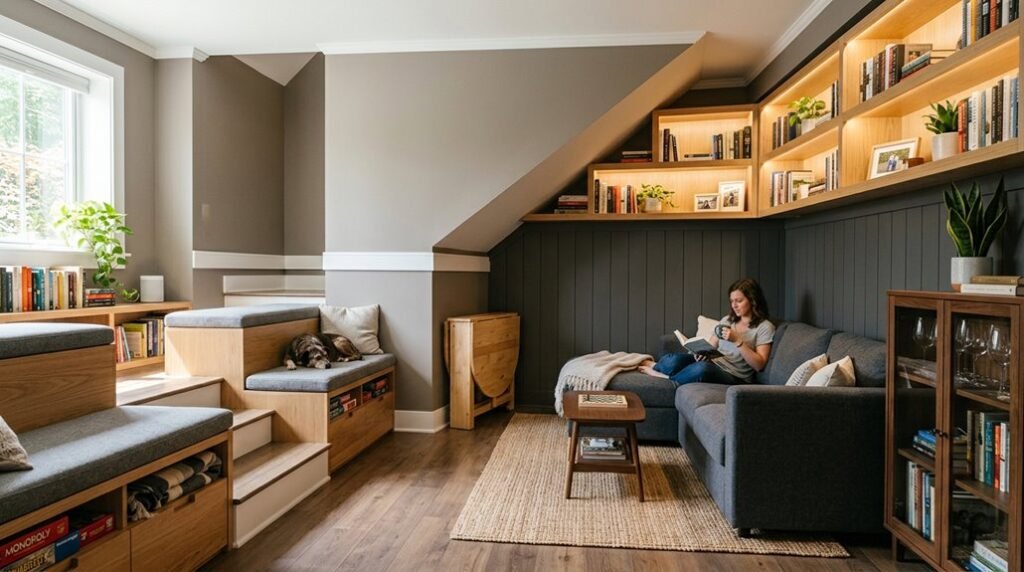
You’re sitting on 600–1,200 square feet of underused concrete, and every inch demands a purpose. Zone the space into three distinct areas: a 10×12-foot media section with a 65-inch screen, a 12×15-foot seating zone with built-in benches hiding 18 cubic feet of storage each, and a 6-foot slim storage wall with adjustable 14-inch-deep shelves.
Control moisture first; install perimeter drains and run a dehumidifier 24/7 for 30 days before finishing.
Layer lighting at 3 levels: 6-inch recessed cans at 8-foot spacing, wall sconces at 60 inches high, and task lamps at 24 inches.
Choose furniture under 36 inches deep to preserve circulation paths.
The difference between a cluttered cellar and a functional extension isn’t luck; it’s a system you’re about to implement.
Zone Your Basement Family Room for Living, Media, and Storage
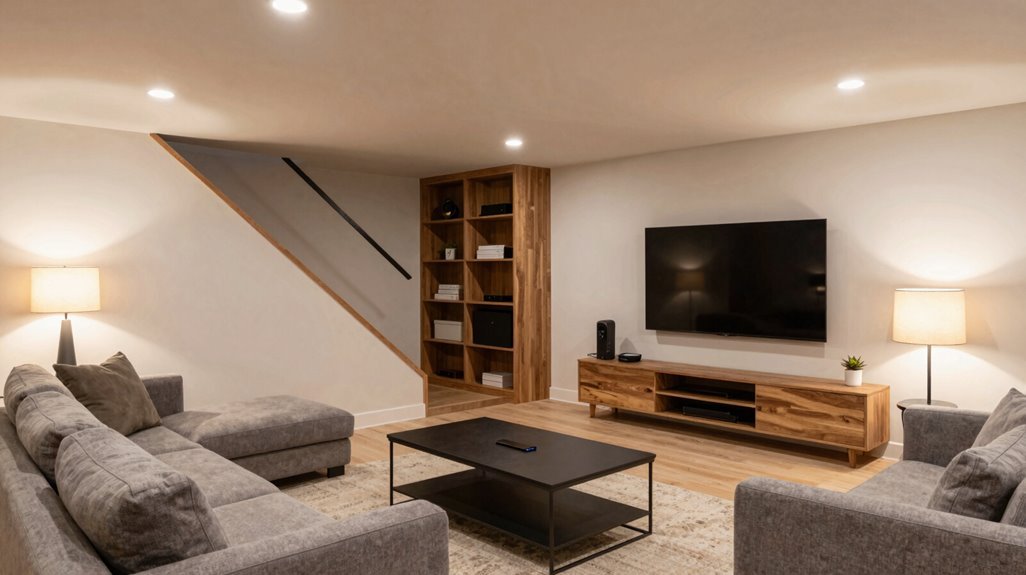
How do you transform a single basement space into three functional areas without building walls? You create distinct zones through strategic placement and lighting.
1. Define Your Zones
You establish three clear territories: a relaxing zone with soft seating, a media zone centered on your screen, and a storage zone with built-in solutions. You don’t need drywall; you need intention.
2. Maximize Storage
You install built-in seating with hidden compartments, or you mount open shelves 12-18 inches deep along perimeter walls. You gain 20-30 square feet of storage without losing floor area.
3. Layer Your Lighting
You install dimmable recessed lights (2700K) for relaxing zones, and you add task lighting (4000K) for activity areas. You create visual boundaries through brightness, not barriers.
4. Choose Multifunctional Furniture
You select ottomans with storage, sleeper sofas, and nesting tables. You adapt each piece to serve dual purposes, expanding usable space by 15-25 percent.
Control Moisture and Ventilate Before You Finish
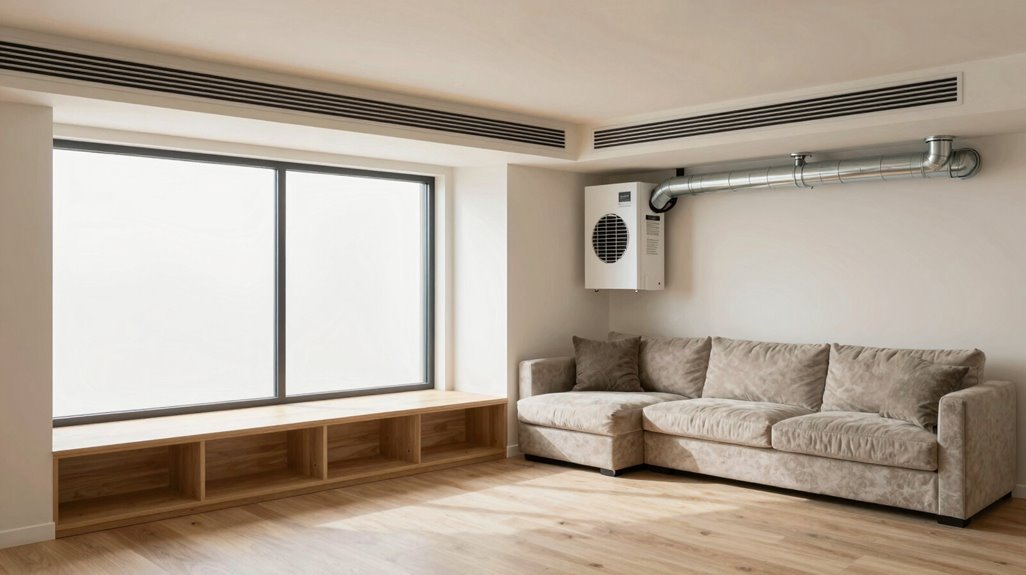
Why risk your investment when moisture destroys more basement finishes than any design mistake? You must tackle basement moisture before hanging drywall or laying flooring.
Start with moisture barriers on walls and floors, sealing concrete with epoxy coatings or polyethylene sheeting to block vapor transmission. Install proper ventilation systems, including exhaust fans and dehumidifiers rated for your square footage, maintaining humidity control between 30-50% year-round.
- You feel frustrated when musty odors return, knowing your family avoids the space you built for them.
- You watch warped flooring and moldy drywall undo months of careful planning.
- You realize your basement could have been the gathering place everyone cherished, if only you’d prepared properly.
Complete humidity control now, or rebuild later.
Hide Ductwork, Beams, and Window Wells With Paint and Paneling
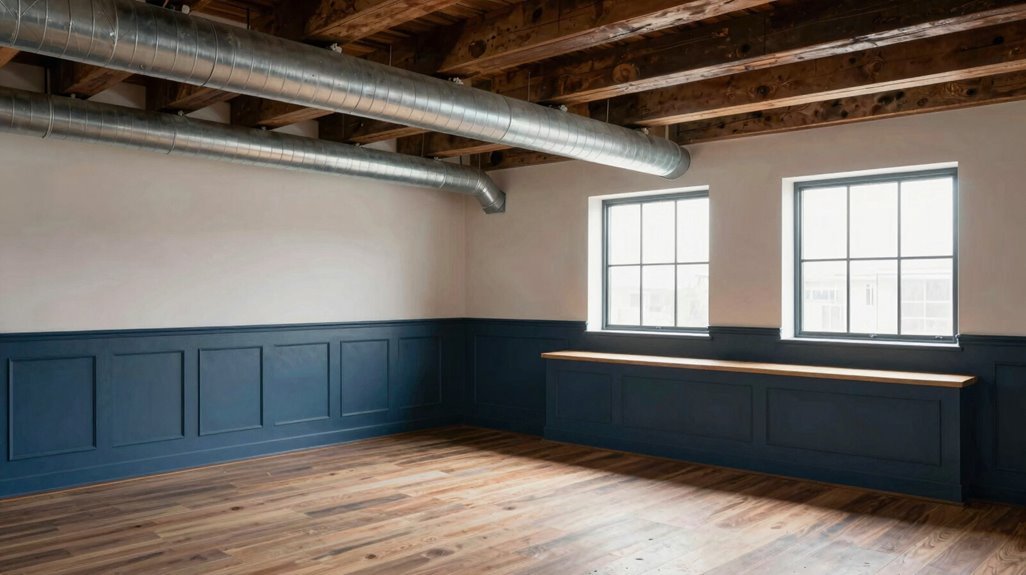
You can eliminate visual clutter by painting ductwork, beams, and window wells to match your walls or ceiling, creating an uninterrupted surface that expands perceived space. Install paneling or trim kits around exposed mechanicals and egress windows to establish a unified, architectural finish that conceals structural necessities.
These approaches turn mandatory basement elements into integrated design features while preserving headroom and code-compliant safety clearances.
Paint Matching Techniques
Where exactly should your eye travel when ductwork cuts across the ceiling, or beams interrupt the sightline? You’re seeking paint matching solutions that create color cohesion, and you’ll find them through strategic, measurable steps.
- Apply paint matching by coating ducts, beams, and adjacent surfaces in identical tones, achieving seamless ceiling continuity that eliminates visual fragmentation.
- Select lighter LRV paints, values between 70-80, for overhead elements, reducing shadow depth by 40% while amplifying reflected light across architectural interruptions.
- Execute ductwork camouflage through color-matched edges, trimming transition zones within 1/8-inch tolerances to prevent chromatic breaks.
You’ll unify your basement through a cohesive color palette spanning all vertical and horizontal planes. This systematic approach turns structural necessities into integrated design elements, helping your family room feel complete, purposeful, and welcoming.
Paneling Installation Methods
How can you reclaim the ceiling and walls when ductwork, beams, and window wells fragment your basement’s visual field? You solve this through strategic paneling installation that makes your space one cohesive environment.
- Match panel color to surrounding walls for seamless ceiling/ductwork concealment that eliminates visual breaks.
- Paint exposed ductwork the identical shade as walls or ceiling before paneling, reducing clutter through chromatic continuity.
- Install lightweight, tongue-and-groove or faux-reeded panels directly over blemishes, egress wells, and low beams, creating continuous vertical surfaces that improve perceived height.
- Combine paneling with trim around every opening, delivering finished edges that read as intentional architectural detail rather than camouflage.
- Choose removable panel systems for maintenance access, so your installation remains practical long-term.
This finishing approach makes fragmented infrastructure into unified, purposeful design.
Choose Paint Colors That Reflect Light and Expand Visual Space
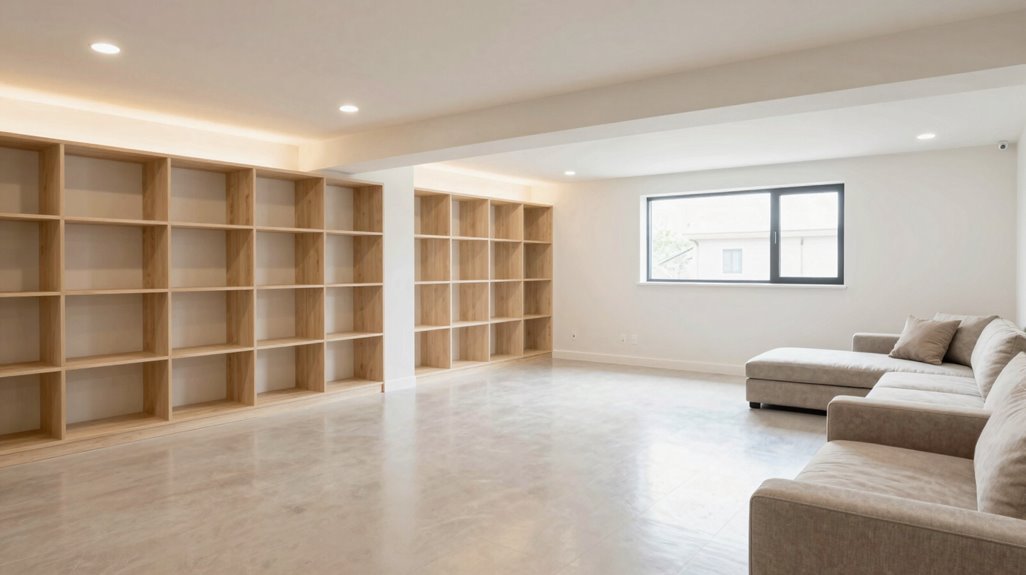
Why settle for a dim, cramped basement when strategic paint choices can turn it into an airy, expansive retreat? You need to prioritize light-reflective colors with high LRV ratings above 70, which bounce 70-80% of available light back into your space. Avoid flat white walls; instead, select warm neutrals like Sail Cloth to maintain an inviting atmosphere without clinical coldness.
Apply reflective finishes strategically. You should pair matte ceilings with eggshell or satin wall paints, then incorporate glossy trim work to create multiple light-bouncing surfaces.
You should layer your lighting approach. Combine recessed fixtures, wall sconces, and table lamps to eliminate shadow pockets.
To maximize perceived dimensions, you will:
- Mount oversized vertical artwork to draw eyes upward, creating 8-12 inches of perceived ceiling height
- Paint ceilings 15% lighter than walls to open vertical space
- Extend wall colors onto trim for uninterrupted visual flow
Warm Up Cold Floors With Area Rugs or Heated Flooring
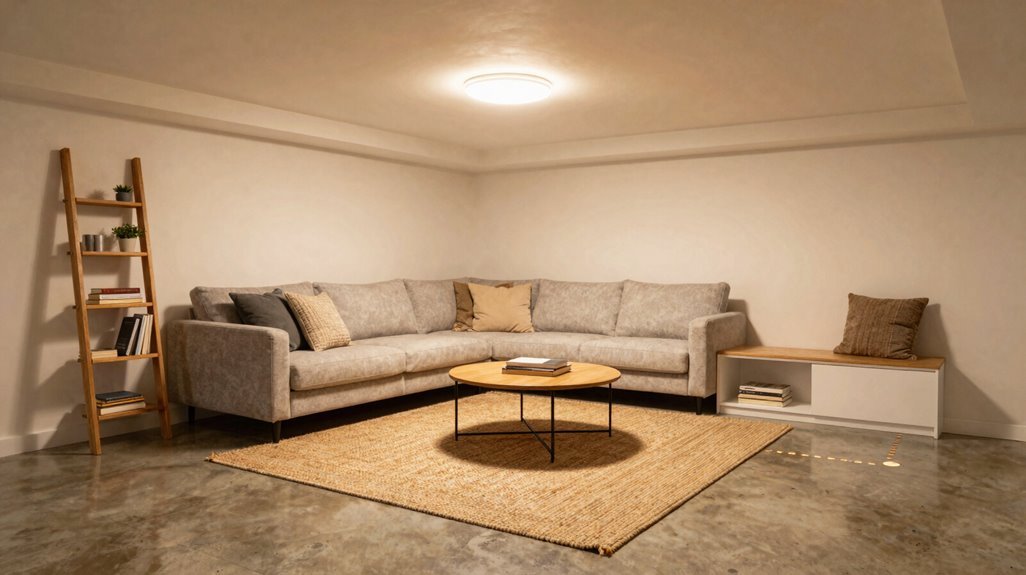
What concrete floors steal in warmth, you’ll reclaim through strategic layering and targeted heating solutions.
1. Layer Area Rugs for Immediate Comfort
Install a super soft area rug over concrete floors to define your sleeping zone and enhance foot warmth. Layer secondary sheepskin or vintage rugs to increase perceived warmth and texture underfoot. Size rugs to anchor seating and sleeping areas, improving heat retention and sound dampening.
2. Install Heated Flooring for Permanent Warmth
Choose heated flooring systems to physically warm your space. Select warm-toned carpet or heated tile to visually and physically feel cozier year-round.
3. Optimize Placement for Maximum Impact
Position area rugs to soften basement acoustics while adding color and pattern. A well-placed rug turns cold, echoing concrete floors into an inviting foundation where your family gathers comfortably.
Build Window Seat Storage and Custom Banquettes
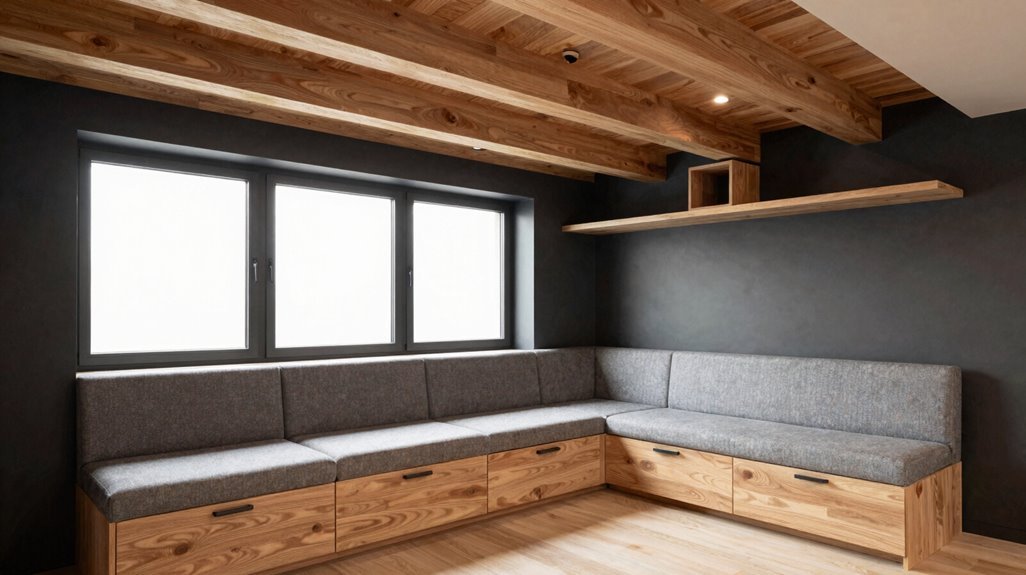
You’ll maximize your basement’s square footage by installing a window seat with 18-inch-deep storage drawers beneath the cushion, which captures otherwise unused perimeter space while seating 2-3 people.
Design custom banquettes with 48-inch bench lengths per diner, integrating hinged lids that conceal 12-inch compartments for linens, media equipment, and seasonal items. These built-in solutions eliminate the need for freestanding furniture, reducing your floor plan clutter by approximately 30% while establishing defined activity zones.
Window Seat Benefits
Window-seat storage converts underutilized basement perimeters into high-functioning zones, delivering concealed capacity without sacrificing floor space. You install a window seat with built-in storage, integrating drawers or cabinets beneath for concealed organization. You maximize your compact design by positioning banquettes around existing windows, preserving natural light while creating efficient seating.
You’ll experience three core advantages:
- You reclaim 12-18 cubic feet of storage per linear foot, eliminating cluttered floors.
- You invite lingering through upholstered cushions, establishing your dedicated retreat.
- You unify surrounding wall color and trim, visually expanding the perceived square footage.
Pair your window seat with adjacent shelving panes, keeping toys, books, and seasonal items immediately accessible. You maintain surface continuity through matched millwork, making certain every inch serves your family’s daily functions without visual disruption.
Custom Bench Design
How do you turn a bare basement perimeter into a dual-purpose system that seats six and stores 40 cubic feet of gear? You build a custom bench design that merges seating with storage.
Window seat integration: Install a hinged lid with gasket seals for moisture resistance, protecting bedding and toys below.
Built-in bench placement: Position seating along walls or as a room divider, creating distinct zones without blocking flow.
Material selection: Choose warm woods or upholstered cushions for coziness, plus stain-resistant fabrics and low-profile hardware for durability.
| Component | Specification | Purpose |
|---|---|---|
| Lid type | Hinged, gasketed | Moisture resistance |
| Capacity | 40 cubic feet | Storage volume |
| Seating | 6 people | Occupancy |
You’ll maximize every square foot while keeping gear organized and accessible.
Hidden Storage Solutions
Moving beyond perimeter benching, concealed compartments within window seats and banquettes exploit vertical depth that standard shelving wastes. You’ll maximize every cubic inch when you construct a window seat with hinged, lift-top access, concealing toys or seasonal items beneath 4-inch foam cushions. Integrate custom banquettes with 18-inch-deep built-in storage cavities, creating cohesive lounging zones that align flush with surrounding cabinetry.
You’ll organize small belongings efficiently using these pull-out systems:
- wicker baskets (14″W x 12″D) for rapid toy retrieval
- full-extension drawer glides (100-lb capacity) for heavy items
- divided cubbies (6″ compartments) for electronics and games
Select moisture-resistant materials; marine-grade plywood, vinyl upholstery, and sealed hardwood, to withstand 60-70% basement humidity. Your banquette construction guarantees long-term usability, eliminating warping and mold risks while maintaining seamless sight lines.
Pick Furniture That Works Harder: Storage Ottomans, Sleeper Sofas, Nesting Tables
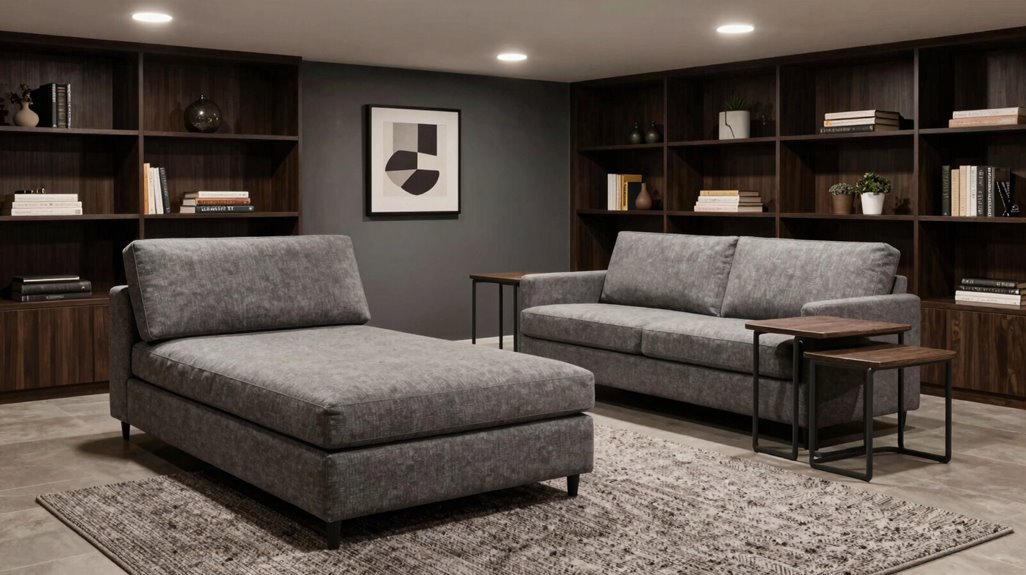
Where will you store extra blankets, seat unexpected guests, and set down drinks when your basement measures 300 square feet or less? You solve this with multi-functional furniture.
Storage Ottomans: You gain 3 functions in 1 piece; seating, hidden storage (16-20 gallon capacity), and coffee table surface. Tuck blankets, toys, and remotes inside.
Sleeper Sofas: You convert living space to guest quarters in 60 seconds. Choose queen-size mechanisms (60″W × 80″L sleeping area) without sacrificing daily seating.
Nesting Tables: You spread 2-3 tables (18″-24″W each) during gatherings, then nest to 12″ total width when idle.
| Piece | Functions | Space Saved |
|---|---|---|
| Storage ottoman | 3 | 67% vs. separate items |
| Sleeper sofa | 2 | 100% vs. guest room |
| Nesting tables | Variable | 50% when nested |
Prioritize soft upholstery and warm wood tones. You maintain coziness while keeping surfaces clear.
Hang Mirrors and Use Metallic Accents to Bounce Light
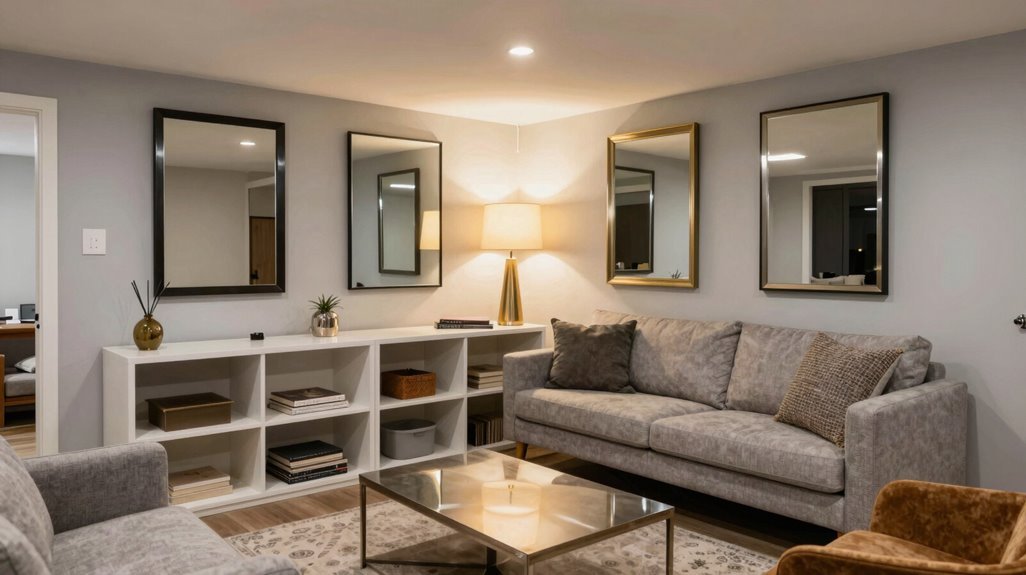
Why let your basement feel like a cave when you can double its brightness without adding a single fixture? You hang mirrors opposite your light sources, and you’ll watch them bounce light deep into every corner. You pair those mirrors with metallic accents, brass frames, chrome edges, and you’ve built a reflective system that amplifies ambient illumination without extra wiring.
Here’s how you create belonging through brightness:
- You position a 6-foot mirror opposite your window, and you’ll feel the room wrap you in shared, open warmth.
- You add metallic accents to shelves and tables, and your family gathers in golden, welcoming glow.
- You mount tall mirrors vertically, and you’ll draw every eye upward, expanding your ceiling height, expanding your space together.
You combine these elements, and your basement becomes a room where everyone belongs.
Layer Lighting From Overhead to Eye Level to Eliminate Shadows
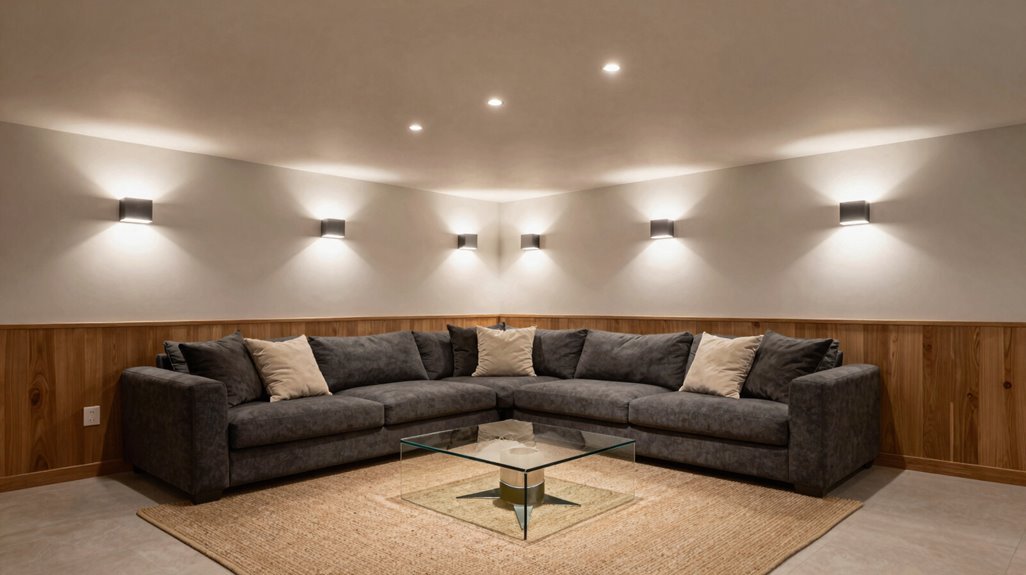
Mirrors and metallic accents multiply what light you have, but they cannot create illumination where none exists. You must layer lighting from ceiling to floor to banish shadows and claim every corner of your basement family room.
Start with recessed lights for ambient lighting, spacing them 4-6 feet apart across the ceiling. Add wall sconces at eye level, 60-66 inches from the floor. Position floor lamps and table lamps to fill gaps.
This three-tier approach, overhead, mid-level, low, distributes light evenly, eliminates dark pockets, and expands perceived depth. For task lighting, direct adjustable lamps toward reading nooks or game tables.
You don’t need expensive fixtures. Combine existing recessed lights with 2-3 strategically placed lamps. Measure your space, map your layers, and install within a single weekend for immediate change.
Add Warm Wood, Soft Textiles, and Acoustic Treatments for Coziness
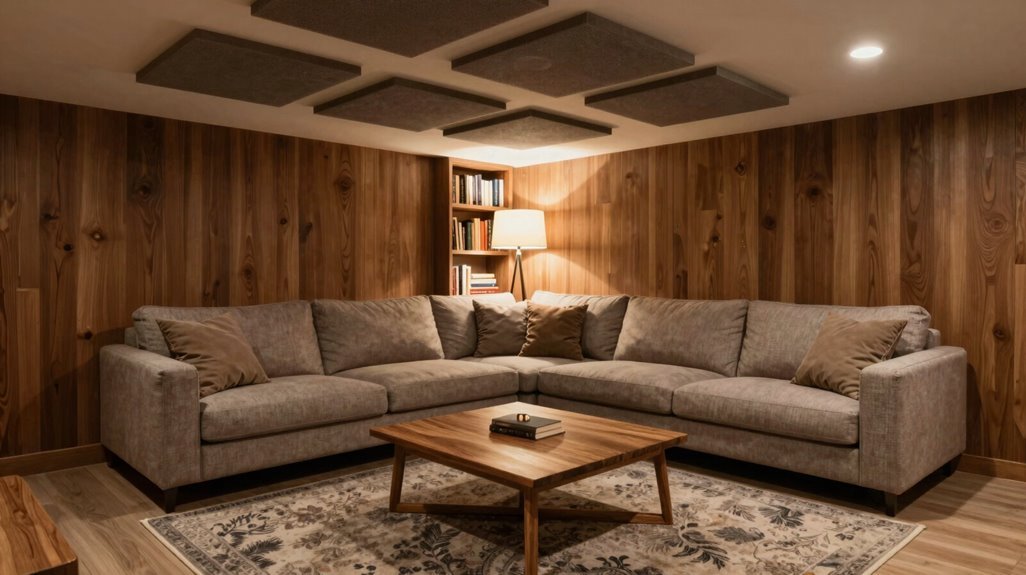
You’ll anchor your basement’s visual warmth with intentional wood selections: vintage beds, side tables, or built-in shelving in oak, walnut, or maple tones that measure 1-2 inches thick for substantial presence.
Layer textiles systematically: start with a base of 8-10 ounce waffle weave blankets, add 2-3 bouclé or faux fur throws per seating area, and finish with sheepskin rugs measuring 2×3 feet or larger over concrete substrates. These material choices absorb 20-30% more ambient sound than bare surfaces, turning echo-prone basements into acoustically controlled environments within 48-72 hours of installation.
Warm Wood Accents
How can you counteract the inherent coldness of below-grade concrete and drywall? You introduce warm wood accents throughout your basement family room, creating visible warmth and character that turns austere subterranean space into an inviting gathering place.
Implement these three strategic elements:
- Select honeyed wood tones. Vintage beds, side tables, and built-ins in amber shades unify your space, counteracting harsh basement lighting constraints with natural luminosity.
- Layer basement lighting. Combine overhead fixtures, sconces, and floor lamps to amplify wood’s glow without high-contrast finishes that feel sterile.
- Integrate multi-functional storage. Wooden built-ins with concealed compartments maximize square footage while maintaining cohesive, lived-in aesthetics.
You’ll balance cooler structural elements through deliberate wood selection, establishing belonging through intentional material continuity.
Soft Textile Layers
Where can you find the most immediate transformation for your basement family room? Look to soft textiles and strategic layering. You will solve two problems at once: visual coldness and poor acoustics.
Layering creates comfort through systematic material stacking. Start with a 9-by-12-foot super soft area rug, then add sheepskin or vintage rugs in 3-by-5-foot dimensions under seating zones. This improves underfoot comfort and absorbs sound.
Pair warm wood side tables with textured fabrics; bouclé, faux fur, waffle weave, in multiples across surfaces. You should drape two to three throws per sofa and install floor-to-ceiling drapery panels, four to six inches beyond window frames, to dampen echo. Upholster seating in plush materials, and add one ottoman with dense cushioning. You will reduce reverberation by 30 percent while creating belonging through tactile warmth.





