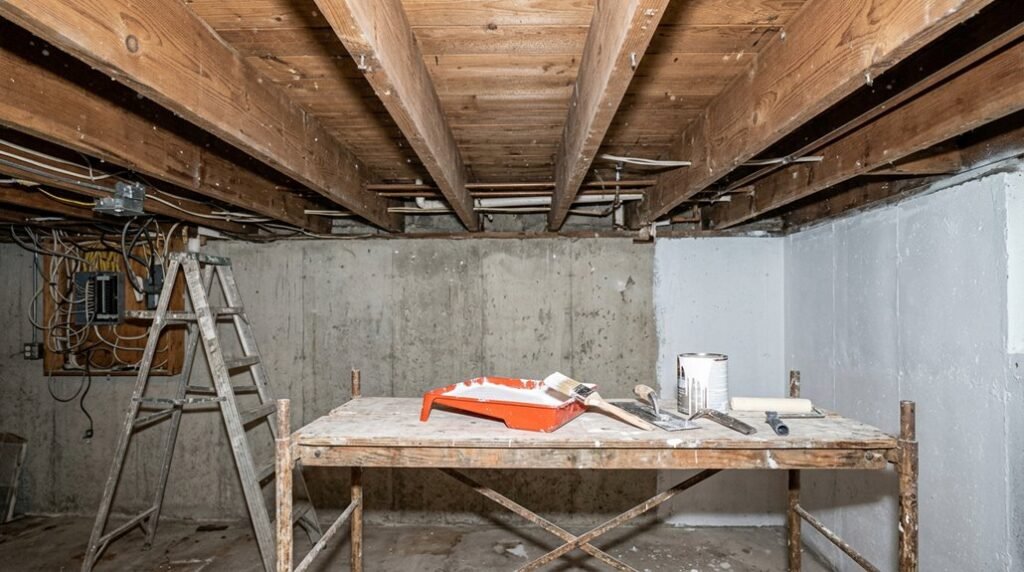
You need a methodical plan before you open a single can of primer, because an exposed basement ceiling presents unique obstacles: raw joists, conduit, ductwork, and plumbing that demand precise sequencing. Start with the wrong step, and you’ll trap dust under fresh paint, overspray your furnace, or miss shadowed corners entirely.
The following guide breaks down each phase, from securing 6-mil plastic barriers to dialing your sprayer to 2,200 PSI, so you complete this project once without costly redo work.
Tools and Materials for Painting an Exposed Basement Ceiling
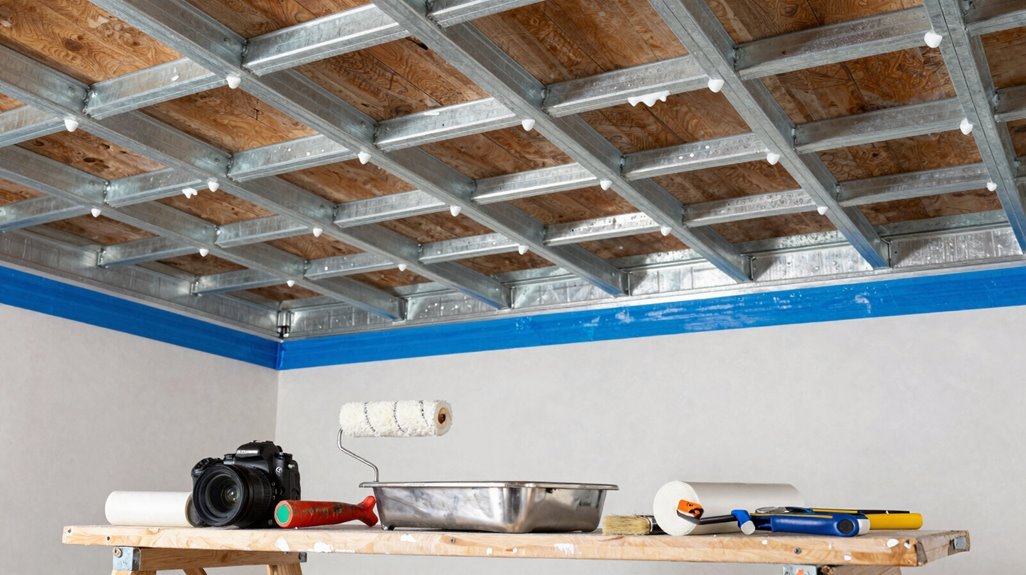
Efficiency demands the right equipment, and you’ll need specific tools to tackle an exposed basement ceiling properly. You’ll rent or purchase a paint sprayer with a 25-50 foot hose, enabling you to cover 400-600 square feet per hour without constant repositioning.
You’ll protect your space systematically. Lay canvas drop cloths over floors and furniture, securing plastic sheeting with painter’s tape along walls and fixtures. You’ll wear a respirator with P100 filters, safety glasses, and disposable coveralls to block paint mist from skin and lungs.
You’ll apply shellac primer first, especially on pipes and metal surfaces, preventing rust bleed-through and helping topcoat adhesion within 1-2 hours drying time. You’ll select flat white or off-white paint, maximizing light reflection in windowless basements. You’ll keep a 9-inch roller and 2-inch angled brush nearby for edges the sprayer cannot reach.
How to Clean Joists, Pipes, and Wires Before Painting
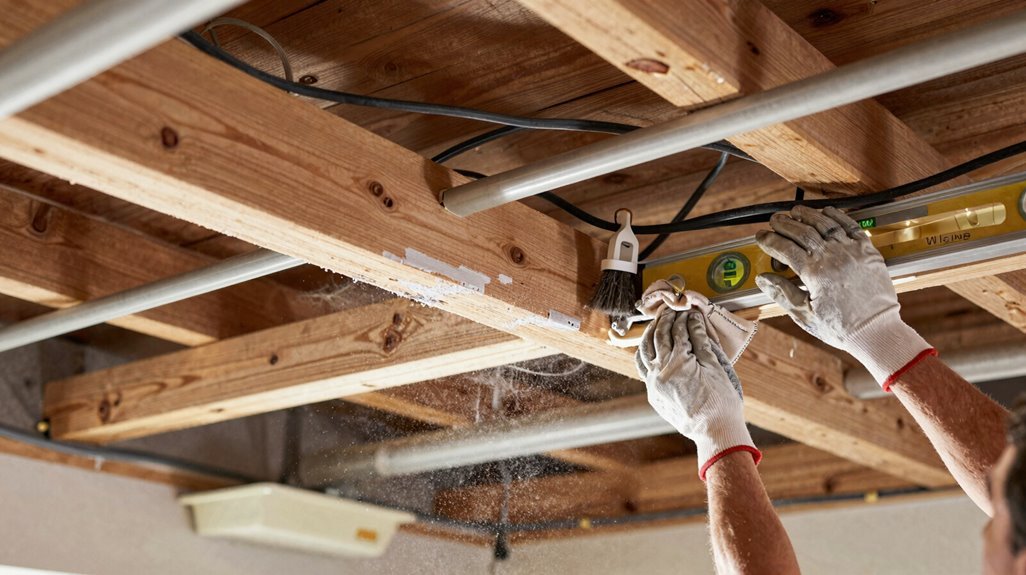
With your sprayer, respirator, and primer staged and ready, you’ll turn attention to the ceiling itself, because paint won’t bond to dust, grease, or corrosion. Cleaning your joists, pipes, and wires guarantees professional adhesion and lasting finish quality.
Paint demands a clean canvas—dust, grease, and corrosion are the enemies of lasting adhesion.
Brush dust and cobwebs from joists using a stiff-broom, working in 4-foot sections. Remove obsolete wiring completely, pin active wires to joist sides with cord staples. Secure remaining wires flush against joist edges to minimize post-paint visibility.
Vacuum beams and ledges with a shop vac fitted with brush attachment. Confirm all surfaces are contamination-free before primer application.
This preparation creates the unified, industrial aesthetic basement remodelers consistently achieve. Your ceiling becomes a clean substrate, ready for coating.
How to Protect Walls, Floors, and Belongings From Overspray
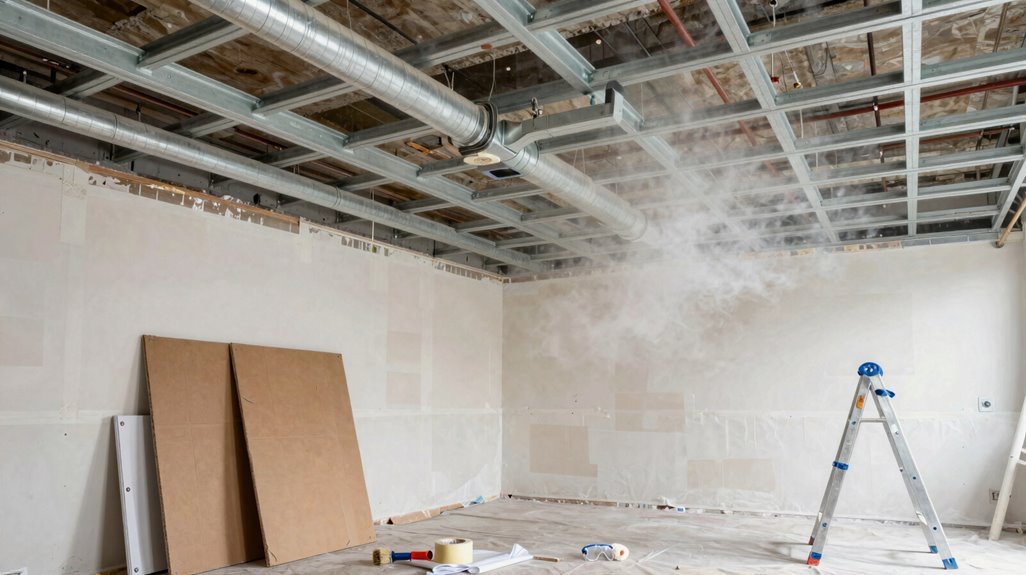
Where exactly does overspray land when you’re coating overhead? Everywhere. You’ll find it on walls, floors, doors, and anything you leave exposed. Start your overspray protection by masking all vertical surfaces with painter’s tape and plastic sheeting. Secure 0.5-2 mil polyethylene over walls, trim, and outlets, pressing tape firmly to prevent bleed-through.
Next, cover your entire floor with drop cloths or 4-mil plastic sheeting, extending 12-18 inches up walls to catch splatter. Overlap seams by 6 inches and tape them down. Seal adjacent rooms with plastic barriers to contain paint drift.
Check your masking every 30-45 minutes as you work, adjusting loose edges immediately. Remove protection within 24 hours for clean lines.
Prep Electrical and Lighting Before You Paint
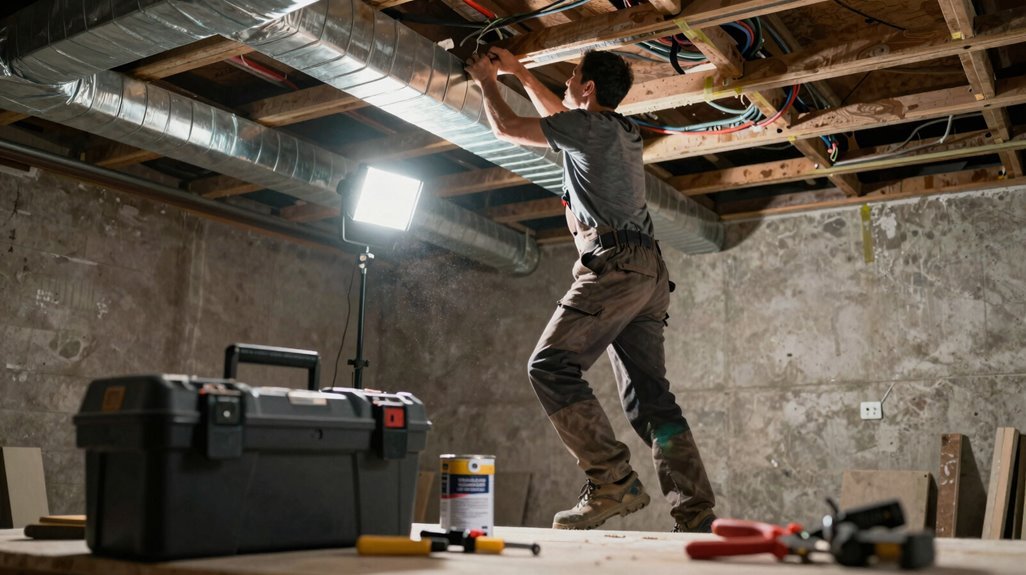
Why let exposed wiring ruin your finished ceiling when a little planning prevents it? You’re tackling basement electrical and lighting installation now, before paint touches a single joist, because retrofitting afterward wastes time and money. Wiring safety demands you secure every cable to structural members, eliminating the chaotic drape that screams unfinished space. You’re building something crisp, intentional, and you belong among homeowners who do this right.
Partner with a licensed electrician to rough-in ceiling boxes and fixture locations before spraying. Fasten all wiring snugly to joists, or tuck it between them, to reduce visual clutter. Pin or remove loose conductors that sag below the ceiling plane. Mask switch plates, junction boxes, and fixture openings with painter’s tape. Verify every connection meets code. Safe circuits let you enjoy the space without worry.
Primer and Paint: What Actually Works on Raw Wood
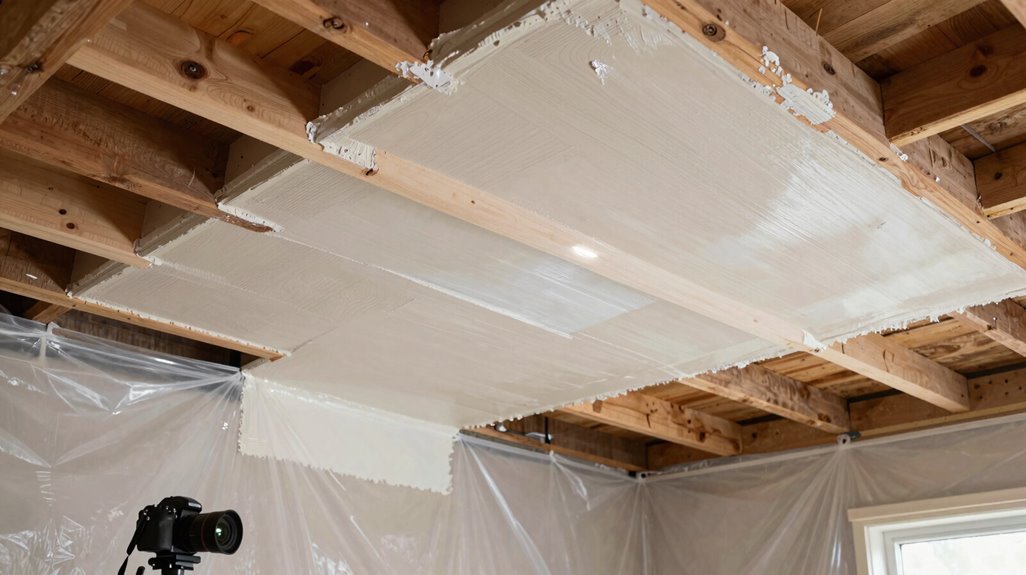
You’ll need to choose your primer and paint strategically, since raw wood in basements presents unique challenges like tannin bleed and moisture exposure. Shellac-based primer stops yellowing and discoloration before they start, while flat, water-based ceiling paint provides the matte finish that hides imperfections in overhead surfaces.
Match your products to your application method, whether brushing, rolling, or spraying, and confirm compatibility with basement humidity levels to maintain long-term adhesion and color stability.
Primer Selection Essentials
When you’re staring up at raw wood joists and exposed pipes, the primer you choose determines whether your paint job lasts five months or fifteen years. You need a primer that locks down tannins, grips uneven surfaces, and seals porous wood before your topcoat ever touches the ceiling.
Apply shellac-based primer to stop yellowing and guarantee adhesion on pipes and raw wood. Coat raw joists with primer first, then add finish paint for uniform, even coverage. Select flat or matte formulas to hide imperfections and eliminate glare from surface flaws. Demand moisture resistance in damp basements to block mold and water stains. Use light gray or dark primer to control brightness and guarantee consistent color absorption.
Your ceiling’s longevity starts here.
Paint Type Recommendations
You’ve locked down your primer choice, and now the paint you layer on top determines whether that prep work pays off. Your shellac primer sealed the raw wood, so you need paint that locks in that protection while hiding every knot and gap.
| Requirement | Solution |
|---|---|
| Prevent wood bleed-through | Shellac primer base coat |
| Hide joist imperfections | Flat finish paint |
| Resist basement moisture | Water-based latex with epoxy additives |
| Avoid ceiling glare | Matte/flat sheen |
Apply 1-2 thin coats of flat finish paint using a sprayer held 10-12 inches from the surface. Overlap each pass by 50%.
For damp basements, upgrade to water-based latex with epoxy additives; this formulation resists dust adhesion and withstands humidity fluctuations better than standard acrylic. Select interior ceiling paint explicitly labeled for raw wood.
How to Spray Your Exposed Basement Ceiling
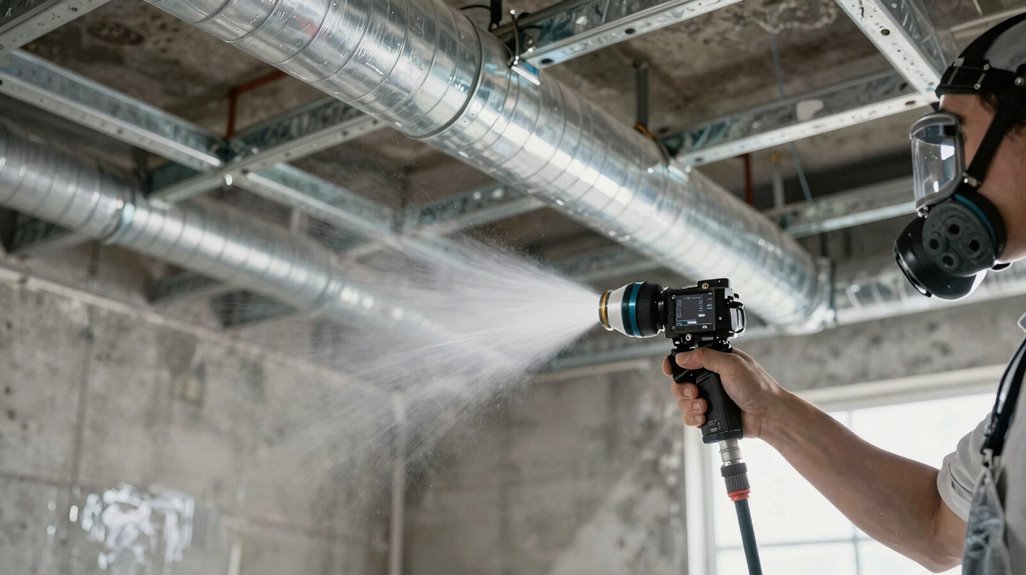
You’ll need to select the right sprayer, mask your space thoroughly, and master your spraying technique to achieve professional results on your exposed basement ceiling. A high-volume, low-pressure (HVLP) or airless sprayer with a 0.015–0.019 inch tip handles latex paints efficiently. Use 1.5–2 mil plastic sheeting and 2-inch painter’s tape to protect your floors and walls from overspray.
Maintain a 10–12 inch distance from the surface, overlap each pass by 50%, and apply 2–3 thin coats at 4–6 hour intervals. This prevents runs and creates uniform coverage across joists, pipes, and ductwork.
Sprayer Selection Criteria
- Select HVLP or reciprocating sprayers for minimal overspray on pipes and joists
- Verify your hose reaches 25-50 feet to avoid repositioning mid-project
- Test material flow settings on scrap surfaces before ceiling application
- Plan 2-3 foot sections with 50% overlap between passes
- Adjust airpower per manufacturer specifications for uniform atomization
Match your equipment to ceiling complexity, and you’ll achieve professional results without callbacks.
Prep and Masking
Once your sprayer’s calibrated and your material flow’s locked in, you’re ready to seal off the environment. Your spray setup demands thorough masking before you pull the trigger. Cover every surface you don’t want coated: floors, walls, doors, windows, outlets, and fixtures. Use 1-2 mil plastic sheeting for vertical surfaces, securing edges with painter’s tape.
Lay drop cloths across the entire floor area, overlapping seams by 12 inches to eliminate gaps where overspray settles. Mask exposed ductwork, pipes, and electrical runs if you’re painting selectively. Clean the ceiling first; remove dust and cobwebs with a broom or vacuum. Apply shellac primer or rust-inhibiting primer to raw surfaces. Don your respirator, safety glasses, and coveralls. Your space is sealed, your gear’s on, and you’re positioned for efficient application.
Technique and Coverage
How do you turn a maze of joists and pipes into a uniform surface without streaks or missed patches? You master your spray painter technique through deliberate, repeatable motions.
Hold your spray painter 12-18 inches from the ceiling, maintaining steady, overlapping horizontal passes. Apply shellac primer first to block stains, prevent yellowing, and create proper adhesion on raw wood. Build coverage with thin coats, allowing 2-4 hours dry time between each application.
Maintain consistent speed, approximately 12 inches per second, to eliminate buildup or gaps. Inspect between coats, brushing edges where your spray painter cannot reach completely.
Two thin coats of paint after primer beats one heavy coat every time. You prevent runs on rough joists, get even color across ducts, and achieve professional results that match what experienced DIYers accomplish. Touch up missed spots with a brush after spraying.
How to Touch Up Corners and Tight Spaces the Sprayer Misses
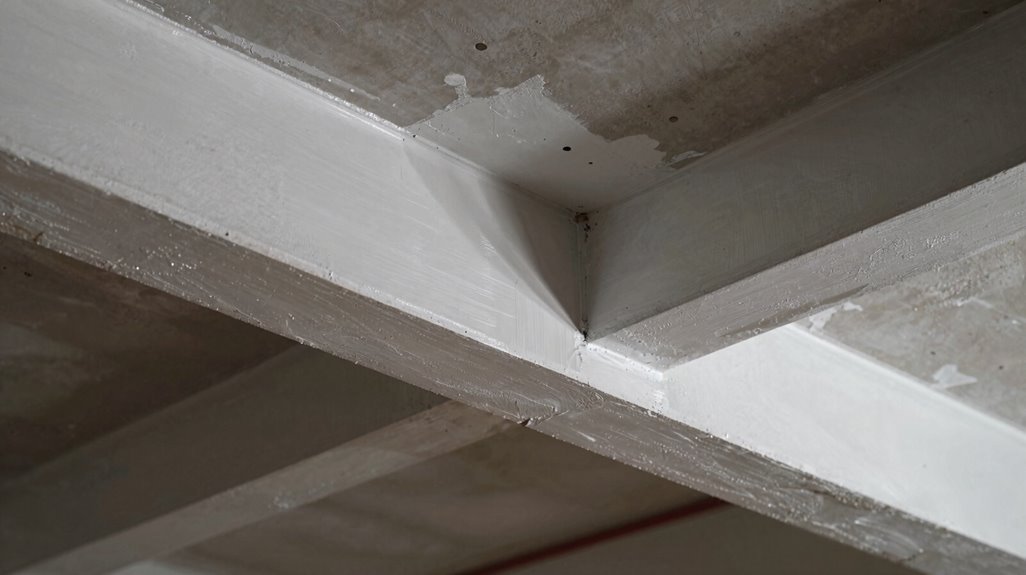
Even the most thorough spray application leaves voids in corners, behind ductwork, and along wall junctions where overspray patterns cannot penetrate. You’ll need to grab a handheld sprayer or reach-extension sprayer for these tight spots, maintaining 8-12 inches from the surface to prevent over-saturation and sagging. Mask your walls and fixtures with tape and plastic first, then work in 2-foot sections for crisp edging.
| Method | Application Zone | Tool Specification |
|---|---|---|
| Sprayer | Open corners, beam intersections | Handheld, 4-6 inch fan pattern |
| Brush | Behind pipes, narrow gaps | 2-3 inch angled sash |
| Roller | Flat edges near walls | 4 inch, 3/8 inch nap |
| Touch-up | Post-inspection spots | Same as original application |
Supplement your sprayer work with a small brush or roller where spray cannot reach. Apply thin, even coats with 15-20 minute flash times between passes.
Inspect after your first full pass, re-clean dusty areas, and complete touch-up before your final coat.
How Many Coats Your Ceiling Actually Needs
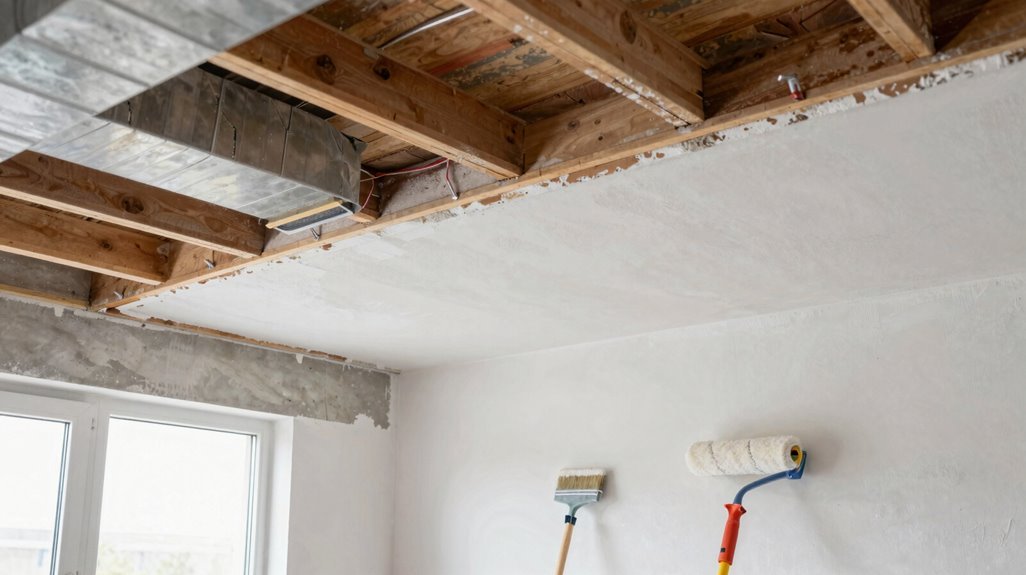
Because your basement ceiling’s existing condition varies widely, you’ll need to assess several factors before committing to a specific coat count. Your primer coverage directly impacts how many topcoats you’ll apply, so plan accordingly.
Apply one coat of primer on rough, absorbent wood to reduce your final coat count. Expect two coats when covering dark-stained joists with white or light colors. Use shellac primer on pipes and metal to prevent yellowing before your final coats. Spray or roll thin, even coats to minimize lap marks and texture issues.
Allow full drying time between each coat for optimal adhesion and uniformity. For most exposed basement ceilings, you’ll achieve complete coverage with one to two coats after proper priming. Highly porous surfaces demand that extra layer for professional-looking results.
Drying Time and When to Apply Second Coats
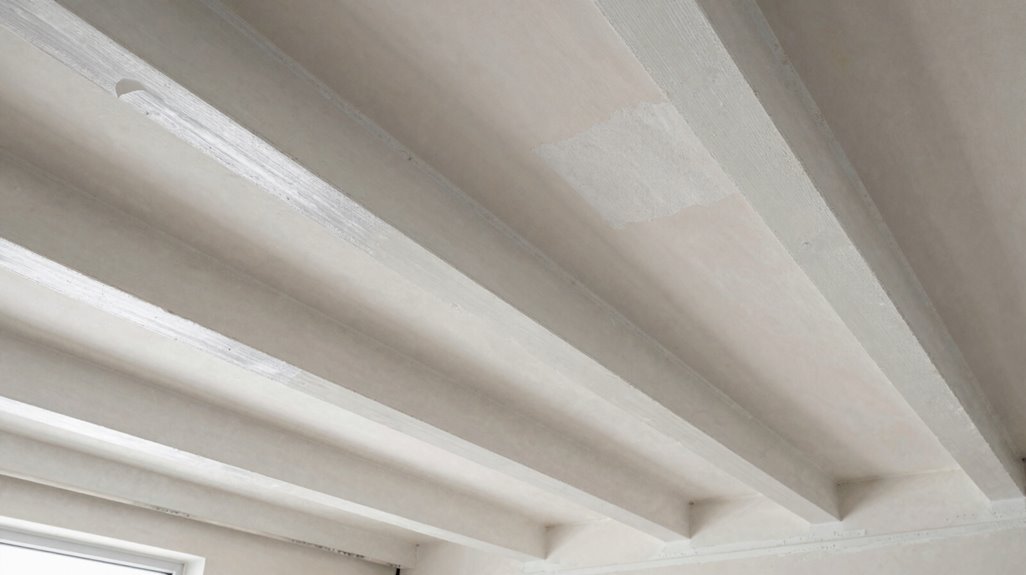
When should you push forward with your next coat, and when will patience save you from rework? You’ll need to respect drying time, or you’ll trap moisture and ruin your finish.
- Standard latex drying: Wait 24 hours before applying a second coat, though humidity and temperature shift this window.
- Spray application specifics: Let sprayed surfaces set tack-free, typically 4–6 hours in dry conditions, before handling or repositioning protection.
- Basement adjustments: In cool, humid spaces, extend drying time and run a dehumidifier to allow proper cure time between applications.
- Full cure expectations: Limit traffic and conduct final inspection only after 24–48 hours, when maximum hardness and color uniformity develop.
Apply your second coat only after the first dries to the touch and reveals missed areas or uneven coverage.
DIY vs. Pro: What Painting Your Exposed Ceiling Costs
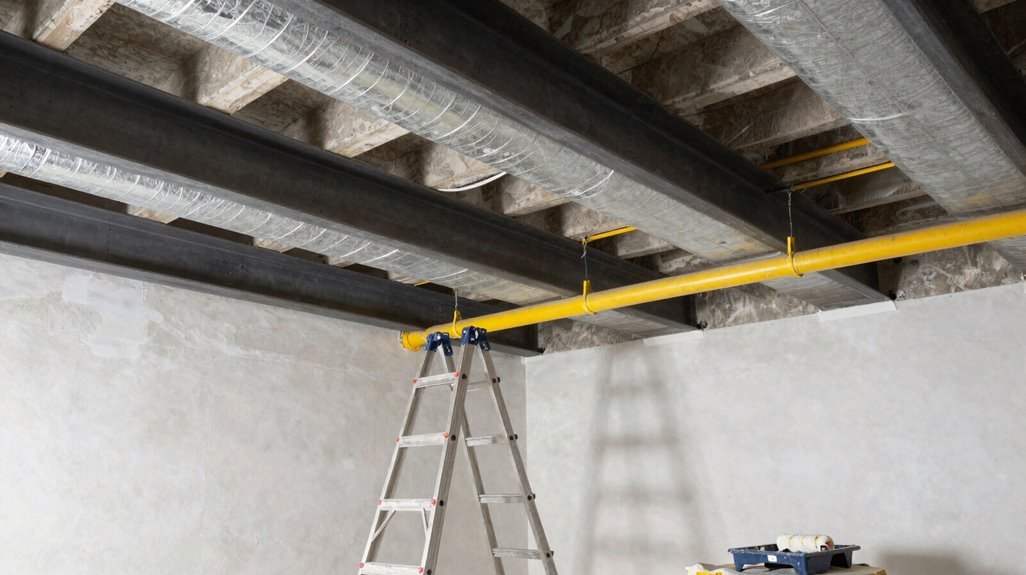
- Rent a high-volume paint sprayer for $40-$100 daily, keeping rollers and brushes for edges and tight corners
- Expect DIY costs of $1-$5 per square foot using basic materials, totaling a few hundred to several thousand dollars
- Mask floors and walls completely to minimize overspray, reducing cleanup and rework time
- Compare professional rates of $3-$10 per square foot for walls and $1-$5 for ceilings when budgeting
- Factor paint, primer, protective gear, and tool rentals into your total project calculation