
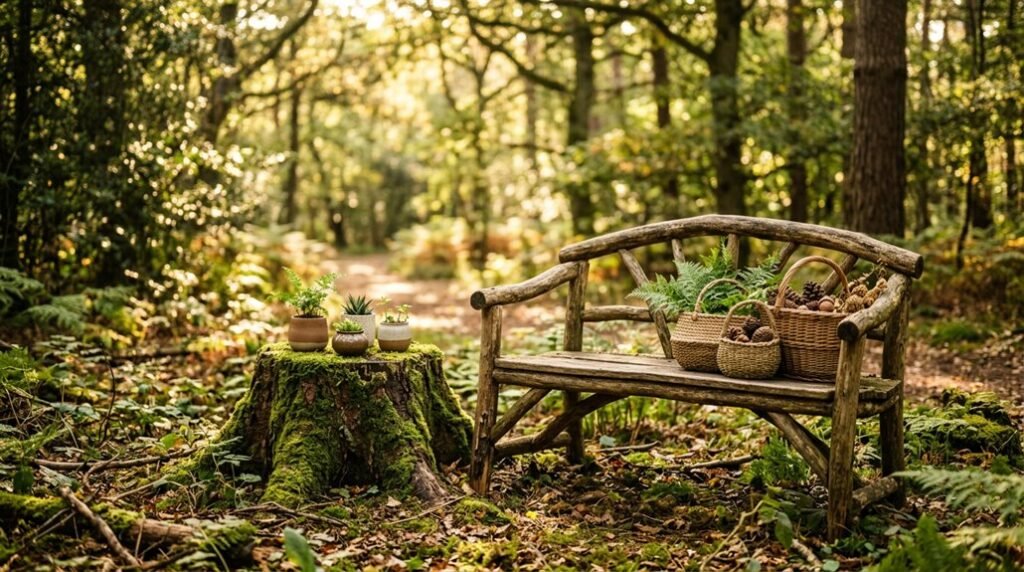
You need a nursery that functions from day one through toddler years, and vague Pinterest boards won’t get you there.
Start with measurable specifications: wall colors in exact hex codes, furniture with 50-pound weight minimums, and lighting measured in lumens, not mood.
The difference between a chaotic room and a cohesive space lies in three sequential decisions you’ll make about foundation, function, and finishing.
Get the first step wrong, and you’ll repaint within six months.
Start With Your Woodland Nursery Colors, Textures, and Lighting

Establishing your woodland nursery begins with a deliberate, three-part foundation of color, texture, and lighting working in concert.
You select woodland nursery colors first: soft greens, warm taupes, clay tones, beige, cream, and woodland browns. These hues complement Thunderous and Shoji White, creating your calm backdrop. You layer textures next; wood, rattan, linen, wool, and cotton, adding tactile textiles alongside your brown leather rocker.
You install a wall mural on one focal wall, keeping remaining walls light for brightness. You complete this foundation with strategic lighting: dimmable lighting overhead, a warm task lamp for feeds, and fairy lights simulating firefly glow. You position this layered illumination to define your cozy reading nook. You balance every element with natural materials; woven baskets, beadboard, soft textiles, for cohesive woodland decor.
Choose Woodland Nursery Furniture and Storage That Lasts
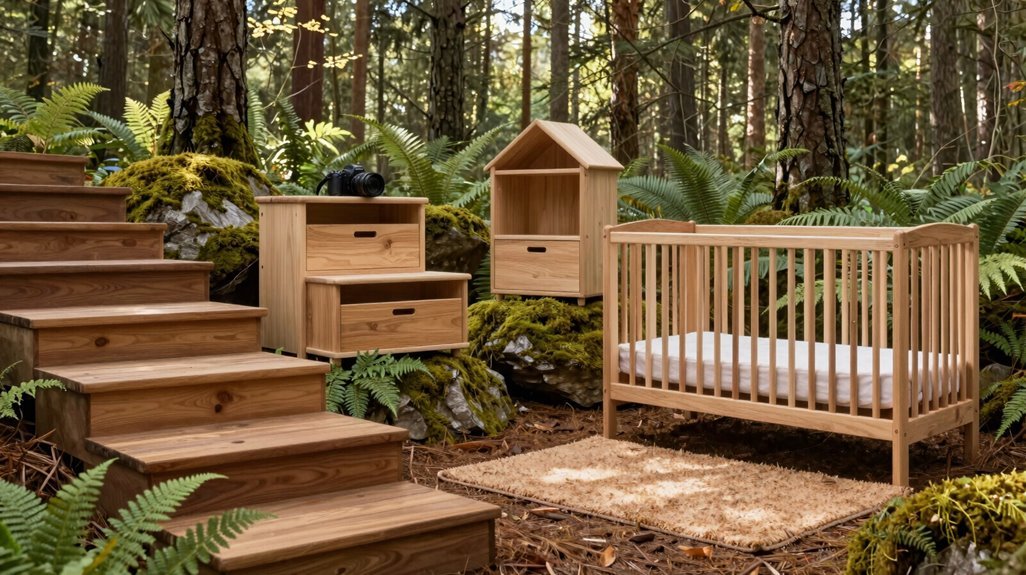
3. Secure and Texture Strategically
Install wall anchors on all freestanding units before mobility onset at 8-12 months. Integrate natural textures, such as jute, rattan, and linen, across woodland storage solutions for cohesive aesthetic durability with wipe-clean practicality.
Finish With Art, Decor, and Personal Woodland Touches
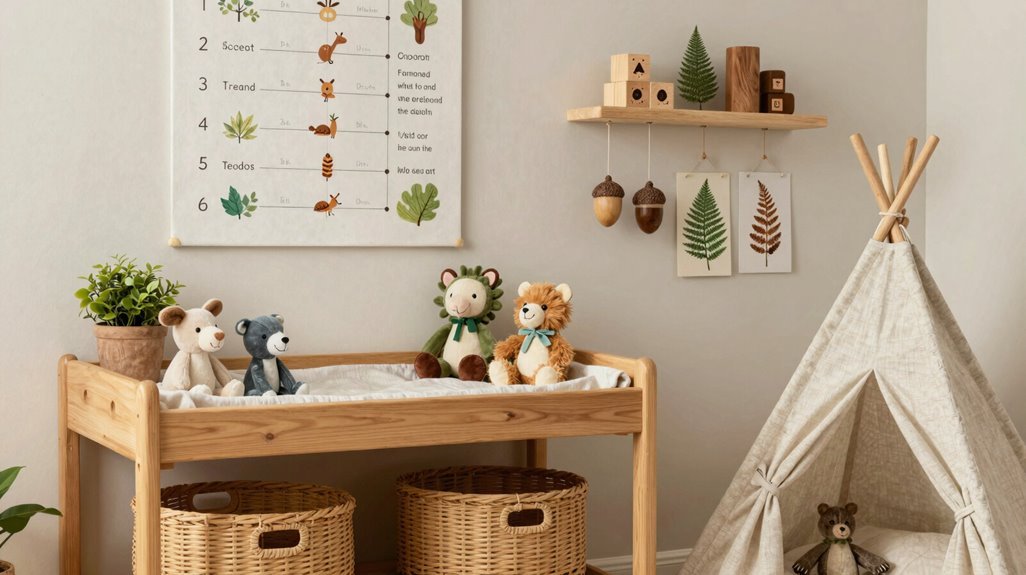
After you’ve anchored furniture and organized storage systems, you’ll direct remaining energy toward visual cohesion through layered art, strategic decor placement, and personalized woodland elements that complete the room’s functional aesthetic. You’ll execute this final phase through systematic layering of nursery decor components.
Design a woodland gallery wall using statement prints (18×24 inches) with smaller fox, deer, and rabbit illustrations in natural wood and slim black/white frames for dimensional depth.
Apply premium removable woodland stickers in a centered ear layout, spacing 6-8 inches apart for future-proof adjustability.
Position birch accents alongside jute baskets and woven storage units, integrating natural materials throughout.
Create a comfortable reading corner with faux fur throws, a warm-toned lamp, and knitted textiles on a faux animal-skin rug.
Ground the space in a sage green palette, mushroom taupe, and warm taupe with beadboard texture and soft moss-like rugs for woodland personal touches.





