
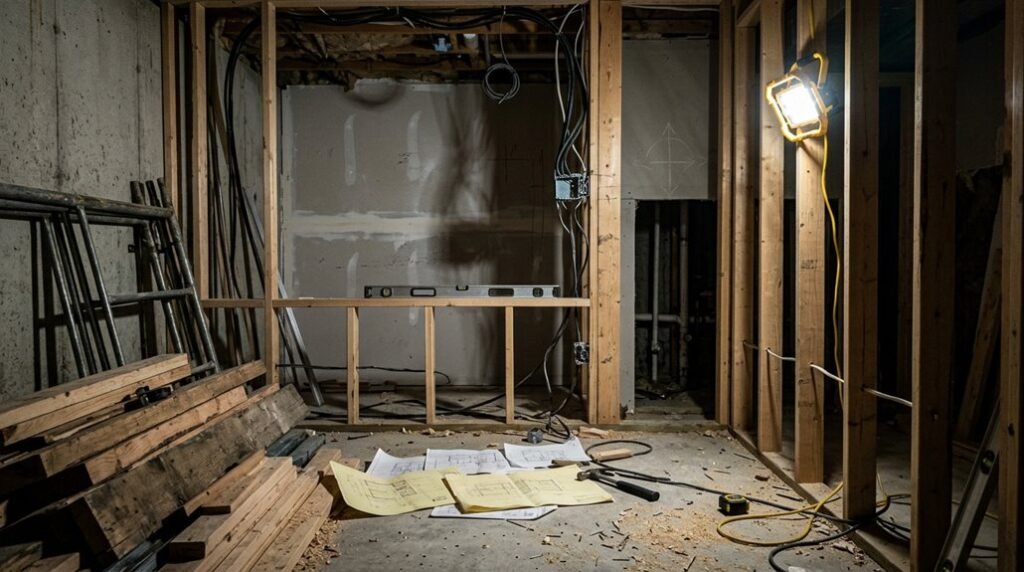
You need to finish your basement once, and you need to finish it right. Most homeowners waste $15,000 to $40,000 on preventable mistakes because they follow conventional advice that contractors repeat without scrutiny.
The professionals who build high-functioning basement spaces operate from a different playbook entirely, one that prioritizes adaptability, serviceability, and failure prevention over cosmetic appeal. What follows are ten specific, actionable strategies that separate competent basement projects from exceptional ones, starting with the non-negotiable step almost everyone skips.
Assess Your Basement’s Finish Potential First
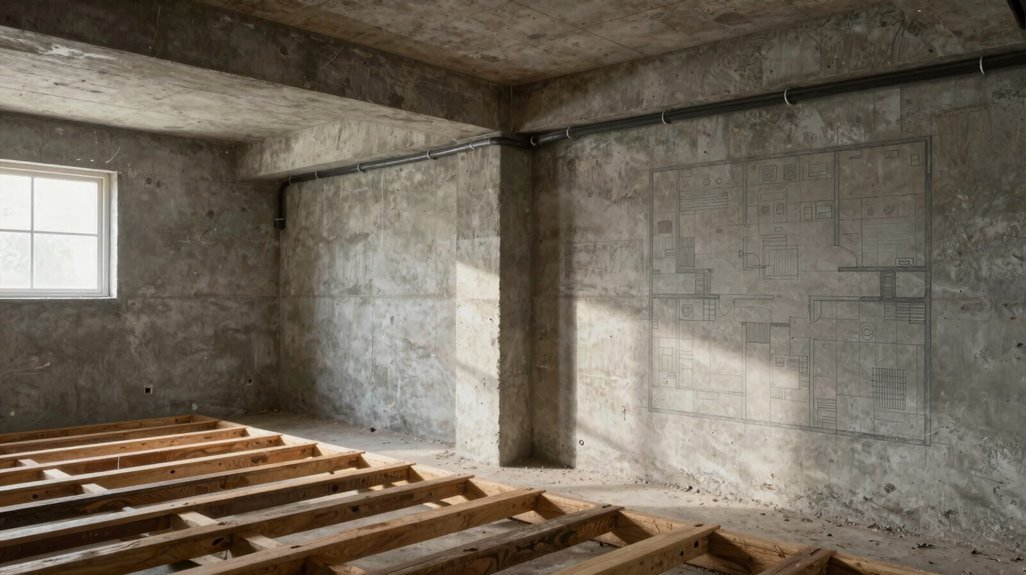
Why would you start finishing your basement without knowing what’s underneath? You’re risking thousands in rework, so assess your basement’s finish potential first.
- Schedule a pre-renovation home inspection. You’ll identify roof condition, foundation waterproofing, and unseen electrical problems before they derail your timeline.
- Evaluate basement moisture during freeze-thaw cycles. Walk through during a rainstorm to spot water ingress, then install dehumidifiers and proper insulation to prevent mold.
- Clarify your basement’s purpose early. Age-in-place goals or laundry relocation decisions will guide mechanical layout and contractor selection.
- Research permits and code requirements before removing walls. Load-bearing modifications demand structural support and official approval.
You’re joining homeowners who plan methodically. Map these conditions now, and you’ll build from certainty rather than costly surprises.
Budget for Hidden Costs Before You Start
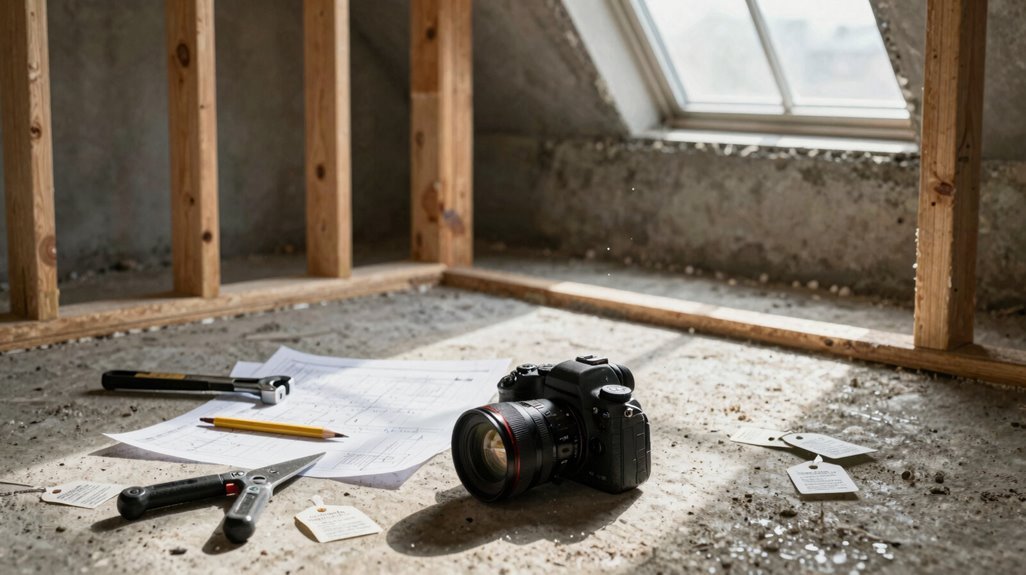
Once you’ve mapped your basement’s physical conditions and permit requirements, you’re ready to confront the financial realities that derail most projects. Basement costs extend far beyond framing and flooring. You’ll face moisture prep demands, including dehumidification systems and mold prevention measures, which secure long-term viability. Electrical upgrades for can lights run $1,000–$2,000, plus outlets for lounges and devices. Painting ceilings with commercial sprayers cuts labor but adds equipment rental.
Concealing mechanical areas behind curtains or artwork introduces material and installation fees. Structural reinforcement around load-bearing components, with required permits, dwarfs cosmetic expenses.
| Hidden Expense Category | Typical Cost Range | Impact on Timeline |
|---|---|---|
| Electrical upgrades | $1,000–$5,000 | 2–5 days added |
| Moisture prep systems | $800–$3,500 | 1–3 days added |
| Structural permitting | $500–$2,000+ | 1–4 weeks added |
Budget 15–20% above estimates. Hidden expenses accumulate fast, and you’re protecting your investment.
Waterproof Completely or Don’t Finish at All
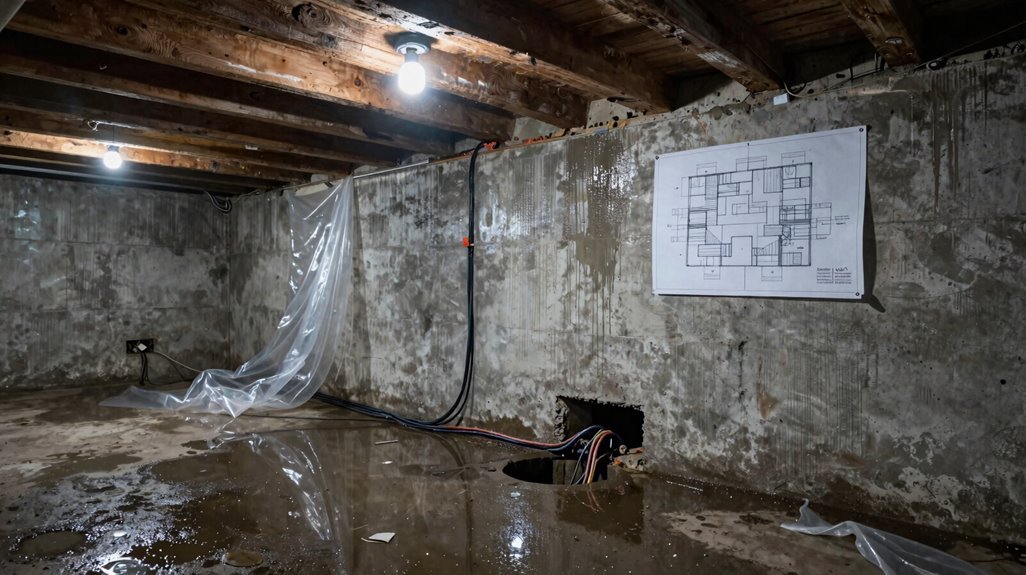
You must treat waterproofing as a non-negotiable prerequisite, not an optional upgrade, because moisture infiltration compromises structural safety, swells costs through mold remediation and material replacement, and destroys long-term integrity within 24 to 48 months.
Inspect your basement during a heavy rainstorm, document all seepage points with photographs, and deploy a dehumidifier capable of extracting 50 to 70 pints daily until relative humidity stabilizes below 60 percent.
If you cannot guarantee complete moisture elimination through interior sealants, exterior membrane systems, or perimeter drainage installation, postpone all finishing work indefinitely rather than risk catastrophic failure of drywall, insulation, and flooring assemblies.
Structural Safety Priority
Where should your money go first when you’re staring down an unfinished basement? Basement waterproofing, structural safety, and permits and code compliance; that’s where your investment belongs before aesthetics enter the conversation.
You can’t build belonging on a crumbling foundation. Start with a pre-renovation home inspection to catch roof leaks, foundation cracks, and moisture intrusion that’ll destroy your finished space within two years. Walk through during a hard rainstorm to map water entry points through freeze-thaw cycles.
Secure permits and code compliance before touching load-bearing walls or enlarging windows. One unpermitted beam removal compromises your home’s structural integrity and voids insurance coverage.
Install dedicated mechanical ventilation, maintain 6-inch clearance around furnaces, and isolate utility zones with fire-rated materials. You’re building safety first, then community; never the reverse.
Cost Prevention Strategy
Why gamble with ten thousand dollars in preventable repairs? You start every basement renovation with a pre-renovation home inspection because foundation waterproofing and roof conditions dictate your entire budget. When you observe water ingress during rainstorms or freeze-thaw cycles, you delay finishing until you solve moisture management completely.
| Prevention Action | Cost Impact |
|---|---|
| Sewer Backflow Prevention Device | $500-2,000 installed vs. $15,000+ flood damage |
| Code-compliant structural reinforcement | Avoids $5,000-10,000 rework penalties |
| Complete waterproofing pre-finish | Eliminates $8,000-12,000 mold remediation |
You install permits and reinforcement before removing load-bearing walls or enlarging windows; you don’t risk costly failures. You treat cost prevention as non-negotiable: waterproof entirely, or you don’t finish at all. Proper insulation and sealing now saves you from exponential maintenance later.
Long-Term Integrity王道
How completely must you waterproof before finishing? You waterproof completely, or you don’t finish at all. Basement waterproofing demands 100% coverage: exterior membrane systems, interior drainage channels, and sump pump redundancy. You inspect roof runoff, foundation cracks, and soil grading before touching drywall. You secure permits and code compliance for every structural modification, because inspectors protect your investment from catastrophic failure.
You maintain long-term integrity through systematic prevention. You install vapor barriers with 6-mil minimum thickness, R-10 insulation on below-grade walls, and dehumidification systems rated for your square footage. You hire licensed electricians and plumbers; amateur work voids insurance and invites moisture intrusion. You test for 30 days post-waterproofing before finishing.
Your basement becomes livable space only when water stays outside, permanently. No exceptions.
Plan Zones Around How You’ll Actually Live
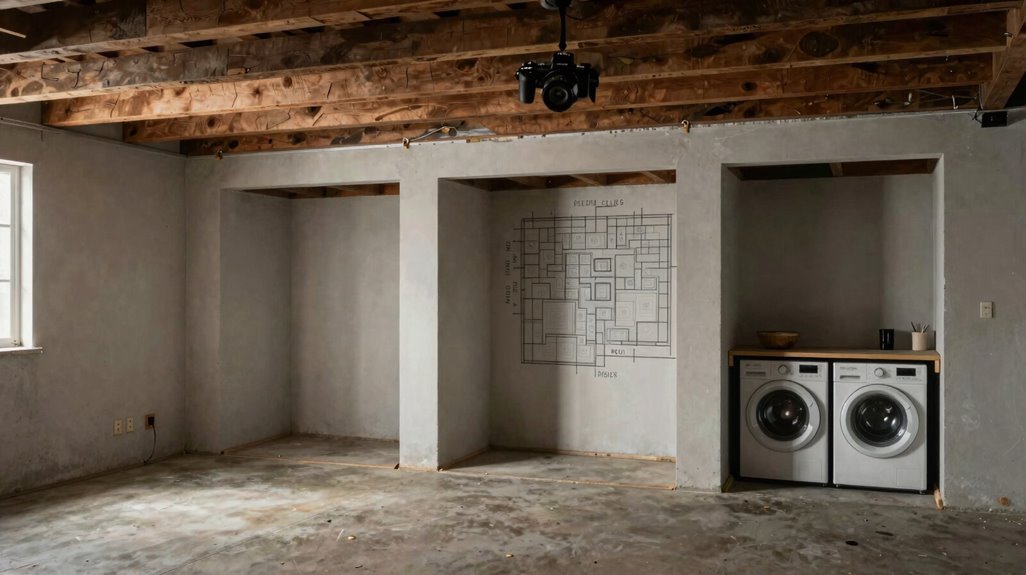
When you’re staring at an open concrete box, the real challenge isn’t finding inspiration; it’s building a framework that matches your daily routines. Change your unfinished basement into livable space by carving out three essential zones: entertainment, utility, and fitness.
- Anchor your TV/living zone with a couch and rug to create visual weight and comfort.
- Build two framed walls separating entertainment from storage, cutting visual clutter by 50%.
- Lay foam mats to define your workout area within the basement footprint.
- Route traffic flow between zones to eliminate cross-interference during simultaneous activities.
- Box mechanicals with framed walls, adding dedicated outlets for equipment segregation.
These zones turn chaotic square footage into purposeful territory where every family member finds their place.
Frame Walls That Move or Modify Easily
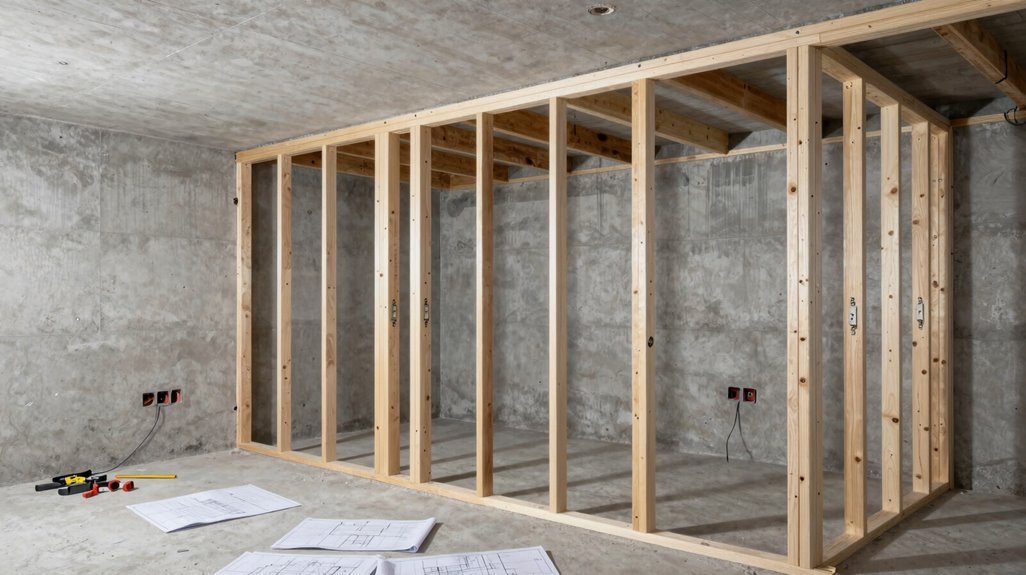
You’ll appreciate how flexible framing techniques let you build modular wall solutions that adapt as your basement needs evolve, whether you’re enclosing mechanicals in a 24-inch deep chase or creating removable panels for future access.
Consider constructing these walls with pressure-treated bottom plates, 16-inch on-center studs, and deliberately omitted fasteners at key joints so you can disassemble sections within 30 minutes when rerouting utilities becomes necessary.
Your investment in this modularity pays dividends when you reconfigure zones without demolition costs exceeding $2,000 or downtime stretching past a single weekend.
Flexible Framing Techniques
Why settle for rigid walls you’ll tear down later? Smart basement framing lets you reconfigure without wrecking your work.
Build double walls around your furnace, electrical panel, and water heater. This creates a 24-30 inch service corridor behind, giving you hidden storage and complete access to mechanicals without demolition. Frame these barriers 16 inches on center, using standard 2×4 construction, and attach removable drywall panels with screws, not adhesive.
Position your framing to support TV mounts, outlet banks, and shelving systems. Plan for concealed utilities by running conduit and empty junction boxes at 48-inch intervals vertically. You’ll thank yourself when you add circuits later.
Pair this structure with movable partitions; sliding barn doors, fabric screens, or lightweight Japanese-style panels divide zones instantly. Your basement changes from gym to guest suite without a single stud removal.
Need specifics? See Table 1 below.
| Element | Specification | Purpose |
|---|---|---|
| Wall depth | 24-30 inches | Mechanical access + storage |
| Stud spacing | 16 inches O.C. | Structural support for mounts |
| Conduit spacing | 48 inches vertical | Future electrical expansion |
| Partition weight | Under 45 lbs | Easy reconfiguration |
Modular Wall Solutions
How tightly do your basement walls cling to their spots? Modular walls break that grip, letting you reconfigure your space when needs shift. You’re building adaptable infrastructure, not permanent barriers.
Frame two parallel walls around your furnace and electrical panel. You’ll create hidden storage between them, hang artwork on the front, and eliminate that unfinished look.
Mount your TV and outlets on these framed sections, establishing clean zoning without exposed clutter. When you need access, you simply shift or remove the wall segments.
Your basement becomes distinct territories: living, storage, gym; without drywall commitment. Paint and light these modular walls to match your scheme, hiding mechanicals while preserving future access.
- Build dual framed walls around utilities for concealed storage and display surfaces
- Install TV mounting and outlets on movable framed sections for flexible zoning
- Shift wall positions seasonally or functionally without structural modification
Install Double the Electrical Outlets You Think You Need
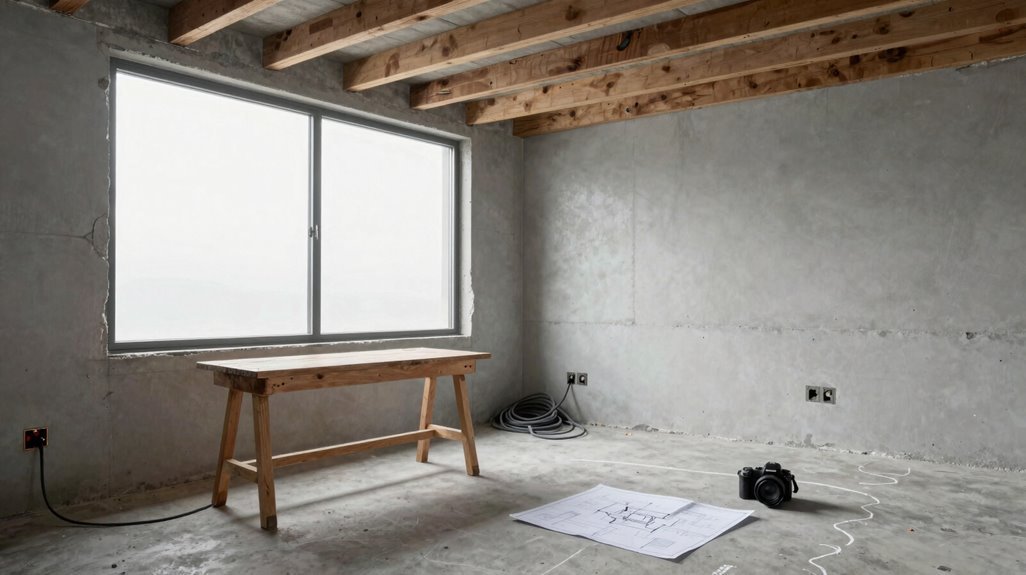
Wherever you plan to spend time in your basement, you’ll need power within arm’s reach. Install double the outlets you think you need on every wall, spacing them 6, 8 feet apart, minimum. You’ll eliminate extension cords for TVs, gaming setups, and Peloton equipment while supporting multiple activity zones.
Run wiring for basement lighting before closing walls, making sure switches control can lights and fixtures without visible cords. Plan 20, amp circuits for high, draw equipment, 15, amp for standard devices. Consider holiday lighting needs and future tech upgrades now, not later.
Budget $1,000, $2,000 for professional installation of recessed lighting and outlet expansion. This investment improves usability across TV, gym, and storage areas, reducing clutter permanently. Don’t rely on portable power solutions that create trip hazards and limit your layout options.
Paint Exposed Ceilings to Save Headroom and Money
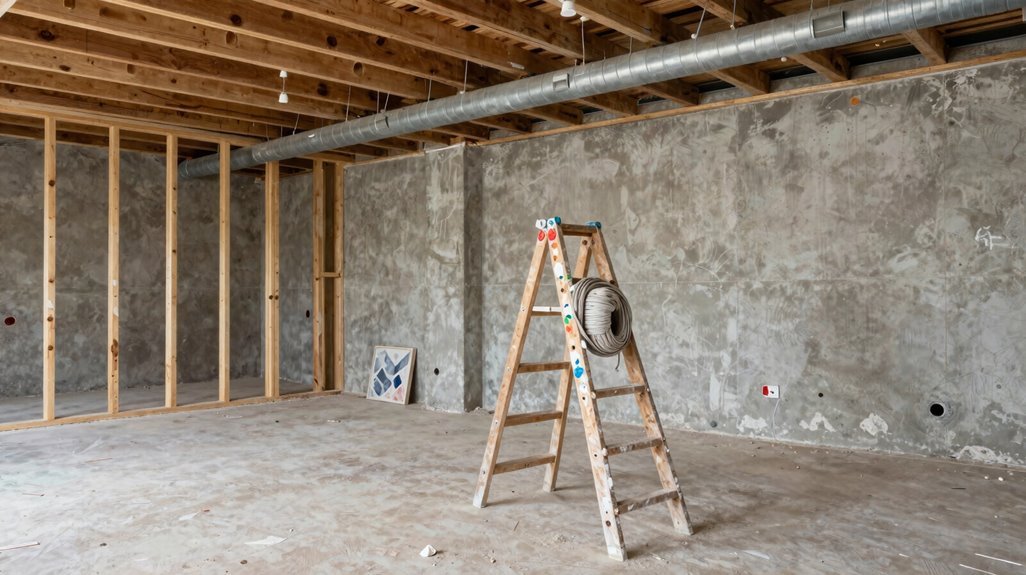
You’ll preserve vertical clearance by painting exposed joists black, which visually raises the ceiling 7-10 inches without structural modification. You’ll reduce construction costs $2,000-$4,500 by eliminating drywall installation, taping, mudding, and sanding labor.
You’ll hide imperfections effectively, as uniform dark pigment absorbs shadows from pipes, ducts, and wiring irregularities.
Preserve Vertical Clearance
When you’re working with basement ceilings that sit at 7 to 8 feet, every inch of vertical clearance matters. Painting the exposed joists and ductwork a single dark color eliminates the visual fragmentation that makes low ceilings feel even lower.
You’re preserving your vertical space by avoiding dropped ceilings that steal 6-12 inches of headroom. Painting ceilings black or charcoal creates visual recession, drawing eyes downward toward walls and décor while mechanical elements fade into obscurity.
Follow this sequence:
- Clean all surfaces, removing debris and addressing moisture issues before application
- Apply primer formulated for porous surfaces, then roll two coats of flat black or deep charcoal paint
- Inspect coverage at multiple angles, touching up visible wiring or uneven spots immediately
You’ll maintain maximum ceiling height while joining countless homeowners who’ve discovered this professional technique.
Reduce Construction Costs
How much does a dropped ceiling actually cost you? You’re losing 6-12 inches of headroom plus $3-6 per square foot in materials and labor. Paint instead of drywall, and you’ll keep that vertical space while cutting structural renovation costs by 60-70%.
For basement ceilings that need a wallet-smart remodel, follow this proven sequence:
- Coordinate electrician visits before painting, since can lights run $150-300 per fixture installed, regardless of ceiling type.
- Apply black paint to exposed joists, ductwork, and pipes to unify mechanical elements and recede the ceiling plane visually.
- Pair with white walls to maximize contrast and draw the eye downward.
You’ll achieve a cohesive, finished appearance without drywall framing, mudding, or taping. This approach reallocates your budget toward lighting and flooring, elements you actually interact with daily.
Hide Imperfections Effectively
Where should your eye travel first when you enter an unfinished basement? You’re directing attention upward, and a painted basement ceiling in black achieves immediate concealment of ducts, pipes, and wiring. You’ll gain visual uniformity without sacrificing precious headroom, since dark tones recede spatially.
Paint your exposed ceiling before finishing walls, and you’ll simplify moisture management while eliminating costly drywall installation. You’re creating cohesion when you match that ceiling to existing black stairs or trim, establishing design continuity that minimizes mechanical distractions.
For zone-based organization, apply these principles:
- Paint ceiling and adjacent framed walls one color to unify your TV, storage, or gym areas
- Coordinate with black accent elements for streamlined concealment of unfinished infrastructure
- Apply paint prior to wall finishing to reduce treatment steps and material costs
You’re turning raw space into purposeful design through strategic concealment.
Soundproof Between Basement Levels
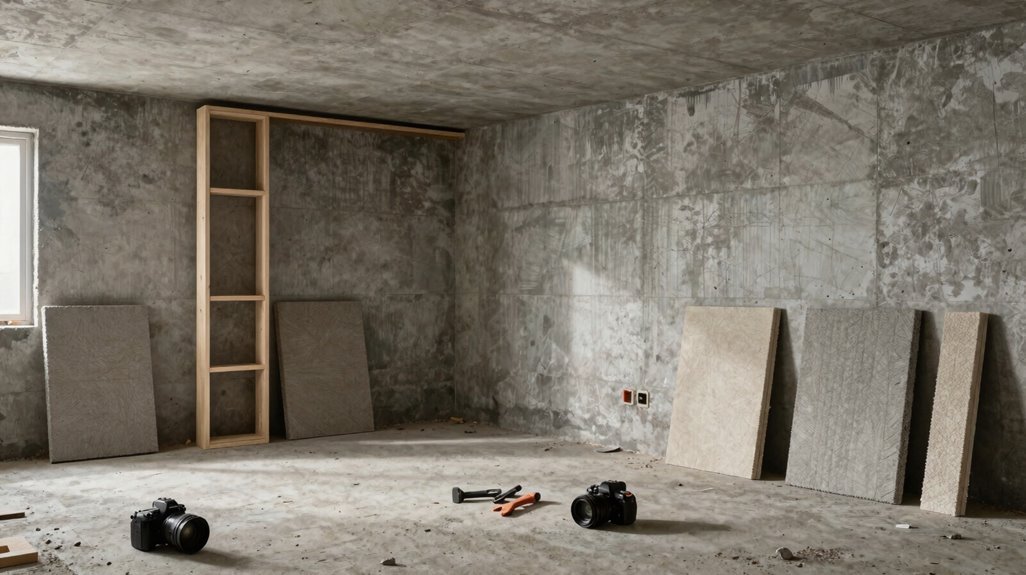
Why settle for hearing every footstep above your head when you can build a proper sound barrier between basement levels? You create real privacy by installing sound-rated partitions between basement levels, using decoupled framing that breaks the path of vibration. You pack dense mineral wool or rockwool batt insulation into every stud cavity, then mount resilient channels to isolate drywall from framing.
You seal all edges with acoustic caulk and mass-loaded vinyl, especially where pipes or ducts penetrate walls. You upgrade hollow core doors to solid-core models with tight door sweeps. For mechanical rooms, you apply vibration isolation by placing anti-vibration pads under furnaces, pumps, and compressors.
| Soundproofing Layer | Material Specifications | STC Improvement |
|---|---|---|
| Partition framing | Steel or wood studs, 24″ OC, decoupled | +5 to +8 STC |
| Cavity insulation | Mineral wool, 3.5″ or 5.5″ density | +4 to +6 STC |
| Surface treatment | Resilient channels, double drywall | +6 to +10 STC |
Leave Access Routes for Future Repairs

Plan service corridors into every mechanical enclosure before drywall locks you out of your own systems.
When you’ve boxed yourself into a corner with drywall, you’ll regret not planning ahead for the moment your furnace fails or your electrical panel needs service. Every homeowner who’s torn out finished work understands the cost of ignoring access routes, yet most first-timers repeat this mistake by prioritizing aesthetics over utility. You can avoid their regret by designing framed walls that serve dual purposes, creating mechanical enclosures with dedicated doorways, not dead ends.
Follow these three requirements during your layout phase:
- Construct framed walls around mechanical equipment, leaving a 36-inch service corridor and installing a proper hinged door, not removable panels.
- Build utility room walls 24 inches from foundation walls, creating behind-wall storage zones that keep bins accessible without disturbing finishes.
- Mount artwork and hardware on framed walls using French cleats or sliding tracks, making sure electrical panels and shutoffs remain fully reachable for future repairs.
Your future self belongs among homeowners who service systems without demolition.
Get Permits Before Materials Arrive

How often do you see half-finished basements, materials stacked in corners, while homeowners wait weeks for inspector approvals they’ve neglected to secure? Don’t let this become your story.
You secure permits early to protect your investment from fines, stoppages, and code violations. Early approvals let you coordinate inspections for structural changes, electrical runs, and plumbing updates without costly delays. You’re planning proactively, not reacting to problems.
| Permit Type | Typical Timeline | Common Triggers |
|---|---|---|
| Building | 10-15 days | Window enlargement, wall removal |
| Electrical | 5-10 days | Panel upgrades, circuit additions |
| Plumbing | 5-10 days | Bathroom rough-in, drain relocation |
| Mechanical | 7-12 days | HVAC zoning, ventilation changes |
| Combination | 15-25 days | Full basement finishing |
You bring licensed professionals when reinforcing load-bearing walls or upgrading mechanical rooms. Required inspections surface before you place purchase orders, improving budget accuracy. You’re joining informed homeowners who treat permitting as project infrastructure, not afterthought.





