
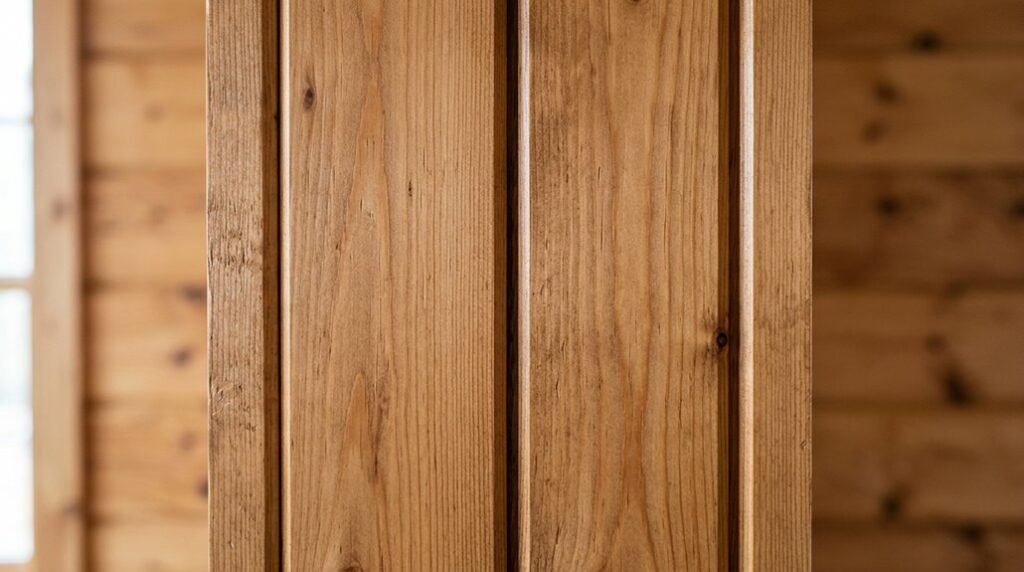
You need to understand tongue and groove walls before committing to installation. These interlocking panels create seamless surfaces through a protruding edge fitting into a recessed channel, eliminating visible gaps. Your material choices, pine, cedar, oak, or synthetic composites, determine cost, durability, and maintenance requirements. Widths range from 3 to 7 inches, with 5-inch boards offering optimal coverage and stability.
The orientation you select, horizontal or vertical, fundamentally alters spatial perception and installation complexity. Moisture content matters: kiln-dried boards at 6-8% humidity prevent warping, shrinkage, and seam separation. Fastening methods vary by substrate; nail guns work for studs, adhesive bonds with concrete, or clip systems mount to metal framing. Finish options include paint, stain, or clear sealant, each requiring specific prep work and reapplication intervals.
You’ll encounter critical decisions about expansion gaps, acclimation periods, and tool requirements that impact project timelines and long-term performance. The following sections break down each component systematically.
Tongue and Groove Wall Construction Explained
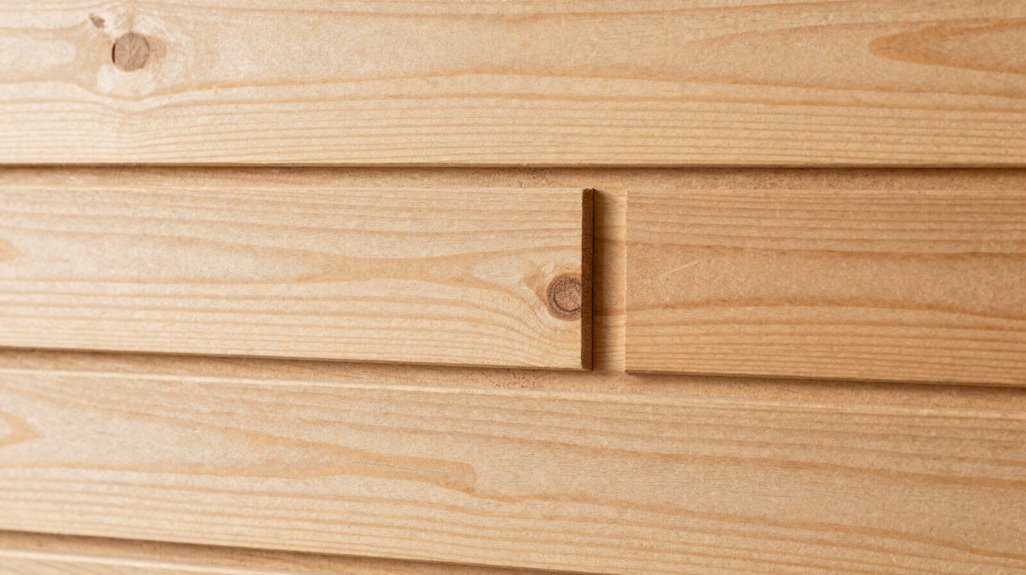
How exactly do tongue and groove walls create that seamless, interlocked surface you’re envisioning? You’ll fit each board by inserting the tongue into the groove of the adjacent board, locking them together for a tight, gap-free system.
Tongue and Groove Construction Features:
- Interlocking Design: One edge carries a protruding tongue, the opposite holds a receiving groove
- V-Groove Appearance: Where boards meet, joints form a subtle V-shaped channel
- Orientation Options: Install horizontally or vertically on walls or ceilings
Material Specifications:
| Species | Common Thickness | Finish Options |
|---|---|---|
| White Pine | 3/8 inch | Unfinished, clearcoat |
| Southern Yellow Pine | 3/8 inch | Stain, paint |
| Western Red Cedar | 3/8 inch | Custom |
| Cypress | 3/8 inch | Clearcoat |
| Spruce | 3/8 inch | Unfinished |
| Radiata Pine | 3/8 inch | Paint |
You’ll select kiln-dried boards in lengths matching your wall height. Apply your chosen finish, paint, stain, or clearcoat, before or after installation.
Tongue and Groove vs. Shiplap: Which Should You Choose?
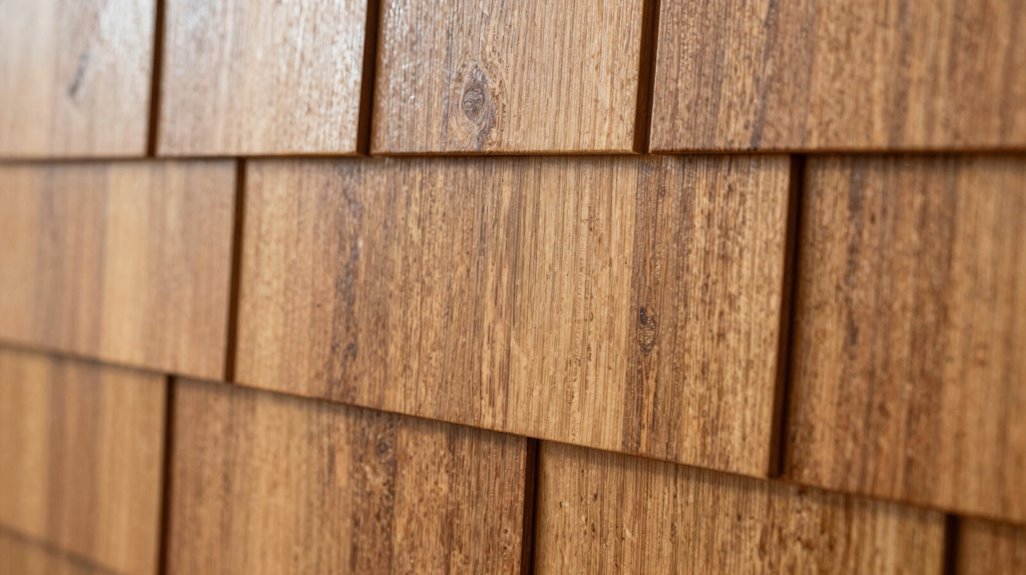
When you’re weighing paneling options for a project, you’ll notice tongue and groove and shiplap dominate the conversation, but their differences determine which suits your specific wall or ceiling application.
- Joint Construction: Tongue and groove uses interlocking edges where a protruding tongue fits into a recessed groove, creating tight seams with subtle V-grooves. Shiplap relies on overlapping edges with a visible gap or reveal between boards.
- Species and Sizes: Tongue and groove offers White Pine, Western Red Cedar, Cypress, and Spruce in 1×6, 1×8, and 1×12 dimensions. Kiln-dried options accept paint, stain, or clear coats; unfinished or pre-finished.
- Installation: T&G permits horizontal, vertical, or ceiling runs with faster interlocking assembly. Shiplap installs with comparable flexibility but exposes more seam variation.
Choose T&G for tighter fits; select shiplap for deliberate gap aesthetics.
Best Rooms for Tongue and Groove Walls
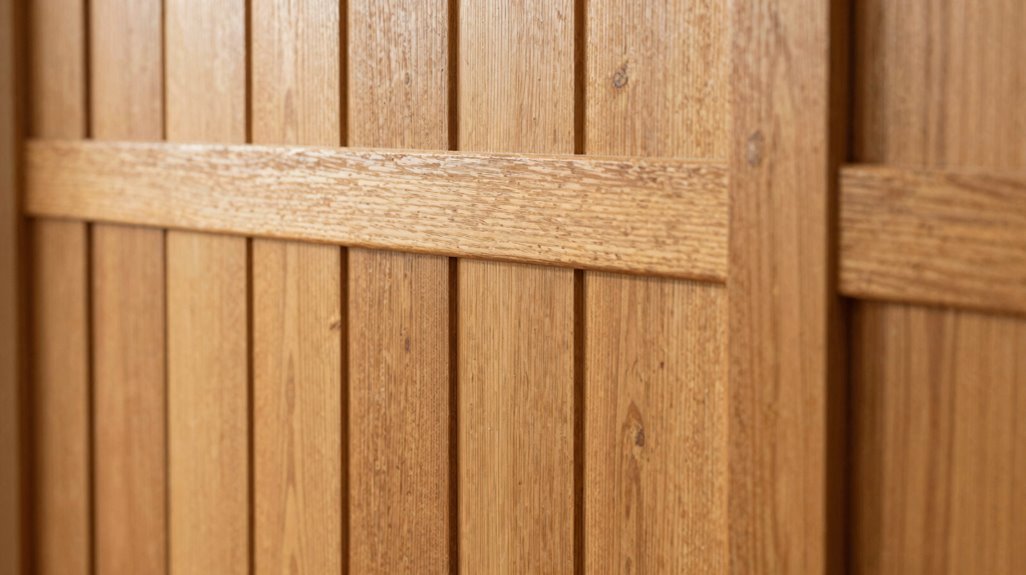
Once you’ve settled on tongue and groove over shiplap, you’ll need to identify where these interlocking boards deliver maximum structural and visual payoff.
- Living spaces. You’ll install Tongue and Groove Walls vertically in family rooms, creating seamless panels that span 8-12 foot heights without visible seams.
- Ceiling applications. You’ll mount boards horizontally overhead, covering 100-400 square foot ceiling spans with interlocking edges that prevent sagging.
- Bedrooms. You’ll achieve acoustic dampening through the tight, overlapping board construction, reducing sound transmission by 15-20% compared to drywall.
- Kitchens and bathrooms. You’ll specify kiln-dried boards with moisture-resistant finishes, applying two coats of sealant to protect against 60-80% humidity levels.
- Entryways. You’ll create durable, scuff-resistant surfaces using boards cut to 6-16 foot lengths, installed at 45-degree angles for visual interest.
Best Wood Species for Tongue and Groove Walls
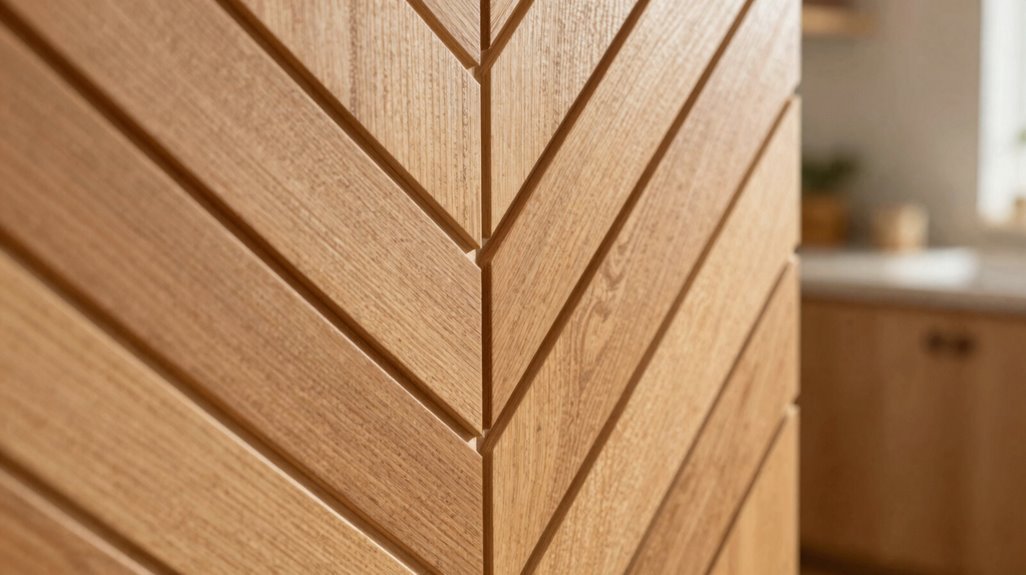
You’ll need to choose between softwood and hardwood options based on your project’s structural demands and aesthetic requirements. Softwoods like rustic pine and cedar offer affordable, workable solutions with natural resistance to moisture and insects. Hardwoods such as oak, maple, and walnut provide superior durability and refined grain patterns for premium installations.
Before committing to a specific species, consider your budget constraints, installation environment, and desired finish compatibility. Each category presents distinct advantages in weight, machining characteristics, and long-term stability.
Softwood Versus Hardwood Options
How do you choose between softwood and hardwood for your tongue and groove walls? You weigh durability against aesthetics, cost against longevity, and match your selection to your project’s demands.
1. Softwood Characteristics
Pine and cedar deliver rustic North American appeal. You’ll find pine in 5″ and 7″ standard widths, while cedar withstands interior and exterior moisture exposure. Both accept stains, paints, or clearcoats readily. Kiln-dried softwood panels reduce warping, providing dimensional stability during installation.
2. Hardwood Advantages
Hardwood tongue and groove options, white oak and red oak, present fewer knots and refined elegance for premium interiors. You gain access to wider, custom widths unavailable in standard softwood stock. These species require higher investment but reward you with superior hardness and lasting surface integrity.
3. Selection Criteria
Consider your finish requirements: unfinished and clearcoat-ready options exist across both categories. Match species to environment, budget, and desired visual weight.
Rustic Pine and Cedar
When you’re selecting wood species for your tongue and groove walls, rustic pine and cedar emerge as dominant choices for achieving authentic, lived-in character. You’ll find both species deliver visible grain patterns and knots that create the cozy, cabin-like atmosphere you’re seeking.
- Cost and Availability: Choose Rustic Pine when you need affordable boards with classic character. You’ll commonly locate 1×6 and 1×8 profiles at most suppliers.
- Durability Factors: Select cedar if you require natural decay resistance, pest deterrence through natural oils, and a richer reddish aging tone. You’re getting superior moisture resistance for interior applications.
- Installation Requirements: Purchase kiln-dried boards to minimize warping. You’ll finish both species with clear coats, stains, or paint based on your preferred aesthetic. The interlocking Tongue and Groove design provides seamless wall transitions you can depend upon.
Elegant Hardwood Selections
Moving beyond rustic softwoods, you now face hardwood selections that deliver refined aesthetics and structural integrity for your tongue and groove walls. Oak varieties stand out among these hardwood selections, offering exceptional density, prominent grain patterns, and superior longevity for high-traffic interior spaces. You’ll find kiln-dried tongue and groove panels essential for stability, minimizing movement and warping during seasonal humidity shifts. Your finish options include clearcoat, stains, or paint, each protecting the wood while matching your design requirements.
Consider these specifications when selecting materials:
- 1×6, 1×8, or 1×12 widths create distinct visual textures
- Select grade oak minimizes knots for cleaner surfaces
- Shiplap or center match profiles alter shadow lines and installation methods
How to Plan Your Tongue and Groove Installation
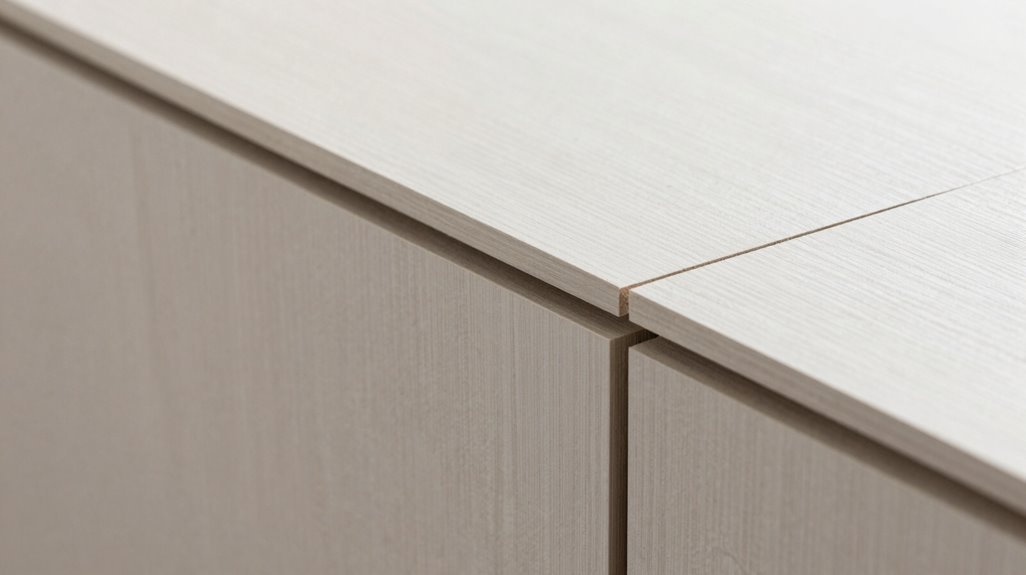
Measure your wall’s length and height to calculate square footage, then add 10-15% extra to account for waste, cuts, and spacing between boards. Decide whether you’ll install planks vertically for a traditional, heightening effect or horizontally to visually expand your room’s width, and select narrow 3, 4 inch boards for a refined look or wider 6-inch planks for a more rustic, modern aesthetic.
These foundational choices determine your material quantities, labor timeline, and final visual impact, so finalize them before purchasing supplies or removing existing trim.
Measuring Your Space
Where do you start when planning a tongue and groove installation? You begin with precise measurements, because accurate Tongue and Groove Measurements determine your entire material order.
First, measure your wall length and height, then multiply height by length to calculate total square footage. This figure tells you exactly how much paneling you’ll need.
Next, you’ll select your plank width. Common options include:
- 3–4 inches for traditional, detailed appearances
- 5 inches for balanced, versatile coverage
- 7 inches for modern, streamlined looks
Your width choice directly affects board counts and waste estimates.
Before finalizing quantities, decide your orientation; vertical or horizontal, since board length requirements change dramatically between configurations. Account for a 1/2 inch expansion gap around all walls. Finally, add 5–10% extra boards for cuts and potential replacements.
Choosing Your Layout
How do you convert raw measurements into a cohesive installation plan? You start by locking in your tongue and groove layout orientation. Run boards vertically for traditional height, or horizontally for relaxed width.
Next, you pick your board width. Choose 3–4 inches for old-world character, or 6 inches plus for modern rustic impact.
Then, you commit to finish and sheen. Paint delivers crisp tradition; natural stain brings warmth. Satin or semi-gloss simplifies cleaning.
You verify species and grade against your budget. Cypress Select runs $4.19 per foot; standard Cypress costs $2.15.
Finally, you calculate expansion gaps and waste. Leave half-inch gaps at perimeter walls, and order 10% extra material for end cuts and potential defects. Your layout succeeds when every variable is decided before the first board lifts.
Horizontal vs. Vertical Tongue and Groove: Which Orientation Works Best?

Why does orientation matter so much with tongue and groove? Your choice of orientation shapes spatial perception, and selecting the wrong direction creates visual imbalance in your room.
Your tongue-and-groove installation demands strategic orientation decisions based on functional outcomes. Consider these factors:
- Horizontal placement expands wall width, emphasizing room length and creating openness in confined areas
- Vertical installation extends ceiling height, drawing eyes upward for elevated spatial perception
- Board width (3 to 4 inches) alters traditional versus contemporary readings depending on orientation direction
You control visual impact through joint direction. Narrow boards installed vertically modernize traditional spaces, while horizontal applications ground contemporary interiors. Your paint or stain selection further defines presence: painted surfaces emphasize joint lines, natural finishes highlight grain patterns. Choose orientation deliberately; you’ll achieve precise architectural results.
How Much Do Tongue and Groove Walls Cost?
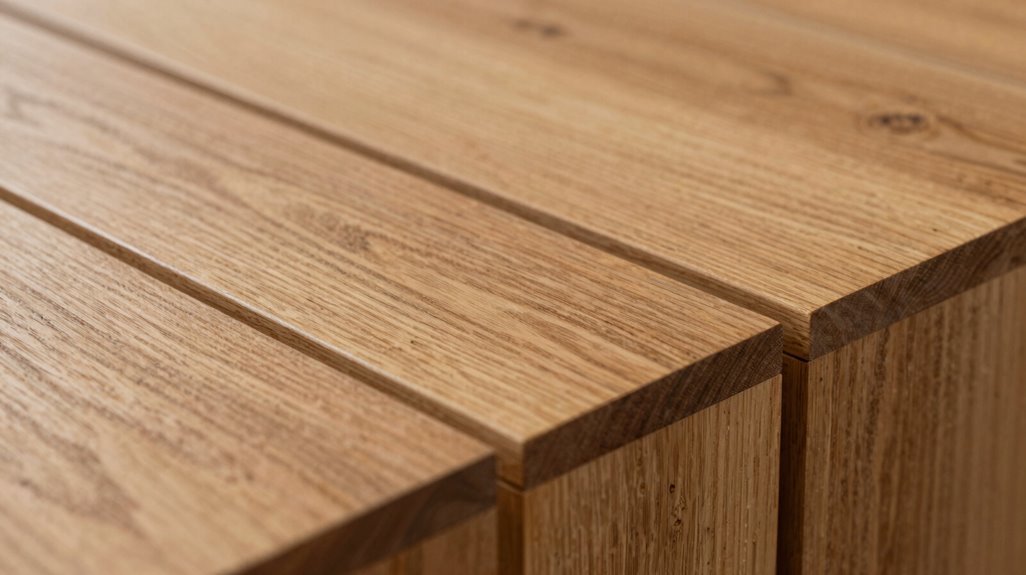
What exactly will tongue and groove walls cost you?
You’ll find Tongue and Groove pricing varies by wood species and grade. Entry-level White Pine T&G paneling runs $0.95 to $1.19 per linear foot. Mid-range Cypress T&G costs $2.15 per foot, while Select and Better Cypress reaches $4.19 per foot. Premium Western Red Cedar T&G commands $2.99 per foot. General T&G products average $1.15 per foot unspecified.
Your total project cost depends on three factors: coverage area, board width, and waste allowance. Calculate linear footage by measuring wall dimensions, then add 10-15% for cuts and errors. Kiln-dried, custom-cut options in multiple lengths suit interior walls and ceilings. Request quotes matching your specific dimensions to lock in accurate material costs before ordering.





