
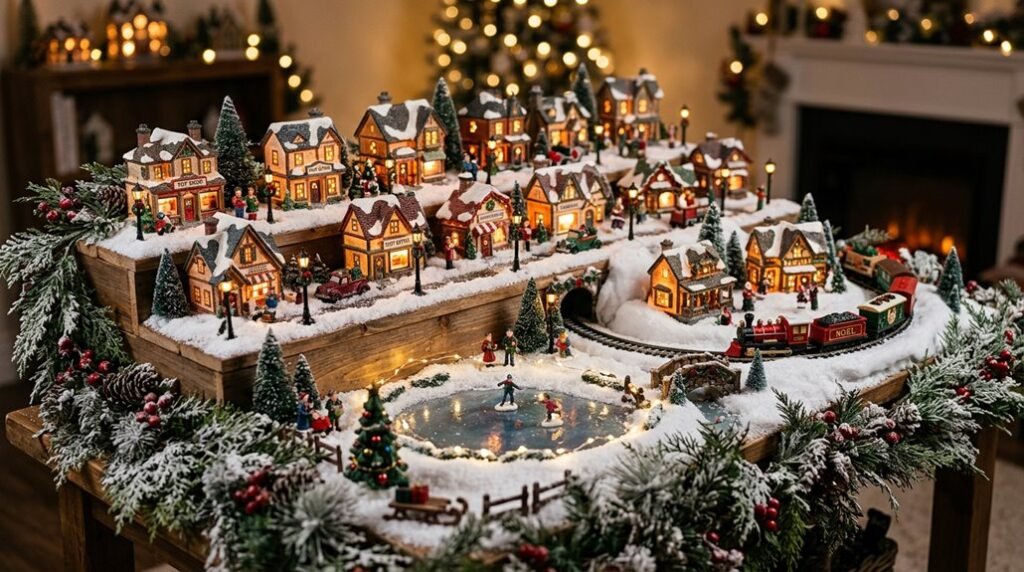
You need a Christmas village display that fits your space, budget, and timeline without overwhelming your holiday routine. Start with one house, expand deliberately, and build systems that last decades.
The following five methods cover sourcing, construction, wiring, finishing, and placement; each broken into measurable steps with specific dimensions, costs, and timeframes. You will solve organizational challenges before they arise, but one critical decision about your base platform determines whether your village thrives or becomes storage clutter.
Start Your Christmas Village Collection on a Budget
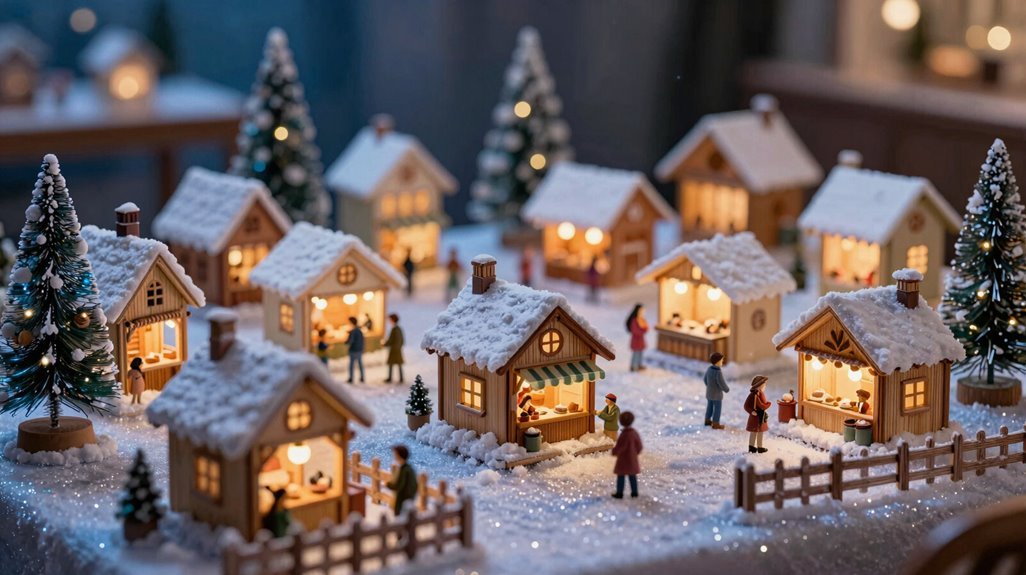
Why spend hundreds on a complete village set when you’re starting out? You don’t need perfection; you need a beginning.
1. Select one affordable piece, a single Dickensville house or similar item, costing $15-30 at thrift stores or end-of-season sales.
2. Prioritize personal significance over matching sets, choosing buildings that spark family memories.
3. Embrace budget-friendly DIY growth, adding 2-3 pieces annually through yard sales ($5-15 per item) and post-holiday clearance (50-70% off).
| Acquisition Source | Price Range | Best Timing |
|---|---|---|
| Thrift stores | $3-12 | Year-round |
| Yard sales | $5-15 | Spring-summer |
| End-of-season sales | $10-25 | January |
4. Plan decades-long expansion, treating holiday decor collection as ongoing family activity, not instant completion.
You’re building tradition, not buying it.
Build a Base Platform That Fits Your Space
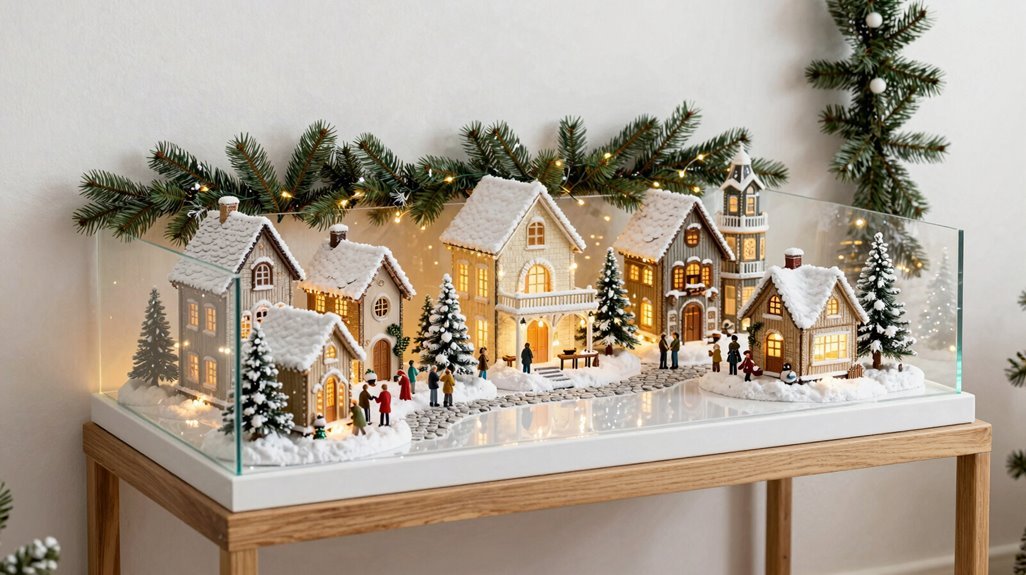
Your village needs a foundation that matches your square footage, not an idealized vision of sprawling holiday scenes.
Select your base platform from proven Christmas village display ideas. Use a 4′ x 8′ plywood sheet for large installations, or choose tree-shaped shelving, corner half-circles, or standard shelves for compact areas. A mantel or dining table surface works when floor space disappears.
Measure your available area precisely. Subtract 18 inches for walking clearance if placing on floors. Record these dimensions before purchasing materials.
Construct a sturdy base using 3/4-inch plywood over a level support frame. Test stability with 25-pound weights distributed across the surface. A wobbling platform destroys your holiday decor during the season.
Maintain flexible setup principles. Design modular sections that detach, allowing quick reconfiguration when grandchildren visit or children relocate. Document your space-fitting solution for family members who inherit your tradition.
Start with one focal home, then expand annually.
Wire, Place Houses, and Install Your Village
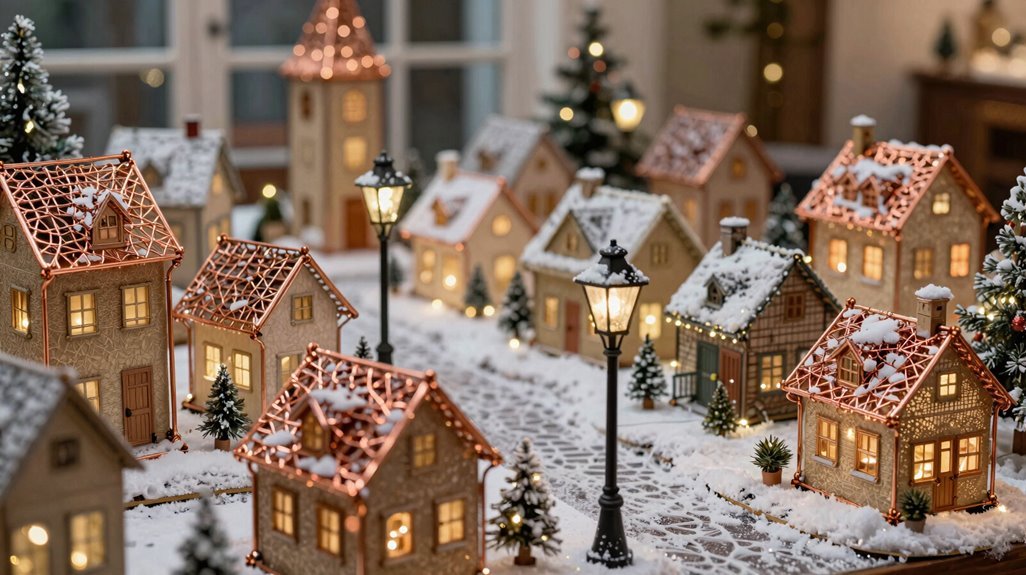
The foundation you’ve built now demands precise electrical and spatial organization before any ceramic structures touch the surface.
You must complete base preparation by routing lighting wiring underneath your plywood platform. Cut precise circles where each house will sit, then thread wire through these openings to hide cords completely. You’ll attach street lamps directly to the wood using screws or staples, feeding their electrical connections downward to maintain a tidy surface.
For installation, position your houses within their designated circles, making certain each structure sits level and secure. Your village display requires consistent spacing, typically 2-3 inches between buildings, to create realistic streetscapes. Secure cords beneath with cable staples every 12 inches.
Cover exposed edges with fabric or a candy stripe skirt to conceal your framework. This finishing step isolates attention on your organized scene, completing the technical foundation before decorative elements arrive.
Add Snow, Lighting, and Personal Finishing Touches
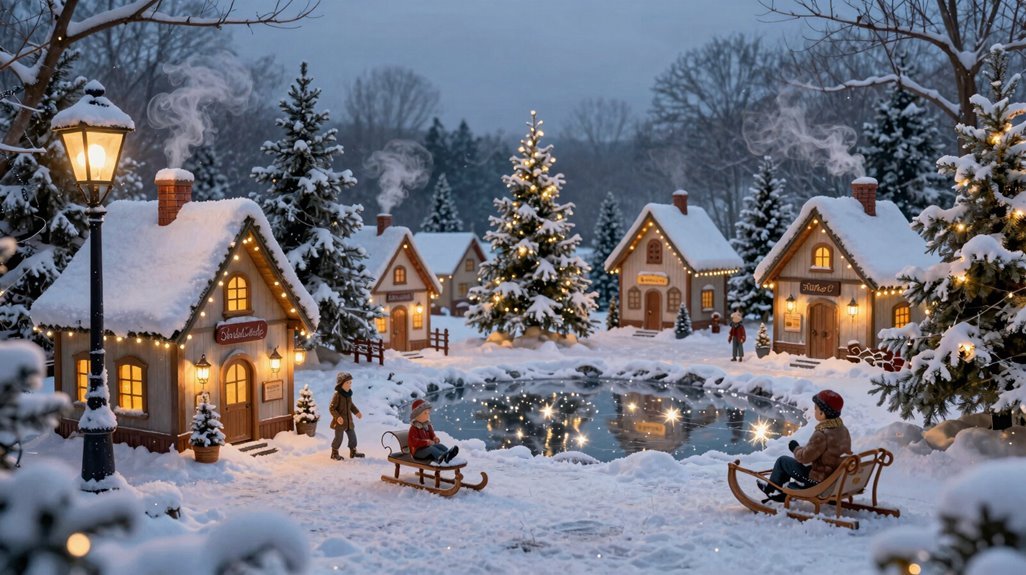
With your electrical infrastructure secured and houses positioned, you’ll now apply the surface treatments that distinguish professional displays from amateur arrangements.
- Layer snow effects: Drape cotton batting or specialized snow blankets across rooftops and terrain, adding snowflake accents near lighting fixtures for dimensional sparkle.
- Install strategic lighting: Position warm LED street lamps throughout your village displays, conceal cords beneath the plywood base, and integrate battery or plug-in string lights for depth.
- Apply finishing touches: Add brick-textured sidewalks, textured backdrops, and coordinating evergreen garlands with pinecones to add realism to your holiday decor.
- Incorporate personal touches: Place miniature figures, family ornaments, or themed props reflecting traditions while maintaining cohesive color palettes.
These elements turn basic setups into immersive, professional-quality village displays you’ll proudly share.
Display Your Village: Creative Locations and Styling Ideas
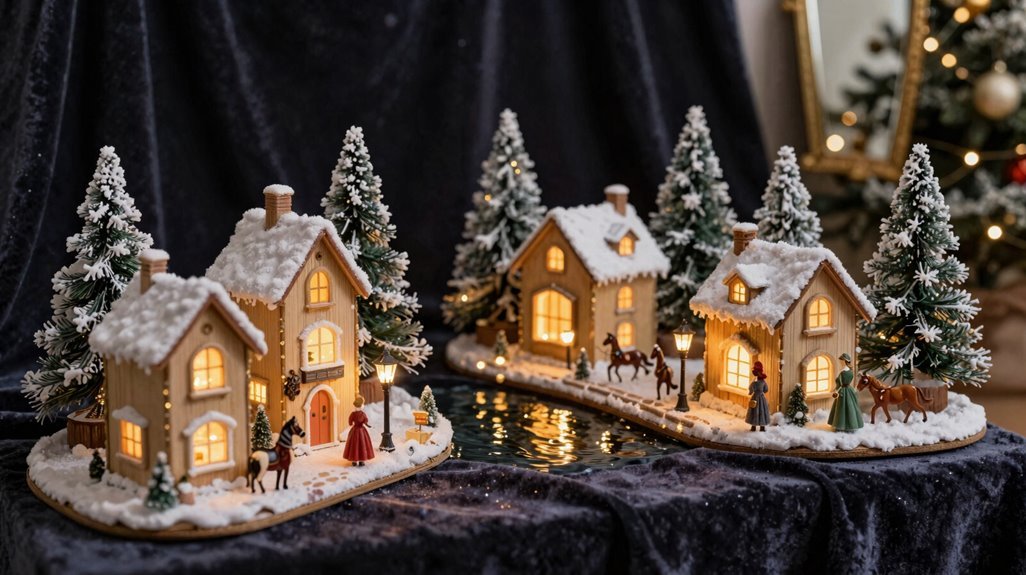
Once you’ve finalized your village’s structural elements and surface treatments, you’ll need to determine where and how to present your completed display for maximum visual impact and practical longevity. Consider these Christmas village display ideas for your holiday display:
Position your village on mantels, bookcases, consoles, or staircases to utilize vertical space and integrate with existing architecture. Install layered backdrops using fabric, sheets, or tartan runners to isolate focus and eliminate visual competition from walls. Raise structures on cake stands, pedestals, or stacked cake boards to establish distinct sightlines and spatial hierarchy. Embed LED lights, miniature lampposts, and candles to generate dimension, then weave complementary decor including evergreen garlands, bottle brush trees, pinecones, and faux snow throughout the composition.





