
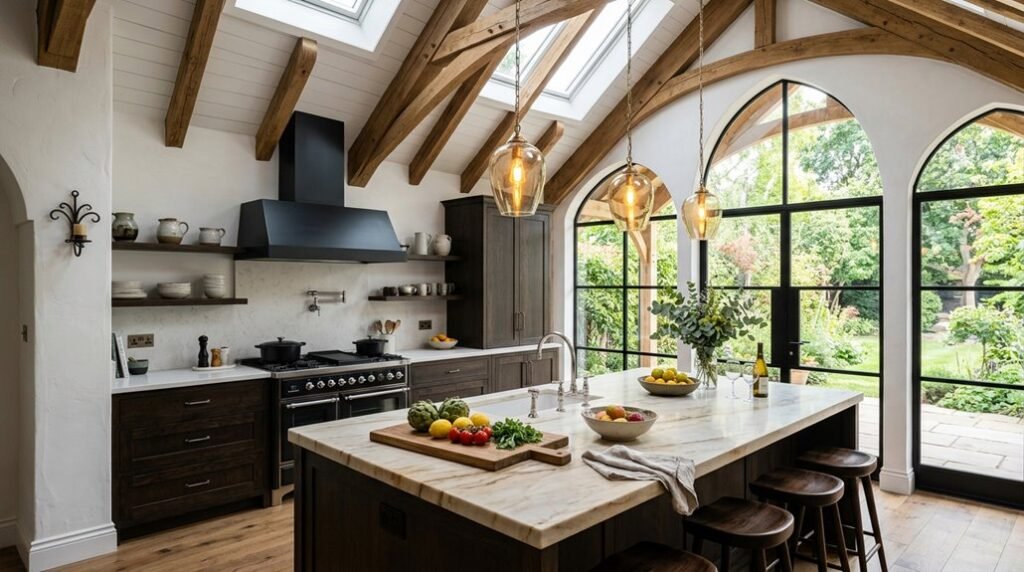
Your kitchen’s ceiling is untapped real estate. Vaulting it adds 8–12 feet of vertical volume without expanding your footprint, but you must choose between three structural systems: cathedral (35% of projects), barrel (20%), or groin vaults (15%).
Each demands specific beam spacing, 16, 24, or 32 inches on center, and HVAC routing that adds $3,000–$8,000 to your budget.
The remaining 30% of homeowners abandon the project after discovering load-bearing wall requirements. Before you commit to demolition, you need to assess five structural criteria that determine feasibility, cost, and timeline.
How Vaulted Ceilings Solve Small Kitchen Problems (Without Adding Space)
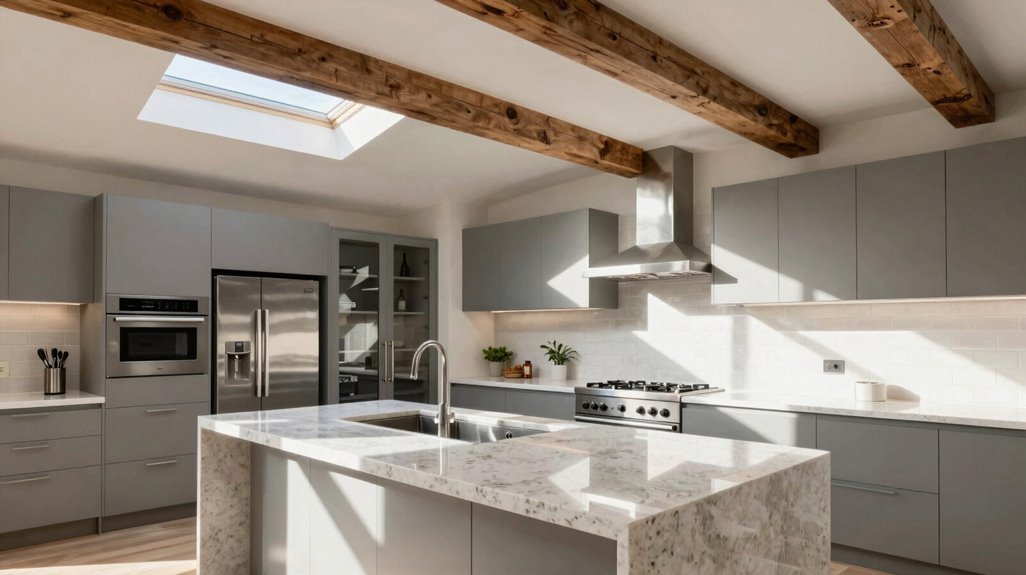
Why does your small kitchen feel cramped, and what can you do when expanding outward isn’t an option? You install a Vaulted Ceiling. This architectural solution redirects your focus upward, creating perceived volume without expanding your footprint.
When outward expansion isn’t possible, look up: a vaulted ceiling creates perceived volume by redirecting focus skyward, not sideways.
You’ll gain three measurable advantages:
- Vertical Expansion: Vaulted ceilings add 4-8 feet of perceived height, turning 8-foot walls into 12-16-foot peaks.
- Enhanced Lighting Capacity: You can suspend chandeliers up to 36 inches in diameter, drawing eyes upward while washing surfaces with ambient light.
- Strategic Color Application: Extend cabinetry 12-18 inches toward the vault, pair with wall colors 2-3 shades lighter than standard, and install indirect LED strips above cabinets.
Add exposed beams or crown molding at peak junctions. These elements create vertical interest, diverting attention from your limited floor area while establishing architectural distinction.
Pick Your Vault Style: Cathedral, Barrel, or Groin?
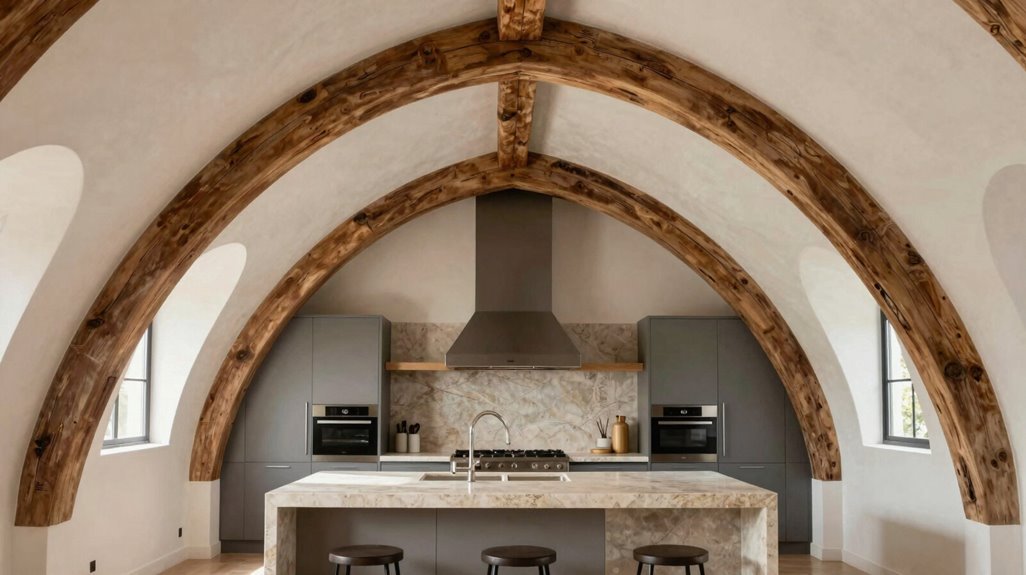
How do you select the right vault structure when each option reshapes your kitchen’s proportions, lighting strategy, and storage potential in fundamentally different ways?
1. Cathedral Vaults
You’ll maximize vertical space with tall, peaked vaulted ceilings. Install exposed beams or crown molding at 12-16 feet heights to emphasize dramatic ascent. Plan pendant clusters at 7-8 foot drops to maintain task lighting without visual clutter.
2. Barrel Vaults
You’ll soften your kitchen’s silhouette with continuous rounded arches spanning 8-14 feet widths. Select this for traditional or rustic aesthetics where curved drywall transitions demand specialized framing crews and 20-30% longer installation timelines.
3. Groin Vaults
You’ll create architectural drama through intersecting curved lines forming grid patterns. Expect structured ceiling lines requiring precise 4-way intersections, ideal for defining distinct cooking zones within open-concept layouts.
Match your vault to ceiling height minimums: cathedral needs 10 feet, barrel requires 9 feet, groin demands 11 feet at intersection points.
Can You Actually Add a Vaulted Ceiling? Remodel Realities
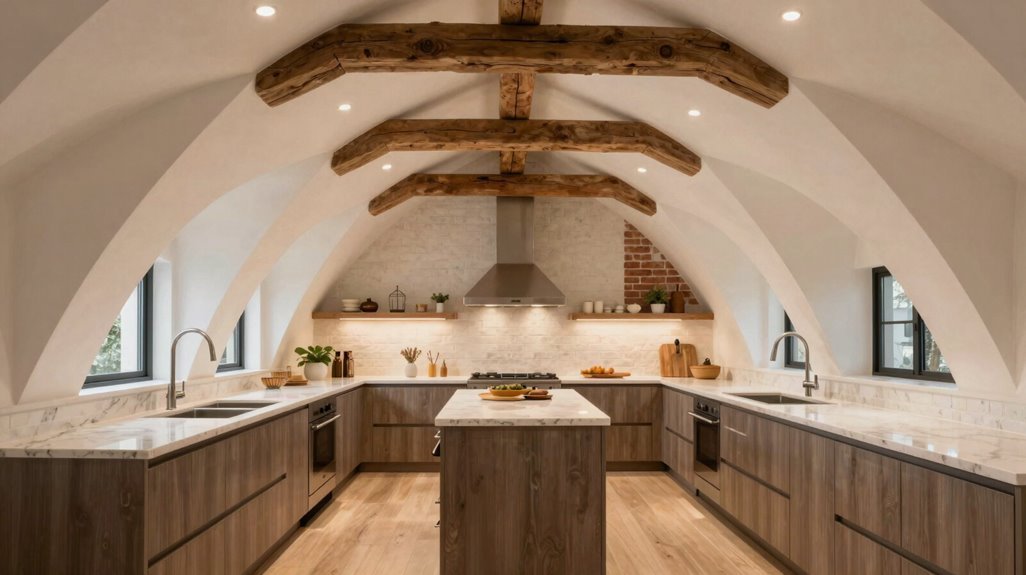
Where exactly does your existing structure stand when you’re weighing a vaulted ceiling conversion? You’ll need a structural engineer to assess your roof line, truss configuration, and load-bearing capacity before proceeding. Vaulted ceilings demand significant modification, often requiring HVAC ductwork relocation, electrical rewiring, and potential beam installation.
Single-story homes simplify this process; two-story structures complicate it considerably. You’re removing ceiling joists that serve structural functions, so replacement support systems become mandatory. Expect 6-12 weeks for completed conversion, with costs scaling based on mechanical system complexity.
Your contractor must coordinate daylighting strategy, ventilation placement, and acoustic treatment simultaneously. The resulting vertical space permits oversized pendant fixtures and extends visual connectivity to adjacent rooms. However, you’ll sacrifice upper cabinet storage volume, demanding revised kitchen workflow planning. Evaluate whether your home’s framework accommodates this conversion through professional assessment.
Cabinet Strategies for Sloped Ceilings
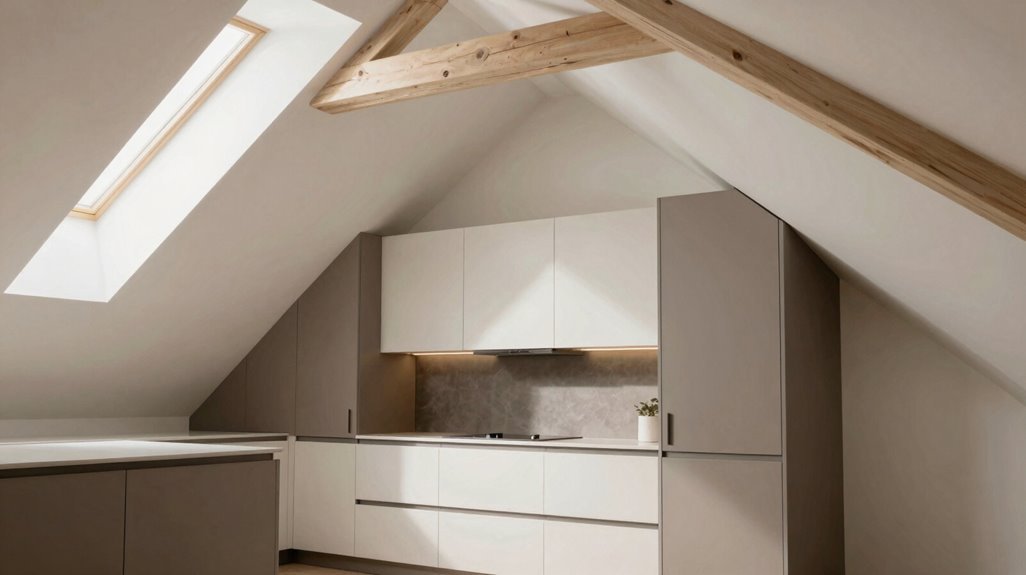
Once you’ve committed to the structural conversion, you’ll face the immediate challenge of fitting cabinetry against sloped surfaces that refuse to accommodate standard 42-inch wall cabinets. Vaulted ceilings demand strategic decisions: extend cabinets fully to the vault for maximal storage, or cap them with trapezoid panels and crown molding for visual breathing room.
Consider these approaches:
- Full Extension: Run cabinets to the slope, filling vertical space completely. Install rope or concealed LED lighting above for ambient glow without ceiling clutter.
- Capped Uppers: Stop cabinets 12-18 inches below the vault, using beaded board or decorative trim to manage proportions while maintaining accessibility.
Direction matters. Vaults perpendicular to cabinetry create dramatic sightlines; vaults aligned with cabinets require tighter coordination. Trim edges cleanly; molding should complement, not compete with, ascending angles. Prioritize reachability over aesthetics at counter height, keeping daily function intact.
Lighting Layers That Balance Pendants, Recessed, and Natural Light
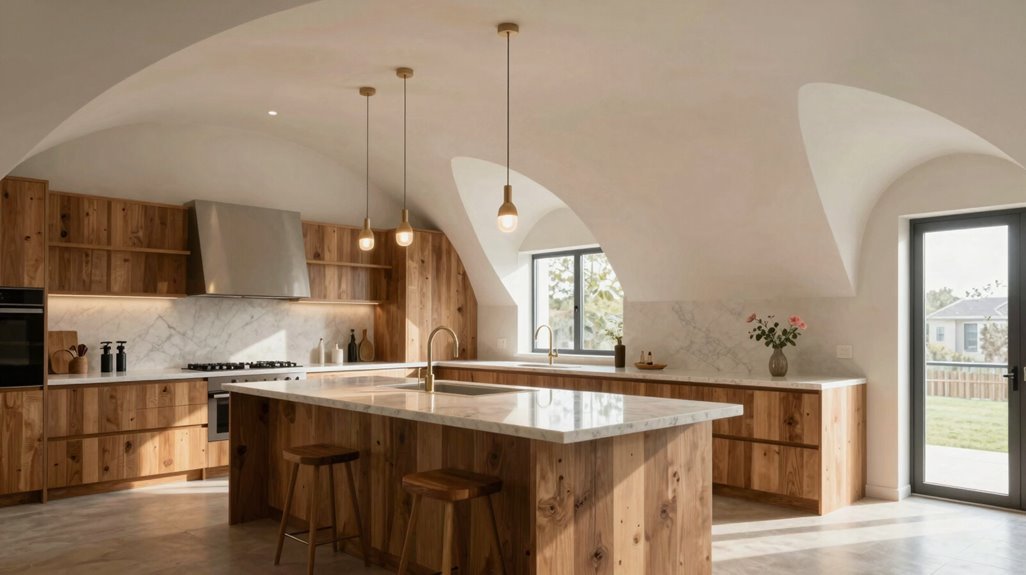
You’ll balance three distinct lighting layers to control your vaulted ceiling kitchen’s illumination. Position pendant lights 30-36 inches above your island surface for task lighting, while installing recessed cans every 4-6 feet between ceiling joists for ambient coverage.
Maximize natural light through strategically placed skylights, which reduce artificial lighting demands by 40-60% during daylight hours.
Pendant Placement Strategy
How do you prevent pendant lights from getting lost in the vertical void of a vaulted ceiling while still anchoring your kitchen island? You master pendant placement strategy by commanding scale and position with precision.
Choose pendants 12–18 inches in diameter, suspending them 18–30 inches above your counter. This measurement preserves sightlines across your workspace while establishing visual weight in the vertical expanse. Arrange fixtures in symmetrical pairs or staggered triplets to distribute focus evenly, avoiding clustering at your ceiling’s peak or distant ends.
You must harmonize with daylight streaming through windows or skylights, positioning pendants to complement rather than compete with these vertical light lines.
| Pendant Count | Island Length | Spacing Method |
|---|---|---|
| 2 pendants | 6–7 feet | Symmetrical, 30 inches from ends |
| 3 pendants | 8–9 feet | Staggered, equal intervals |
| 4 pendants | 10+ feet | Alternating heights, linear formation |
| 1 statement | 5–6 feet | Centered, oversized fixture |
Match color temperature across all sources-2700K-3000K for warmth, 3500K-4000K for contemporary settings.
Recessed Light Integration
Where does pendant lighting end and complete illumination begin? You find it in recessed light integration, the layer that fills shadows pendant lights leave behind in vaulted ceilings.
In spaces with dramatic ceiling slopes, you need strategic planning. Install multiple recessed cans between joists for even general lighting that respects exposed vault lines without visual competition. Position fixtures to highlight crown moldings and architectural slopes, but angle them carefully to prevent glare on glossy countertops and backsplashes.
Select 2700–3000K warm-color-temperature fixtures with higher lumen output. This maintains cozy ambiance that complements, rather than fights, natural daylight streaming through windows. Add dimmable controls and under-cabinet lighting. You then adjust brightness precisely: full power for meal prep, reduced glow for entertaining when pendants dominate as focal points.
Skylight Optimization Techniques
Recessed cans fill the gaps pendants create, but you haven’t solved the lighting puzzle until you harness what moves across your ceiling eight to fourteen hours daily.
Skylight optimization demands precision. You position apertures to capture daylight at varying angles, reducing artificial loads while amplifying perceived height. Layer three sources: pendants over islands, recessed fixtures between joists, and natural light washing downward.
Align skylights with work zones, never directly above cooking surfaces where glare disrupts tasks. Specify dimmable fixtures paired with light-colored ceilings to maximize reflected lumens. Install automated shading or UV-protective glazing to control heat gain and preserve cabinet color integrity.
You achieve balance when these systems coordinate, delivering consistent illumination across morning, midday, and evening hours without visual strain or temperature fluctuations.
Vaulted Kitchen Colors: All-White to Bold Contrast
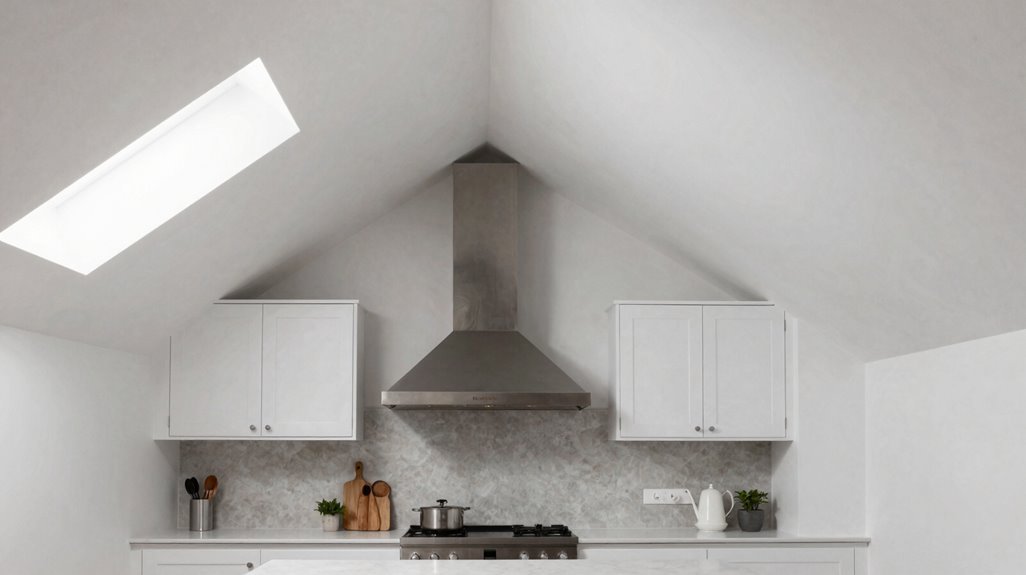
You’ll maximize your vaulted kitchen’s spatial impact by choosing between two proven color strategies: an all-white palette that amplifies natural light, or bold contrast schemes that stabilize the room while keeping the ceiling as your visual anchor.
All-white combinations, think white quartz countertops, pale oak cabinetry, and matching ceiling paint, create seamless vertical continuity that pushes walls outward perceptually. Alternatively, you can ground the space with dark-stained wide-plank flooring or charcoal lower cabinets, provided you maintain light ceiling surfaces to preserve the architectural volume you’ve invested in.
All-White Palette
How do you change a vaulted kitchen into a space that feels boundless rather than cavernous? You embrace an all-white palette that leverages light reflectivity to maximize perceived height and openness. Vaulted ceilings demand cohesive treatment, so you’ll extend white or light-wood cabinetry upward, minimizing visual breaks that compress spatial perception.
Your material selections include:
- Matte-glazed subway tiles that catch diffuse daylight
- Brushed nickel hardware providing subtle tactile variation
- Beaded board ceiling treatments adding dimensional texture
You’ll install recessed lighting at 4-foot intervals, supplement with under-cabinet LED strips, and position skylights strategically to distribute illumination evenly across angled surfaces. White countertops merge seamlessly with cabinetry, while minimal contrast preserves uninterrupted vertical sightlines.
This systematic approach eliminates cavernous shadows, helping your vaulted ceiling function as an architectural asset rather than an overwhelming void.
Bold Contrast Options
Moving beyond all-white schemes, you’re now working with deliberate tonal opposition to sculpt visual hierarchy in your vaulted kitchen. Pair dark wood floors or bold cabinet colors with light ceilings to create dramatic visual separation. This technique directs focus upward, emphasizing the vertical expanse of vaulted ceilings while grounding the space below.
Cabinet Strategy: Apply bold color to upper or lower cabinets exclusively, keeping the opposite level light to improve perceived depth and dimension.
Focal Point Placement: Position darker islands or range hoods against lighter vaulted ceilings to anchor attention without visual overwhelm.
Balance Distribution: Distribute high-contrast elements evenly, coordinating with crown molding height, cabinetry proportions, and indirect lighting placement to maintain cohesion throughout the vertical volume.
Beams, Molding, or Bare? How to Finish Your Ceiling
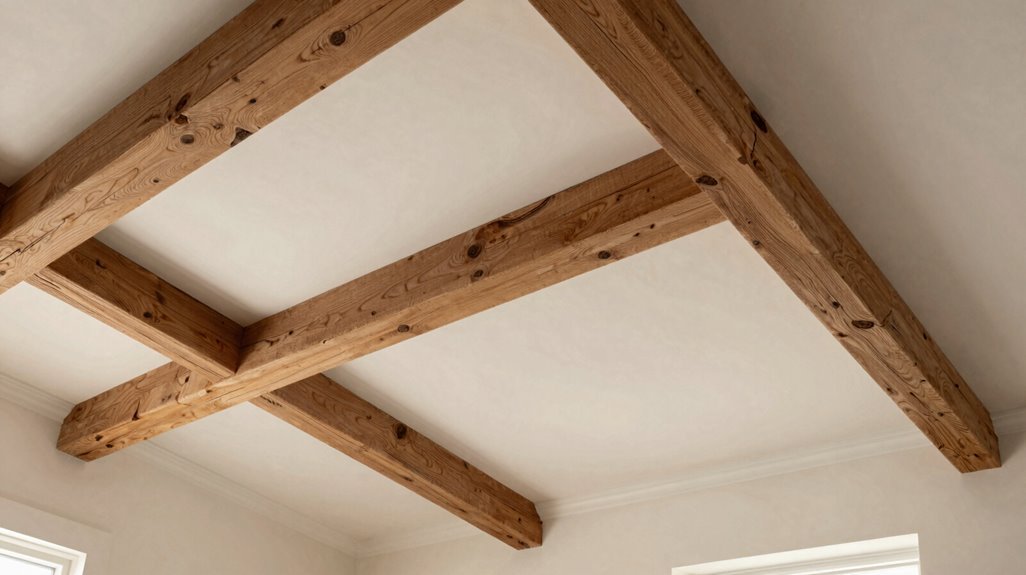
Where exactly should your vaulted ceiling’s visual weight rest; on structural drama, polished transitions, or skeletal simplicity? You choose based on your vault’s slope, direction, and your desired style.
Your vault’s visual weight rests on three pillars: dramatic structure, polished transitions, or honest simplicity—the choice is yours.
Exposed beams deliver rustic or industrial character, drawing eyes upward while grounding the space. You’ll specify timber species, spacing between joists (typically 24-48 inches), and stain grade. Crown molding creates refined wall-to-ceiling transitions, requiring precise angle cuts at 45 or 22.5 degrees for seamless joins.
Bare ceilings maximize perceived height; you install recessed channels for hidden lighting or position skylights at 15-30% of ceiling surface area.
Consider these finishing layers:
- Raw timber beams with hand-hewn surfaces and dark walnut stains
- Custom copper-wrapped cabinet caps echoing vintage armoire detailing
- Flush-mounted LED strips within 2-inch trim recesses
You balance proportion, material weight, and sightlines to complete your architectural statement.
Layouts That Turn Ceiling Height Into Better Work Triangles
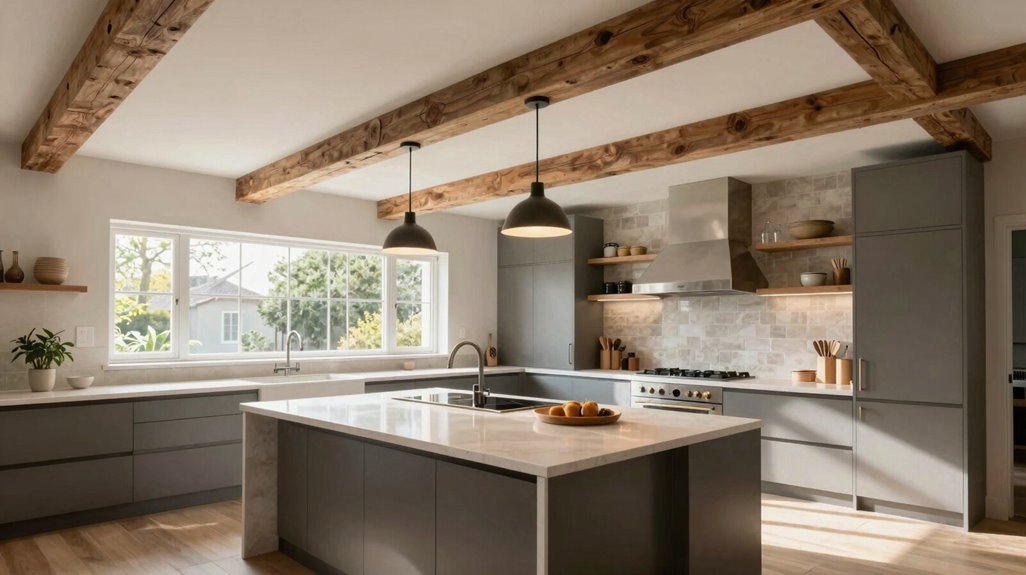
Because your vaulted ceiling rewrites the rules of vertical space, you’ll reorient your kitchen’s work triangle to exploit that height rather than fight against it.
Align your cabinet layout perpendicular to the vault’s slope. This positions your sink, stove, and refrigerator along the ceiling’s rise, eliminating awkward transitions between work zones.
Evaluate cabinet height against your 5/12 ceiling slope. Extend cabinetry to the vault with trapezoid fillers, or cap standard-height cabinets with crown molding. Either choice manages vertical contrast while preserving accessibility.
Install indirect lighting above cabinets: rope lights, concealed LED strips, which accentuates architectural height without compromising task illumination.
Map ceiling direction before finalizing cabinet placement. Clashing vault lines create visual fragmentation and unreachable storage dead zones.
Your vaulted ceiling demands intentional alignment between vertical architecture and horizontal workflow.
Making Vaulted Ceilings Flow in Open-Concept Homes
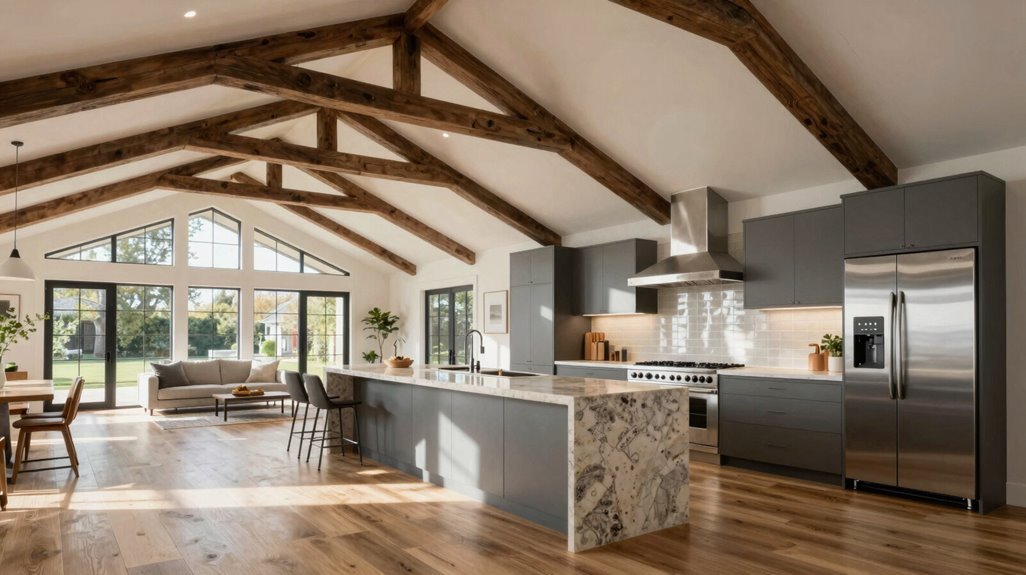
Your work triangle now aligns with the vault’s architecture, but that vertical energy can’t stop at the kitchen’s edge. You extend vaulted ceilings into adjacent spaces through deliberate sightline planning, making certain transitions feel seamless rather than abrupt.
Hang oversized chandeliers or pendants to ground the open area and guide visual movement across rooms. Position windows and doors beneath the vault’s peak to flood connected spaces with unified natural light. Extend exposed beams or crown moulding through the wall-ceiling junction to reinforce architectural continuity.
You maximize storage without sacrificing airiness by running cabinetry to higher elevations or installing open shelving near the vault’s peak. This approach maintains spatial cohesion while delivering practical function throughout your open-concept home.
7 Vaulted Kitchens to Copy (And Why They Work)
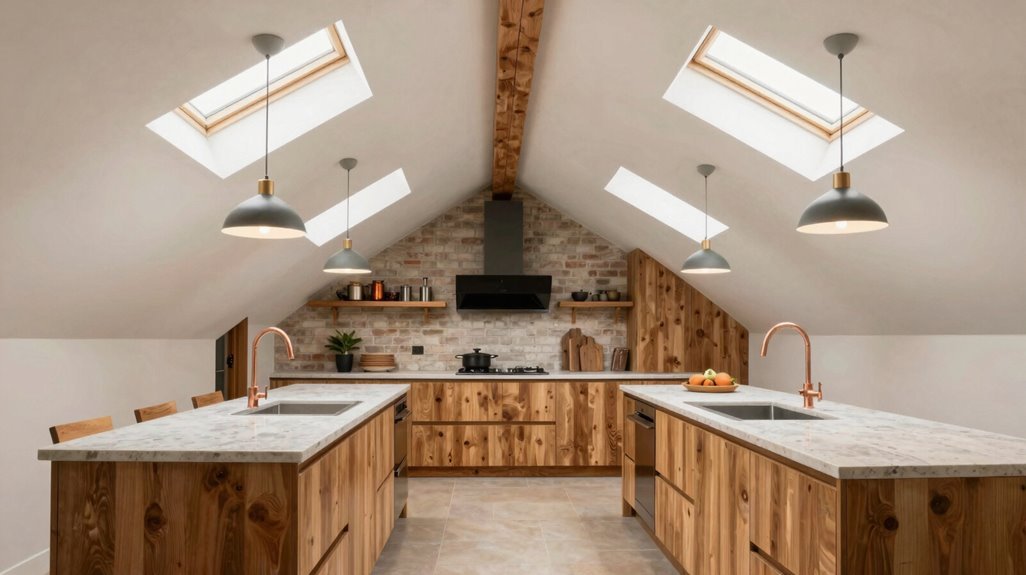
How do you translate vaulted ceiling potential into a kitchen that actually functions? Study these seven proven designs, each leveraging soaring ceilings to maximize daylight and spatial openness.
- The Timber Cathedral: Exposed Douglas fir beams, 8-12 inches wide, create vertical rhythm while supporting indirect LED strips at 2700K.
- The Glass Pavilion: Structural glass panels, 4-by-8-foot modules, admit 40% more natural light than standard windows.
- The Industrial Loft: Black steel rafters contrast with 12-foot white plaster planes, amplifying perceived height by 20%.
- The Farmhouse Revival: Reclaimed oak beams, 6-by-8-inch dimensional lumber, frame a 10-by-4-foot island with three-sided 15-inch overhangs seating six.
- The Modern Minimalist: Recessed perimeter lighting, spaced 4 feet on center, balances 16-foot ceiling heights.
- The Coastal Vault: Bleached cedar paired with navy cabinetry creates measurable depth.
- The Craftsman Hybrid: Layered pendants, 30-36 inches above surfaces, scale chandeliers proportionally.
Pantry and Storage Solutions for Sloped Ceiling Kitchens
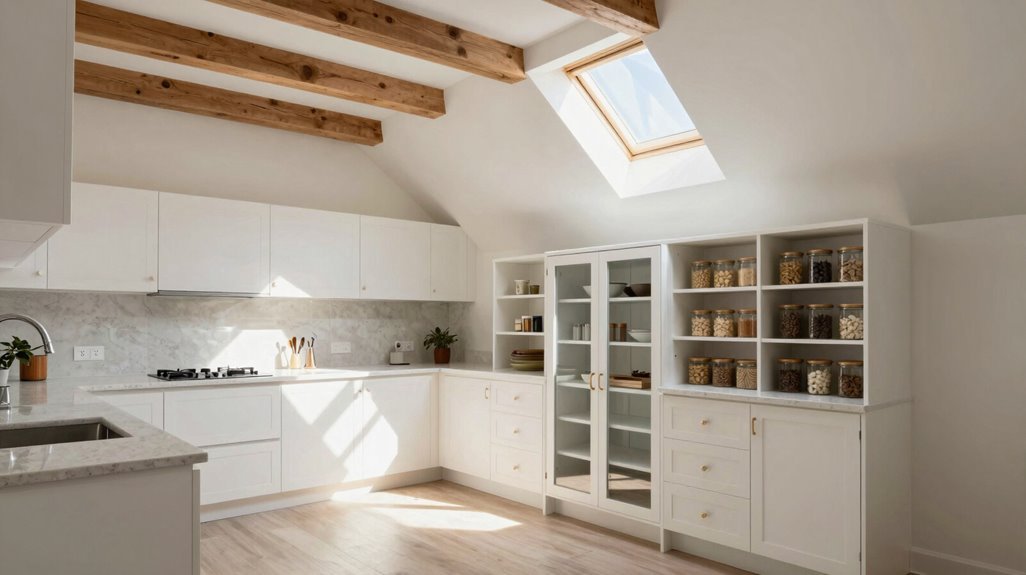
Those seven designs establish the visual framework, but a vaulted kitchen fails if you can’t store cookware within arm’s reach. You must plan pantry storage within reach of your main kitchen workflow, relocating or reconfiguring cabinetry to fit under the vaulted section or along adjacent walls. Tall, floor-to-ceiling cabinetry or custom pantry cabinets extending toward the ceiling maximize your vertical space while honoring ceiling slope. Integrate pantry access with your island or a side wall to maintain open flow between the vaulted kitchen and breakfast area.
You will turn cluttered spaces into efficient systems with these concrete elements:
- Rollout shelves eliminating deep-storage dead zones, keeping items visible without excessive bending
- Labeled organizers, pull-out trays, and adjustable shelving optimizing space for varying container heights
- Vaulted-adjacent cabinetry configurations placing pantry storage within three steps of your primary prep zone
Cleaning Vaulted Ceilings: What Requires a Pro
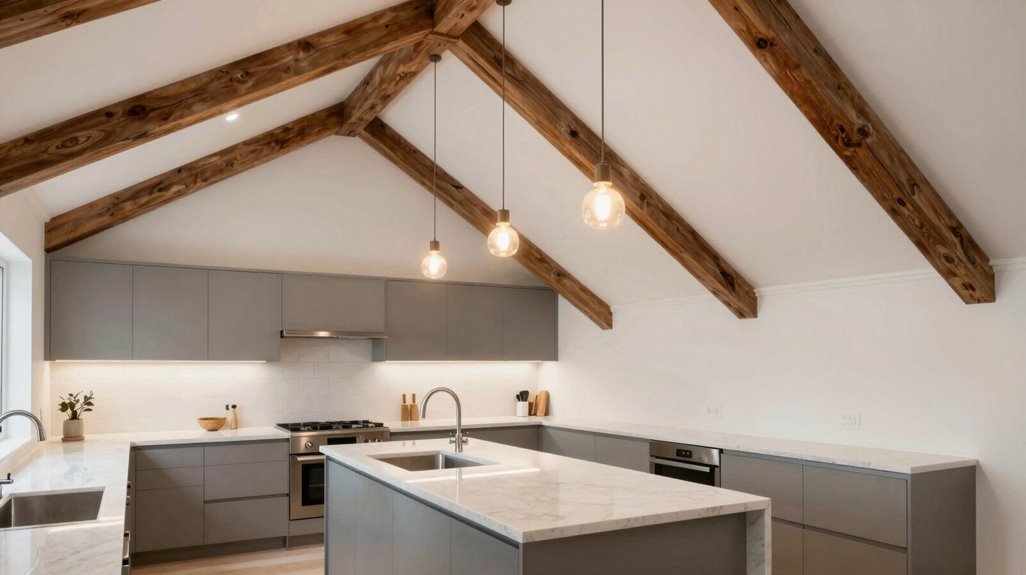
You’ll face three distinct challenges when maintaining your vaulted ceiling. First, hard-to-reach heights beyond 12 feet that demand specialized equipment. Second, dust accumulation zones concentrated at structural intersections and apex points. Third, paint refresh needs triggered by grease-laden kitchen particulates.
These conditions create a maintenance hierarchy where routine tasks yield to professional intervention based on risk assessment, frequency requirements, and surface degradation timelines. Recognizing these thresholds helps you allocate resources efficiently between DIY protocols and contracted services.
Hard-to-Reach Heights
Wherever vaulted ceilings extend beyond standard 8-foot reaches, you’re managing vertical zones that trap airborne grease, humidity, and particulate matter in progressively inaccessible tiers. You’re weighing DIY methods against professional intervention when extension poles fall short.
Grease-graded residue coating your vault’s upper ridge beams after six months between cleanings. Hazed skylight panels blocking 40% of natural light due to accumulated cooking film. Crown molding corners harboring sticky particulate clusters beyond 12-foot ladder limits.
You’ll recognize when pros become necessary: upper cabinet tops requiring 15-foot reaches, slope angles preventing stable footing, or beadboard soffits showing black mildew streaks. Vaulted ceilings demand 12-18 month professional cleaning cycles, not optional maintenance. You’re protecting your investment by scheduling certified cleaners with boom-lift access, so your kitchen’s vertical architecture maintains crisp, collective appeal without compromise.
Dust Accumulation Zones
How exactly does dust behave differently when your ceiling rises to 14, 18, or 22 feet? At these heights, gravity and air circulation create specific dust accumulation zones that demand strategic attention. Your vaulted ceiling traps particles in predictable locations: ridge lines where slopes meet, crown moldings running perimeter edges, and exposed beams spanning your kitchen’s upper reaches. These zones collect debris you cannot easily monitor.
You’ll identify three primary problem areas requiring professional equipment:
Beam intersections, where structural elements create shelf-like surfaces; skylight edges, which accumulate condensation-attracted dust; and wall-ceiling corners, where cobwebs form systematically.
Standard vacuums and dusters fail here. You must extend tools or deploy ladders to reach peaks safely. Without quarterly maintenance targeting these zones, cooking residues bond to surfaces, complicating later removal.
Paint Refresh Needs
Once you’ve mapped dust accumulation zones across your vaulted ceiling’s upper reaches, you’ll confront a related maintenance demand: paint degradation. Your kitchen’s vaulted ceiling battles cooking residues, grease splatter, and moisture vapors that standard-height walls rarely face. This assault requires periodic paint refreshing, typically every 3-5 years depending on cooking frequency and ventilation quality.
Discoloration rings form around vents, skylights, and light fixtures where condensation traps cooking oils. Grease films create tacky surfaces that attract dust, accelerating visible dullness in upper elevations. Moisture penetration causes bubbling or peeling near ridge beams and structural joints where temperature differentials peak.
You’ll need extension ladders reaching 12-16 feet, or scaffolding for ceilings exceeding 14 feet at peak height. Professional painters carry proper fall protection, high-load platforms, and spray equipment for uniform coverage. Schedule refresh cycles during deep cleaning intervals to maintain your vaulted ceiling’s crisp architectural presence.
Expensive Vaulted Kitchen Regrets (And How to Avoid Them)
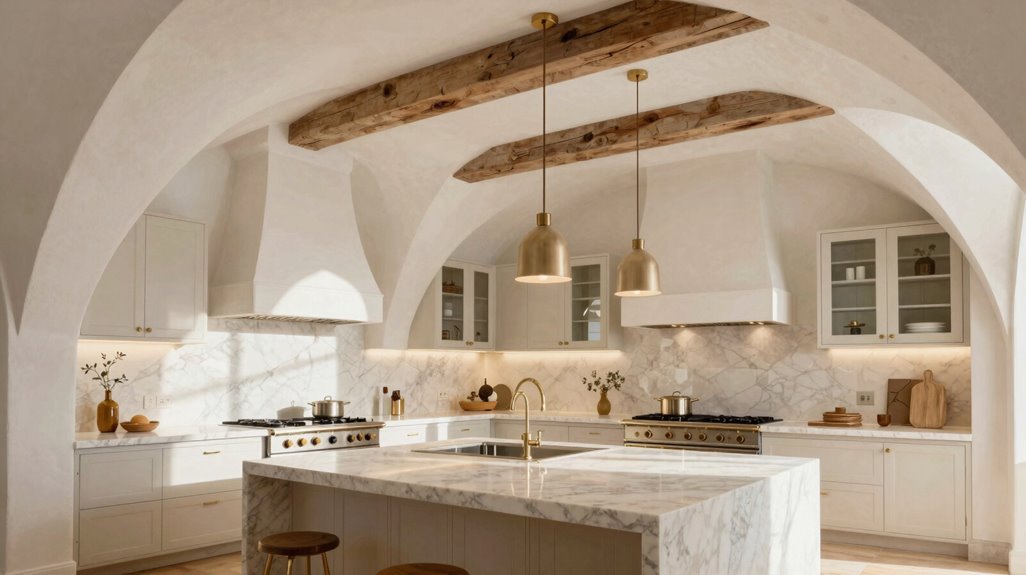
Because vaulted ceilings command attention and budget, you’ll need to anticipate five specific failure points before construction begins.
- HVAC and Electrical Complications. Vaulted ceilings strain climate control and lighting infrastructure. You’ll require supplemental ductwork, zone controls, and pre-wiring for pendant clusters at 8-10 foot intervals.
- Cabinetry Extension Errors. Running cabinets to the peak creates maintenance nightmares. Cap cabinetry at 96 inches, maintaining 24-36 inches of accessible clearance above.
- Transition Discontinuities. Abrupt height changes between vaulted and standard zones disrupt circulation. Maintain minimum 3-foot visual buffers between ceiling planes.
- Daylight Deficits. Slopes exceeding 45 degrees without skylights or clerestory windows produce shadow-dominated spaces. Specify glazing comprising 15-20% of roof surface area.
- Material Mismatch. Heavy millwork contradicts airy vaults. Pair minimal trim profiles (2-3 inch crown) with light-toned finishes to preserve vertical emphasis.





