
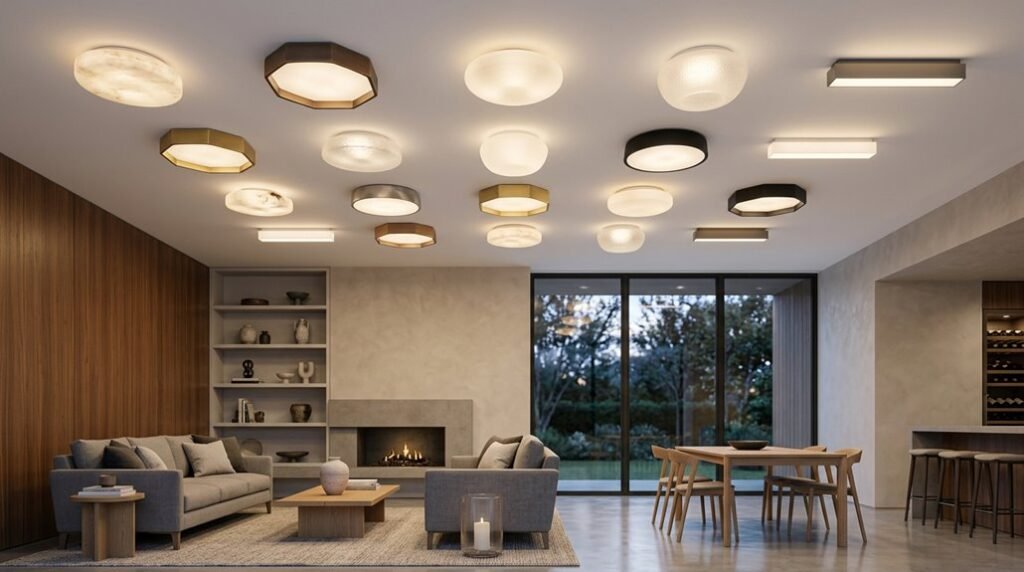
A contractor once told me that 80% of lighting returns happen because homeowners bought fixtures before measuring their ceiling height. You’re about to avoid that mistake entirely.
These 17 flush mount solutions solve specific spatial problems: low clearance, open plans, and sloped architecture. Each one includes precise measurements and material specifications you’ll apply immediately.
Pick Flush Mounts First for Low Ceilings Under 8 Feet
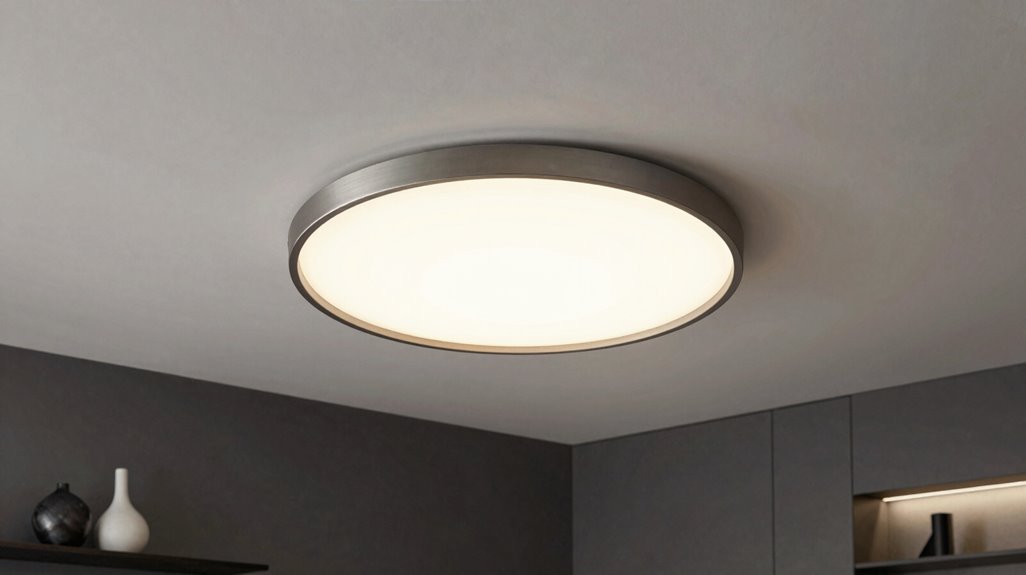
How do you brighten a room when every inch of vertical space matters? You pick flush mounts first for ceilings under 8 feet. These fixtures hug your ceiling, maximizing headroom while eliminating visual clutter. You gain 6-12 inches of clearance compared to pendant or semi-flush alternatives.
Maximize headroom in tight spaces: choose flush mounts for ceilings under 8 feet and reclaim 6-12 inches of vertical clearance.
Select low-profile models with diffuse, ambient light distribution. You avoid harsh shadows that shrink your space perceptually. Consider LED Round or LED Square flush-mount styles for compact, modern aesthetics. You prioritize minimalist finishes: matte black, brushed nickel, or white; to integrate with existing décor schemes.
Avoid bulky designs entirely. You compromise spatial perception otherwise.
For rooms exceeding 150 square feet, install multiple smaller mounts spaced 8-10 feet apart. You achieve uniform illumination without overwhelming the vertical plane.
Know When Semi-Flush Mounts Work Better Than Flush
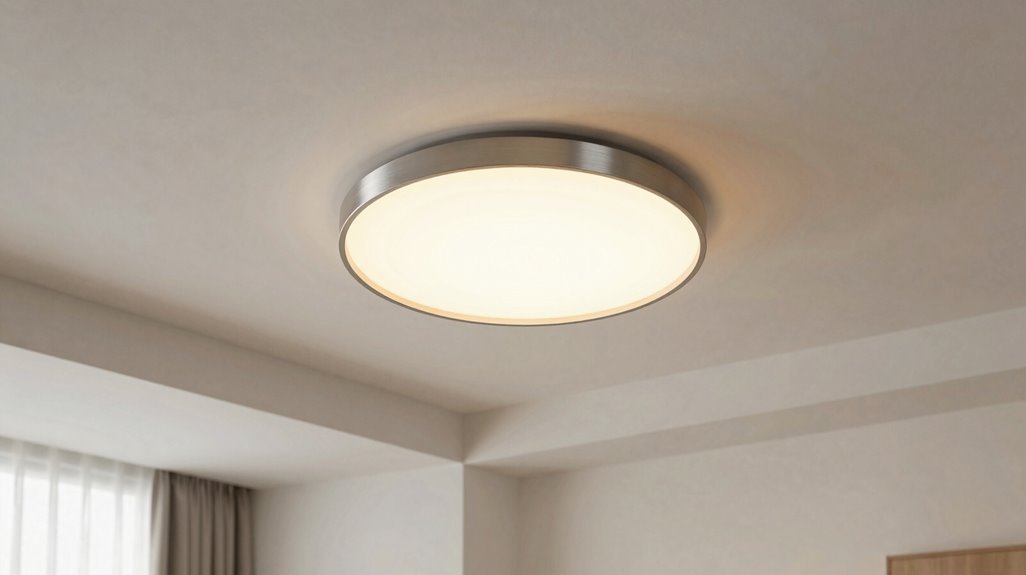
Where exactly should you draw the line between flush and semi-flush mounting?
You’ll find your answer in ceiling height and desired presence, specifically. Semi-flush mount lighting hangs 4-8 inches below the ceiling plane, creating visual weight without overwhelming mid-height rooms measuring 8-9 feet. You gain dimensionality, turning a flat surface into layered architecture. When understated flush mounts disappear, semi-flush fixtures command attention as deliberate focal points.
They bridge the gap between recessed utility and pendant drama, fitting transitional spaces where neither extreme belongs.
| Ceiling Height | Recommended Mount | Visual Outcome |
|---|---|---|
| Under 8 feet | Flush mount | Maximum clearance, minimal presence |
| 8-9 feet | Semi-flush mount lighting | Balanced impact, dimensional interest |
| 9+ feet | Semi-flush or pendant | Statement potential, vertical scale |
Your room’s scale and décor style dictate selection. Traditional, modern, or transitional aesthetics accommodate semi-flush designs uniformly.
Choose Matte Black Flush Mounts for Industrial Kitchens
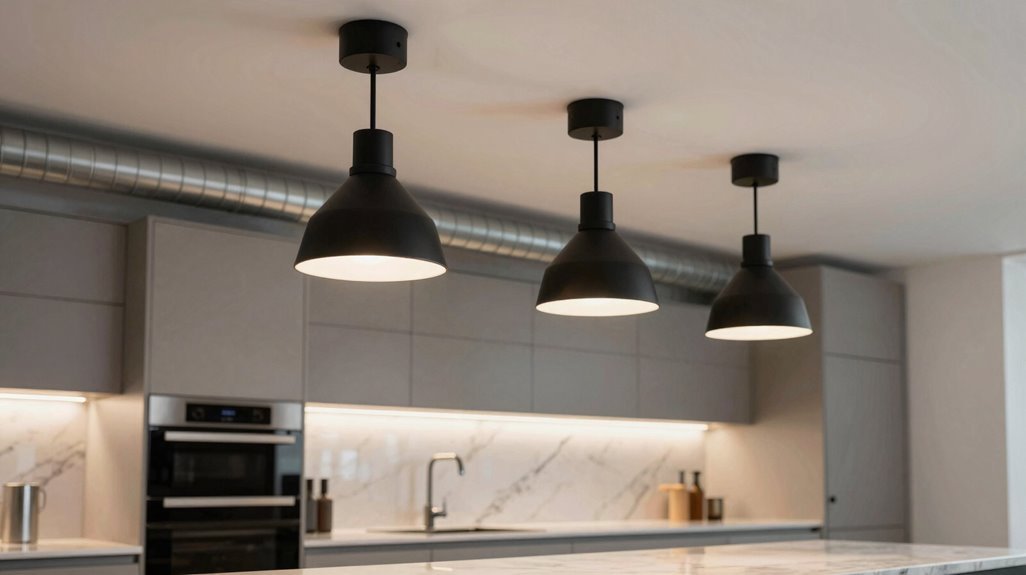
Once you’ve mapped ceiling heights to mounting styles, you’re ready to select fixtures that match your kitchen’s functional demands and aesthetic character.
Matte black flush mounts deliver industrial edge, pairing with stainless steel appliances and exposed brick. You’ll find low-profile housings maximize headroom in compact spaces.
Specifications and placement guidelines follow:
| Feature | Specification |
|---|---|
| Finish | Matte black |
| Housing depth | Low-profile |
| Shape options | Round or square |
| Light source | Integrated diffusers with warm dimmable LEDs |
Space fixtures every 6–8 feet for even task lighting across counters. Position above primary work zones: prep areas, sinks, and cooking surfaces. The matte black finish absorbs visual weight, creating utilitarian ambiance without clutter.
You’ll achieve balanced illumination and cohesive industrial character through measured placement and appropriate scale.
Scale up With Oversized Flush Mounts in Open Living Rooms
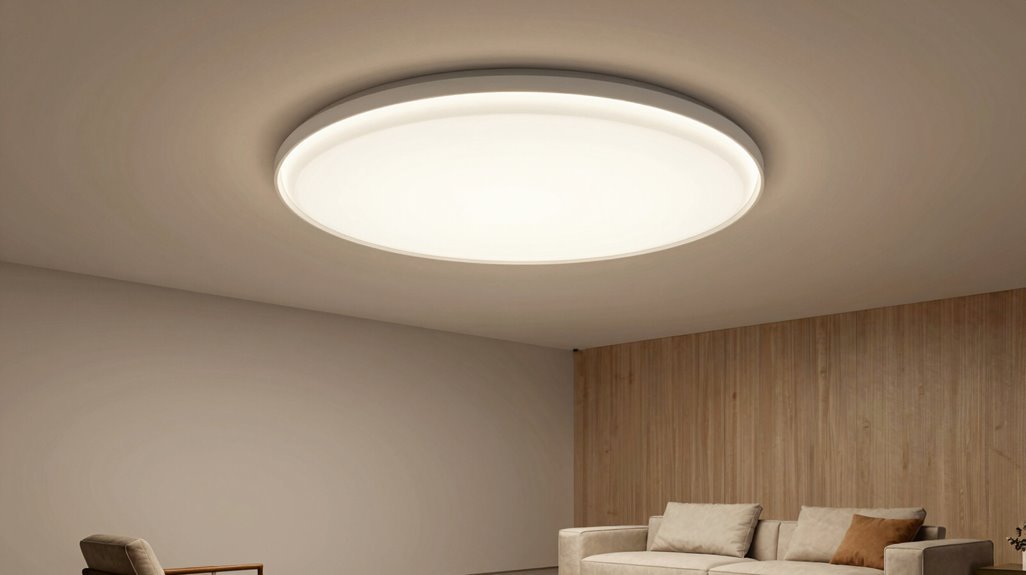
If you’re ready to move beyond standard sizing, oversized flush mounts let you command visual territory in open living rooms while solving the practical challenge of illuminating broad, unobstructed areas. These fixtures, typically spanning 18 to 36 inches in diameter, deliver expansive ambient coverage that eliminates dark zones across your combined living and dining zones.
You’ll find low-profile designs in matte black, brushed nickel, or metallic finishes that anchor modern aesthetics without visual clutter. Pair your oversized flush mount with floor lamps and track lighting to balance task and ambient layers.
Consider proven models like the MELANGE X-LARGE FLUSH MOUNT or KOSA 18 FLUSH MOUNT, engineered specifically for high-impact performance in open plans. One strategic fixture replaces three to four standard lights, simplifying your ceiling architecture while maintaining brightness.
Space Multiple Flush Mounts Evenly in Open Floor Plans
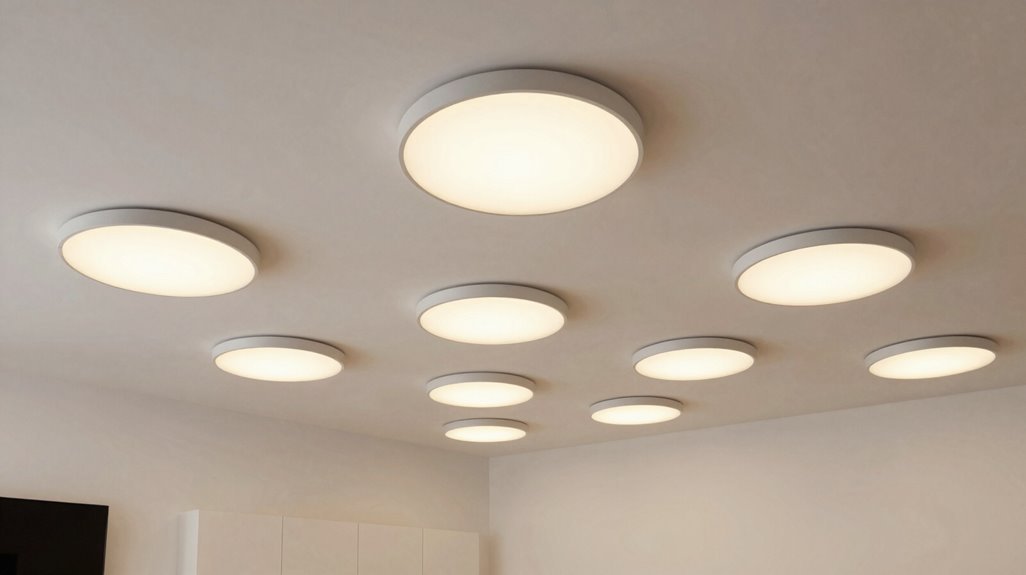
How do you eliminate dark corridors in sprawling open floor plans without sacrificing the clean sightlines that define modern design? You space multiple flush mount ceiling lights evenly, creating diffuse ambient illumination that flows uninterrupted across your living and dining zones.
Follow this systematic approach:
- Select low-profile modern flush mounts to preserve ceiling height perception, installing fixtures 6–8 feet apart in long rooms for uniform coverage without dark patches.
- Combine round outdoor-style flush mounts with square designs to balance geometry when transitioning between separated functional areas.
- Specify fixtures equipped with diffusers or frosted glass, maximizing uniform brightness across wide, open floor layouts where single sources fail.
You’ll achieve cohesive illumination that respects modernism’s visual principles, making certain every corner of your open plan feels intentionally included and properly lit.
Pick Frosted Diffuser Flush Mounts for Glare-Free Home Offices
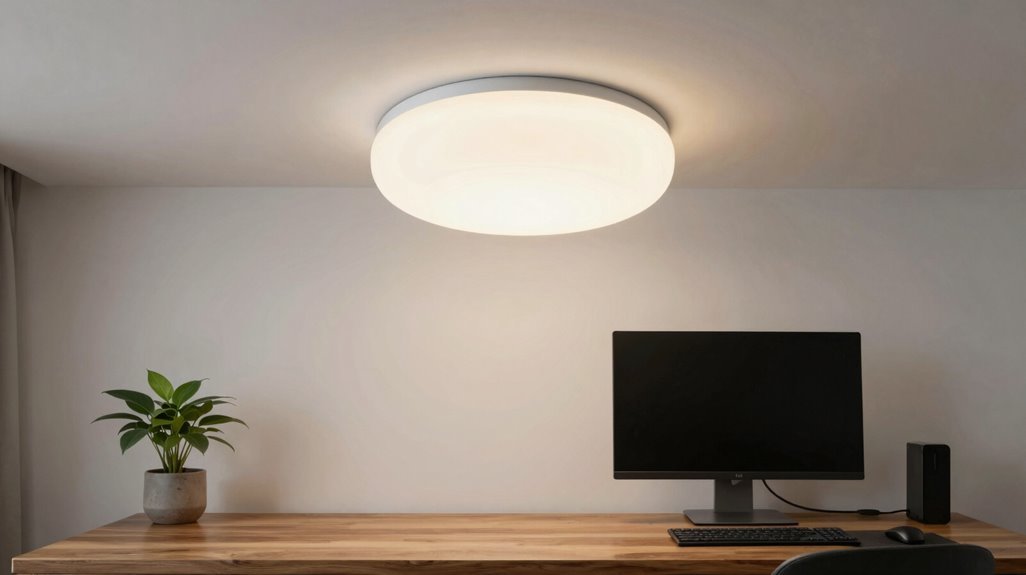
Choose frosted diffuser flush mounts when you need glare-free ambient lighting that distributes illumination evenly across your walls and work surfaces. You’ll reduce harsh shadows, improve screen readability, and minimize eye strain during extended computer use.
Pair these low-profile fixtures with adjustable task lamps to establish layered lighting control throughout your workspace.
Frosted Diffuser Benefits
Frosted diffuser flush mounts eliminate harsh glare in your home office by scattering light across a wider distribution pattern. You’re creating a workspace where everyone feels welcome to focus, free from the fatigue of harsh illumination.
Frosted diffusers serve three critical functions in modern flush mounts:
- They conceal LED point sources, delivering uniform beams across 360-degree distribution zones
- They balance direct downward illumination with ambient glow, maintaining 500-750 lux for task visibility
- They enable sub-4-inch profile fixtures to cast broad, diffused coverage in ceilings under 8 feet
You’ll reduce eye strain during 8-hour screen sessions while preserving visual acuity for document review. Select frosted diffusers with 85+ CRI ratings to guarantee color accuracy. Your colleagues will recognize the thoughtful environment you’ve built.
Office Lighting Comfort
Where should you position lighting when your home office ceiling stands under 8 feet tall, and you’re battling screen glare across 10-hour workdays? You install LED flush mount fixtures with frosted diffusers directly above your primary work zone, centered over your desk at 6-8 foot intervals.
Frosted diffusers scatter light evenly, eliminating harsh reflections on monitors while preserving headroom. You select LED flush mount models with CRI ratings above 90 to guarantee accurate document color rendering during detailed tasks. These fixtures consume 75% less energy than incandescent alternatives and operate for 50,000+ hours without replacement.
You pair your installation with compatible dimmers, adjusting output between 300 lumens for focused work and 150 lumens for break periods. This layered approach turns cramped quarters into productive, comfortable workspaces where you belong.
Match Brushed Nickel Flush Mounts to Stainless Kitchens
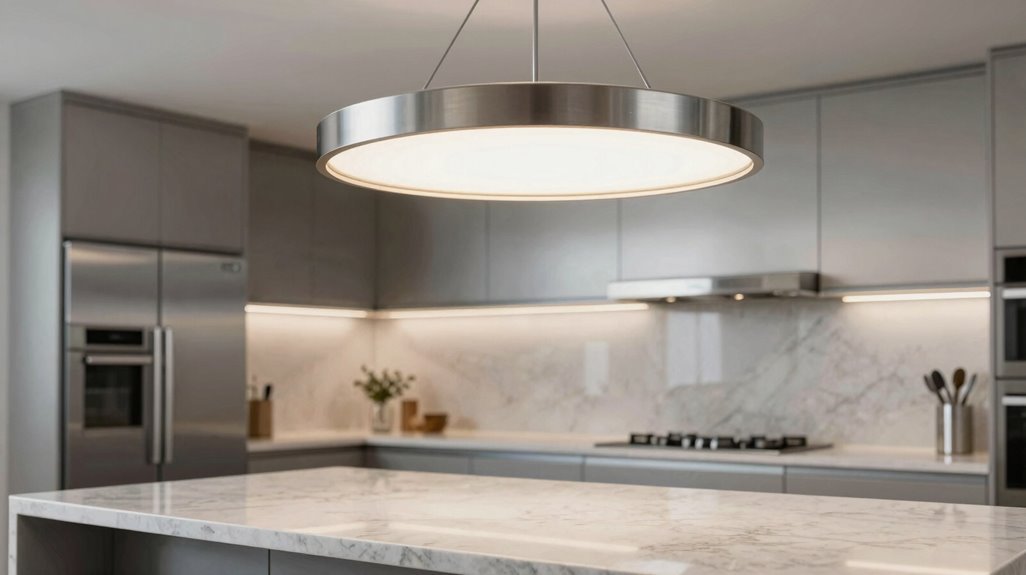
Why does your stainless steel kitchen still feel visually fragmented? You’re likely missing the unifying element that brushed nickel flush mounts provide. These fixtures bridge the gap between your appliances and lighting, creating the cohesive cool-toned palette you need.
To execute this integration properly, follow these three specifications:
- Select brushed nickel flush mounts with clean, linear profiles that mirror your stainless surfaces’ sleek geometry
- Install diffusers in frosted glass or acrylic to distribute light evenly across reflective countertops and backsplashes
- Choose low-profile round or square units, 12-16 inches in diameter, maintaining streamlined silhouettes above work zones
You’ll want dimmer-compatible LED configurations to control brightness against reflective surfaces. This approach removes visual discontinuity, so your kitchen reads as one intentional, unified space where every element belongs together.
Pick Polished Chrome Flush Mounts to Brighten Dark Hallways
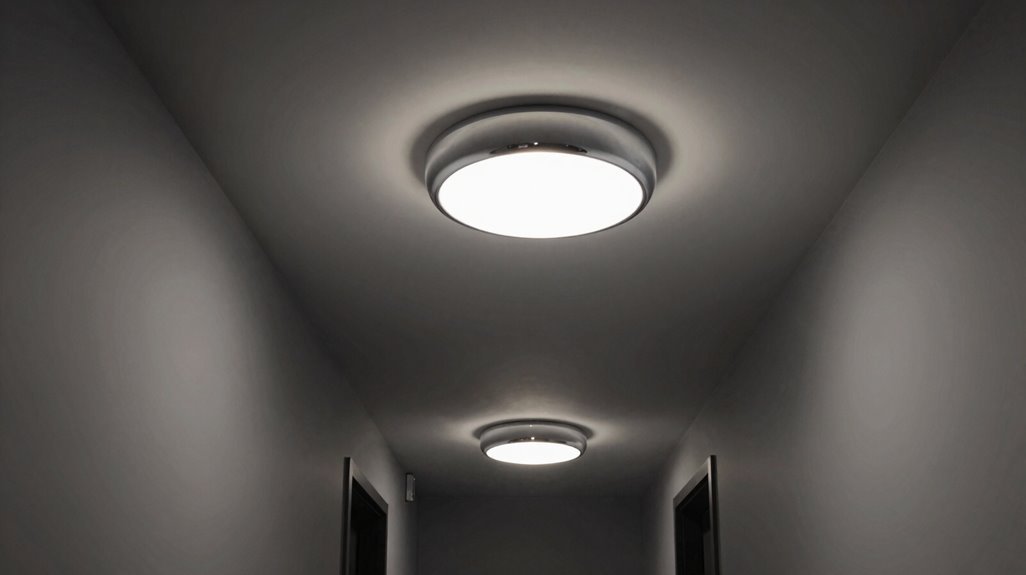
How do you eliminate the oppressive, cave-like quality of a poorly lit hallway without sacrificing ceiling height to hanging fixtures? You’ll select polished chrome flush mounts, which deliver sleek reflective surfaces that amplify ambient light through strategic bounce distribution.
These fixtures integrate seamlessly into modern hallways featuring cool neutrals, glass accents, or metal elements, establishing visual coherence throughout your transitional spaces. Chrome finishes resist visible wear patterns and coordinate with existing stainless or chrome hardware for unified material continuity.
In corridors measuring less than 36 inches wide, specify low-profile round configurations to preserve vertical space perception while generating diffuse, shadow-minimizing illumination. Install dimmable polished chrome flush mounts to modulate output across three functional tiers: 100% for active transit, 50% for evening navigation, and 20% for overnight safety orientation.
Choose LED Flush Mounts to Cut Energy Bills Long-Term
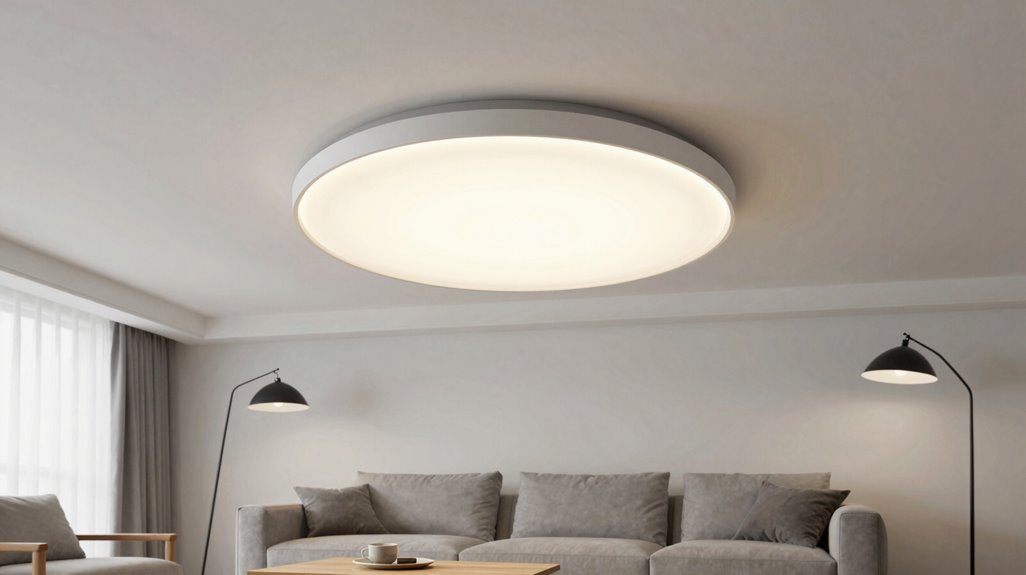
You’ll reduce your monthly energy expenditure by 50% or more when you replace incandescent fixtures with LED flush mounts, which deliver comparable brightness using substantially fewer watts. Your upfront investment returns value through 25,000 to 50,000 hours of operational lifespan, minimized maintenance demands, and potential regional rebate qualifications.
Select units featuring dimmable drivers, integrated diffusers, luminous efficacy ratings exceeding 90 lumens per watt, and color temperatures between 2700K and 4000K to optimize both comfort and long-term savings.
Energy Efficiency Benefits
Where can you trim your home’s operating costs without sacrificing daily comfort? You upgrade to LED flush mounts, which slash energy consumption by up to 80% compared to traditional incandescent fixtures. You gain immediate, measurable reductions in monthly electricity expenses without dimming your living spaces.
You achieve superior efficiency through three core mechanisms:
- High luminous efficacy: Modern LED flush mounts deliver 80–120 lumens per watt, maximizing brightness per unit of electricity consumed.
- Intelligent controls: Dimmable drivers and smart compatibility let you reduce output during off-peak hours, capturing additional savings.
- Extended operational lifespan: With 25,000–50,000 hours of rated life, you minimize replacement frequency and maintenance labor.
You may also qualify for regional energy rebates, accelerating your return on investment.
Cost Savings Analysis
Why continue paying premium rates for outdated lighting technology when LED flush mounts offer measurable financial returns? You’ll cut energy consumption by 70-90% compared to incandescent fixtures, translating to noticeably lower monthly electricity bills throughout the bulb’s operational life.
Consider these quantified advantages when specifying LEDs:
Energy Efficiency Specifications
| Feature | LED Performance | Traditional Equivalent |
|---|---|---|
| Wattage (800-1100 lumens) | 9-15 watts | 60-75 watts |
| Rated lifespan | 25,000-50,000 hours | 1,000-2,000 hours |
| Annual replacement frequency | Minimal | Frequent |
You achieve additional savings through strategic implementation. Select LEDs with 2700-3000K color temperatures for optimal ambient illumination at reduced wattage. Install dimmable LED flush mounts with compatible dimmers to decrease energy use without compromising comfort.
When multiple fixtures illuminate kitchens or hallways, you’ll reduce total lighting loads by 40-60% versus non-LED alternatives. Your maintenance expenditures diminish substantially given extended LED lifespans.
Smart Home Integration
Your energy savings multiply when you connect LED flush mounts to smart home ecosystems, turning efficient fixtures into automated systems that respond to your daily patterns. Smart-home integration lets you program schedules, dim remotely, and control lights via voice commands or apps, maximizing efficiency without waste.
To implement this effectively, follow these steps:
- Select fixtures with Zigbee, Z-Wave, or Wi-Fi connectivity for reliable platform compatibility.
- Verify integration with your existing systems, such as Google Home, Alexa, or Apple HomeKit, before purchasing.
- Configure tunable white settings to shift from warm (2700K) evening tones to cool (5000K) task lighting.
LED flush mounts already reduce wattage by 75% versus incandescent bulbs. When you add automation, you eliminate standby consumption and optimize usage patterns, cutting annual energy costs by 20-30% beyond baseline LED savings.
Add Smart Flush Mounts for Voice-Controlled Dimming
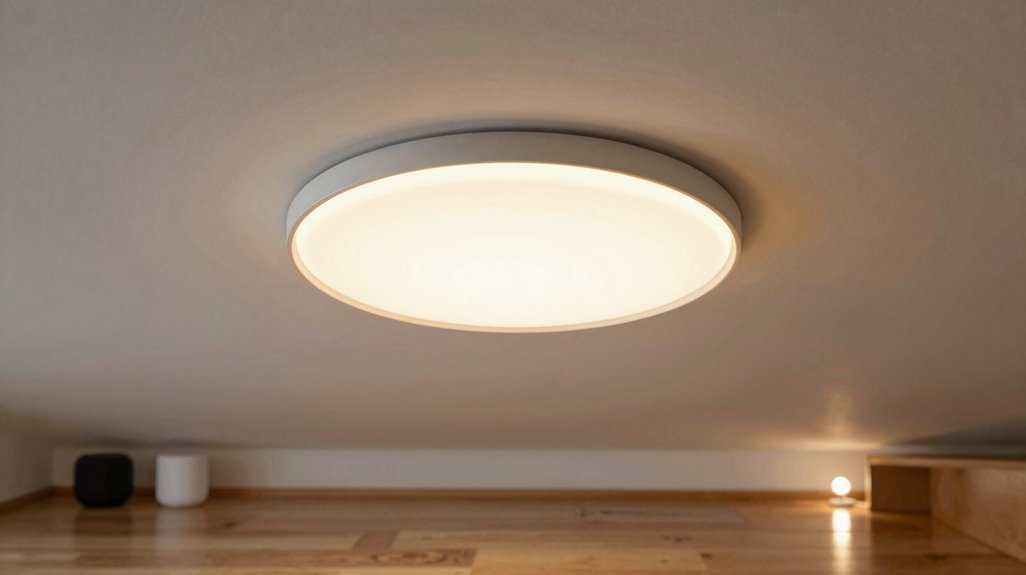
How often have you fumbled for a wall switch while your hands were full of groceries or cooking utensils? Smart flush mounts eliminate this friction through voice-controlled dimming via Alexa, Google Assistant, or Siri.
You simply speak commands to adjust brightness from 0-100% without touching anything. Most models offer tunable white ranges from 2700K (warm) to 6500K (cool), letting you shift from task lighting in kitchens to ambient relaxation in living spaces.
Installation requires verifying three technical specifications: your existing smart ecosystem compatibility (Wi-Fi, Zigbee, or Z-Wave), power requirements (line voltage versus 12V/24V), and dimming standards (Triac or PWM).
For low-ceiling rooms, select low-profile units maintaining full-range dimming capabilities without glare. Connect through your smartphone app to create automated scenes and schedules.
Pick Round Flush Mounts for Narrow Entryways
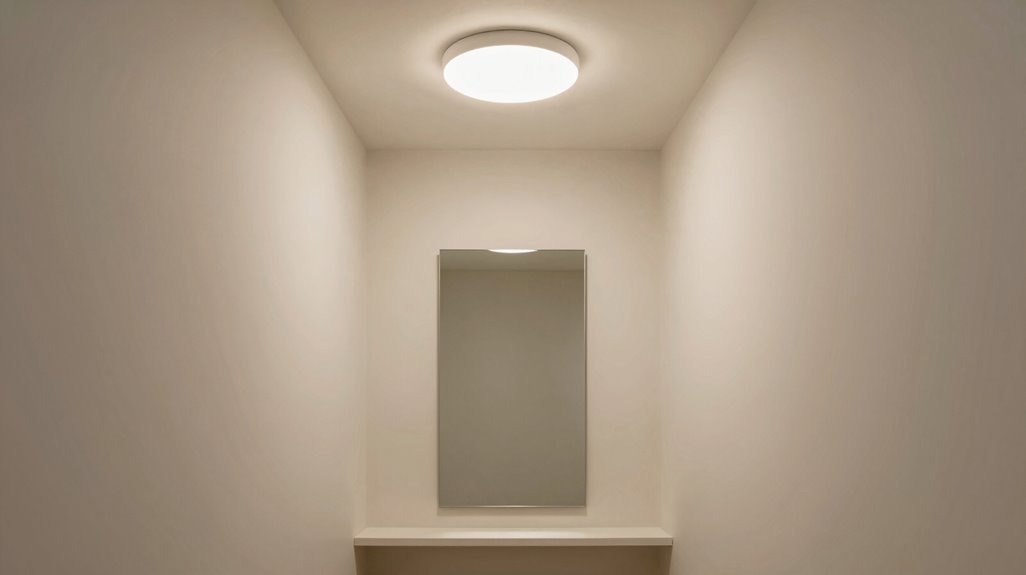
Where can you find space for proper lighting when your entryway measures less than 36 inches across? You install round flush mount ceiling lights, which deliver compact, low-profile solutions without sacrificing function.
These fixtures cast ambient, diffused illumination that brightens your arrival zone without demanding visual attention. You maintain clean sightlines while making sure you have adequate coverage.
Follow these specifications for optimal results:
- Select diameters between 8–12 inches to preserve proportion with your ceiling height and entry width.
- Choose finishes, brushed nickel, polished chrome, or matte black, that coordinate with existing hardware for cohesive integration.
- Layer with wall sconces or a slim console to build dimensional lighting without spatial congestion.
You solve the narrow entryway dilemma through deliberate scale, finish coordination, and strategic layering. Round flush mount ceiling lights turn constrained vertical space into an organized, welcoming threshold.
Contrast Bold Flush Mount Colors Against White Ceilings
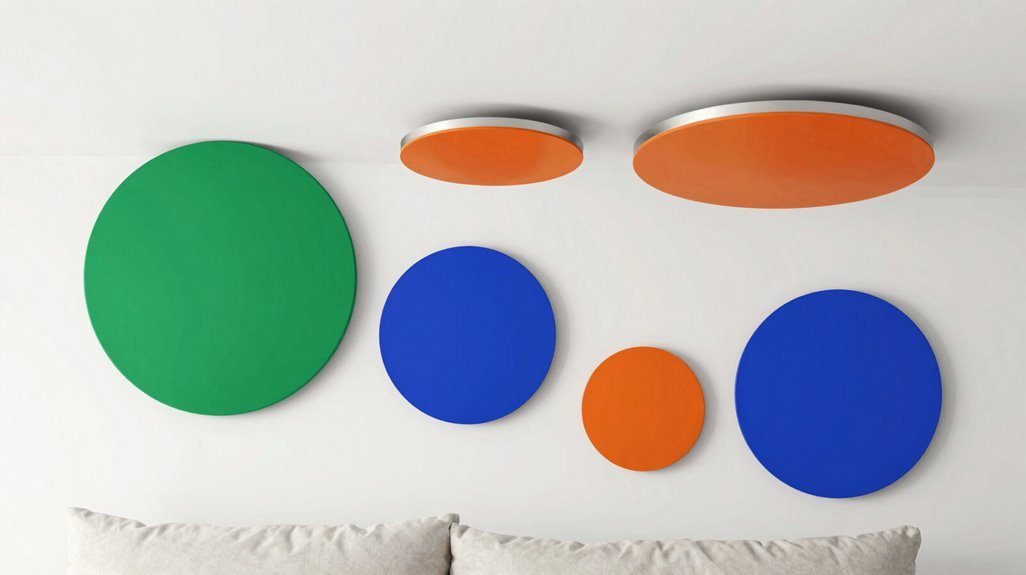
Round flush mounts solve narrow entryways through proportion and restraint, but you shouldn’t limit yourself to neutral palettes throughout your home. You create instant focal points when you deploy high-contrast colors against white ceilings. You select brushed nickel, polished chrome, or matte black finishes to establish sharp visual boundaries on the ceiling plane.
You manipulate perceived ceiling height through strategic color choices; navy, crimson, and emerald fixtures recede or advance spatial perception. You balance bold selections with subdued furniture and wall tones to prevent visual overload. You achieve modern design emphasis through black frames paired with white diffusers or bright color interiors.
You make sure of cohesive results by limiting each room to one statement fixture. You change ordinary ceilings into organized, intentional architectural elements through deliberate color opposition.
Combine Flush Mounts With Track Lighting in Kitchen Work Zones
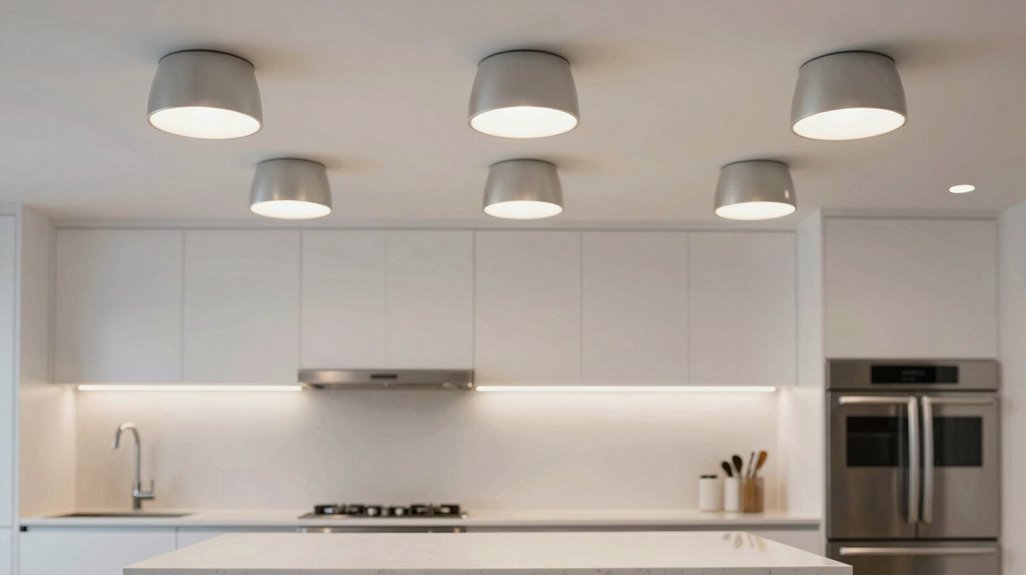
You’ll layer two distinct lighting types to solve kitchen illumination efficiently. Install flush mounts for broad ambient coverage across the entire ceiling. Then position track heads directly above prep surfaces, islands, and cooktops for precise task lighting. This dual-system approach lets you balance general room brightness with focused beams exactly where you’re chopping, measuring, or plating.
Task Lighting Strategy
Layer flush mount ceiling fixtures with adjustable track lighting to build a two-tier illumination system that separates ambient coverage from targeted task zones in your kitchen. You’ll create functional, shadow-free spaces where precision matters most.
Position your Flush mount lights near room centers for general brightness, then direct adjustable track heads over countertops, islands, and sinks. Select low-profile modern flush mounts in brushed nickel or matte black finishes to hug your ceiling, pairing them with cool-white LED track heads for crisp task visibility.
Follow this installation sequence:
- Mount two 14-inch flush fixtures centrally, spaced 6-8 feet apart
- Install 3-4 track heads per work zone, positioned 24-30 inches above surfaces
- Specify dimmable LEDs throughout, enabling 3000K-4000K temperature shifts from prep to evening use
This layered approach eliminates shadows where you chop, cook, and clean.
Ambient Layer Balance
Because shadows undermine your kitchen’s functionality, you must balance ambient and task lighting through strategic fixture pairing. You achieve this by combining flush mount fixtures for general illumination with track lighting aimed at your work zones.
- Install low-profile flush mount fixtures on room perimeters, spacing them evenly above your work triangle for uniform coverage.
- Mount high-CRI track fixtures at 15–30 degree angles, targeting your sink, prep zone, and stove for shadow-free task performance.
- Select dimmable LED flush mount fixtures rated 3000K–4000K, enabling you to shift between warm ambience and bright task lighting as needed.
- Coordinate finishes; brushed nickel, matte black, or brass; with your cabinetry to maintain visual cohesion.
This layered approach eliminates dark spots, so your kitchen operates as efficiently as modern design demands.
Pick Easy-Wipe Flush Mounts for Busy Households
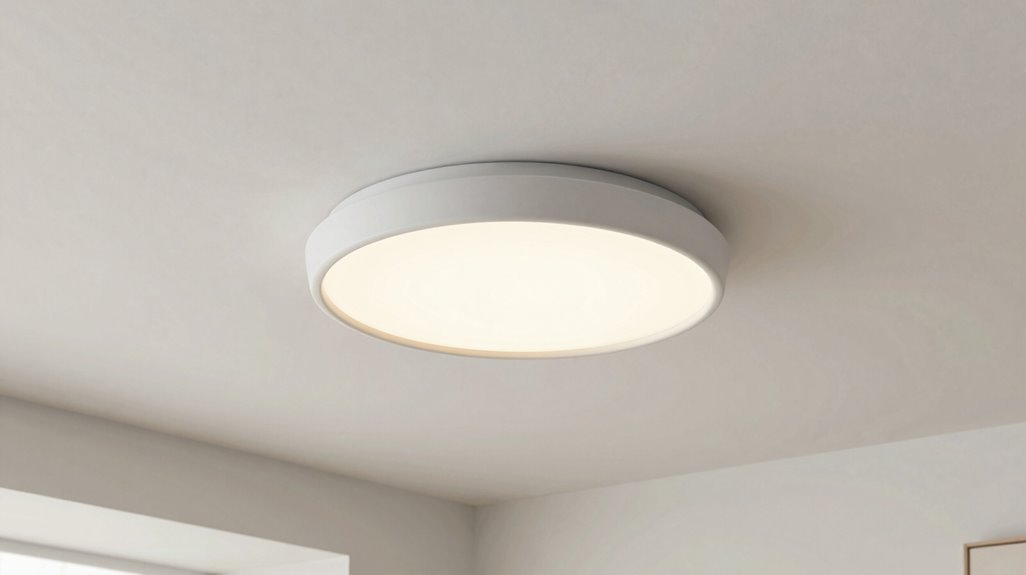
Where exactly does dust accumulate fastest in your home? You already know the answer: every horizontal surface, including light fixtures with ridges, crevices, and dangling elements. Easy-wipe flush mounts eliminate this burden entirely, pressing flat against your ceiling to deny dust a foothold.
You need three specific features to maximize efficiency:
- Smooth, rounded edges with flat diffusers you wipe in ten seconds using a damp cloth
- Resistant finishes like brushed nickel, matte black, or white powder-coating that repel fingerprints and smudges
- Minimal detailing in metal or high-quality polymer construction, eliminating grooves where grime collects
Select LED-equipped models with broad, ambient diffusers for versatile daily illumination. You maintain your home’s cleanliness without sacrificing modern aesthetics, and you join countless households who’ve solved this organizational challenge through intentional fixture selection.
Solve Sloped Ceilings With Adjustable Flush Mount Bases
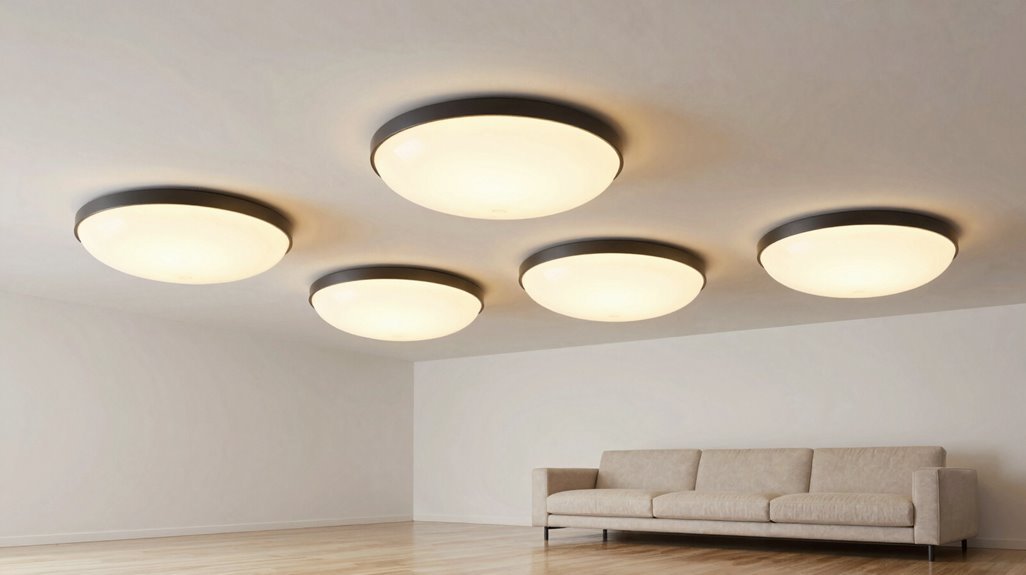
Your sloped ceiling doesn’t have to limit your lighting options if you select fixtures with adjustable mounting solutions designed specifically for angled surfaces. You’ll need to verify that your chosen base accommodates your ceiling’s exact pitch, typically ranging from 0 to 45 degrees, while maintaining a level light orientation for proper beam distribution.
Consider these critical compatibility factors before purchase: structural support requirements, socket adjustability range, and diffuser positioning relative to the slope angle.
Adjustable Mounting Solutions
Sloped ceilings demand specialized hardware, and adjustable flush mount bases deliver the mechanical articulation you’ll need for level light distribution. You’ll solve installation challenges through pivoting mechanisms that compensate for roof angles without sacrificing low-profile aesthetics.
Implement these adjustable mounting solutions:
- Select bases with swivel joints offering 3-5 degrees of tilt adjustment, so you’ll lock the fixture precisely perpendicular to your floor plane.
- Verify your mounting bracket includes quick-align features, so you’ll reduce installation time while maintaining centered diffuser positioning.
- Confirm the ball-and-socket or gooseneck connector range matches your specific ceiling slope measurement before purchase.
You’ll preserve ambient lighting quality when the diffuser sits centered. Check product specifications for maximum slope compatibility, typically 15-30 degrees. These mechanical adaptations integrate seamlessly into modern architectural environments requiring both function and refined visual continuity.
Sloped Ceiling Compatibility
Ceiling angles challenge standard fixture installation, but adjustable flush mount bases adapt your lighting to pitched surfaces without visible gaps or uneven illumination. You gain level positioning through swivel or pivoting mechanisms that tilt within ranges matching your roof pitch. Select low-profile housings with compact silhouettes to preserve clean ceiling lines on steep slopes.
Secure your fixture using crossbars or adapters that anchor to joists or sloped mounting points. Prioritize models with anti-glare diffusers and compatible dimmers to maintain ambient brightness across angled surfaces. You solve installation challenges by verifying tilt specifications, measuring ceiling pitch beforehand, and confirming electrical box compatibility.
Adjustable flush mount options help your modern home achieve cohesive lighting without compromising architectural character or functional performance.
Layer Flush Mounts and Pendants in Transitional Bedrooms
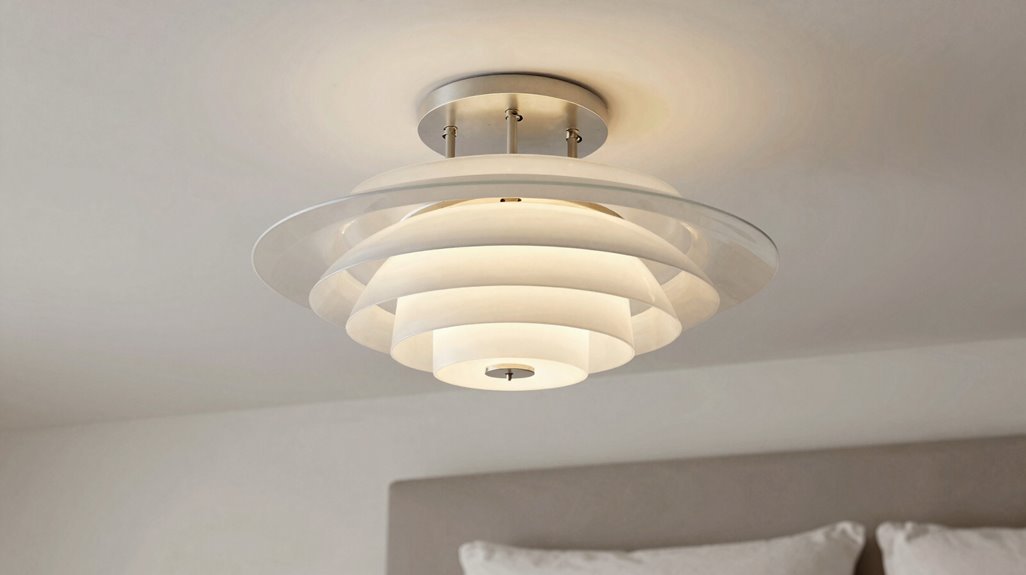
How can you balance ambient glow with focused task lighting in a transitional bedroom without visual clutter? You layer semi-flush mount lights with strategically placed pendants to define functional zones while preserving ceiling clarity.
- Select low-profile semi-flush mount lights for general illumination, choosing diameters between 12-20 inches for standard ceilings and 24-36 inches for rooms exceeding 200 square feet.
- Position pendants at staggered heights, typically 24-30 inches above nightstands or vanities, to introduce vertical dimension without obstructing sightlines.
- Coordinate finishes; brushed nickel, matte black, or polished chrome bridge traditional warmth with contemporary clean lines.
You’ll harmonize scale by matching larger flush mounts to expansive spaces and delicate pendants to compact quarters, making certain every fixture earns its place in your cohesive, layered scheme.
Echo Ceiling Beams With Linear Flush Mount Shapes
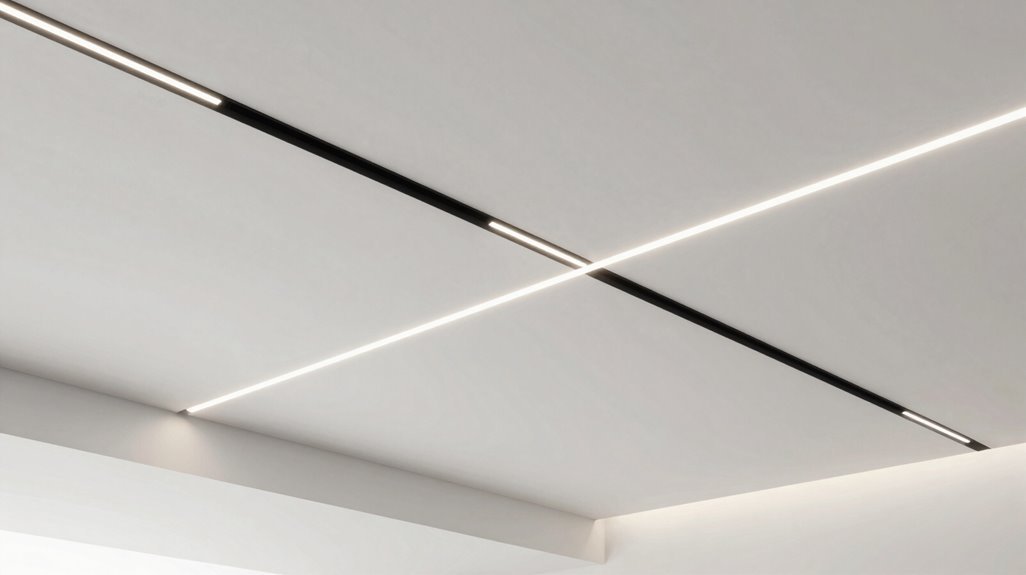
Why let exposed ceiling beams dominate your space when you can mirror their architectural rhythm with linear flush mount fixtures that disappear into the structure itself? You turn raw architectural elements into cohesive design statements when you align a Flush Mount Ceiling Light parallel to each beam.
Mirror your ceiling’s architectural rhythm with linear flush mount fixtures that transform raw beams into cohesive design statements.
- Measure your beam spacing, typically 16 to 24 inches apart, and select linear fixtures matching those dimensions.
- Install fixtures between beams, maintaining 4 to 6 inches clearance from wood surfaces to prevent heat damage.
- Choose matte black or brushed nickel finishes, 48 to 72 inches in length, for 150 to 300 square foot coverage per unit.
Your ceiling gains uniform ambient light without pendant obstruction. Layer with track lighting or floor lamps for task-specific zones. You maximize vertical perception while eliminating shadow gaps common with recessed alternatives.





